How to Edit Electro Header
In this knowledge-based article, you will learn how to set up the Electro Header.
Overview
| Recommended Logo Size in the Header? | 1620 x 1800px |
| Type of image should I add as a Logo? | PNG |
| Where can I edit phone number and email address on the header? | Header > Theme Settings |
The Electro header should be edited by the following parts:
Access Electro Header
From any page in your Electro Admin Dashboard, please visit Header Group > Header.
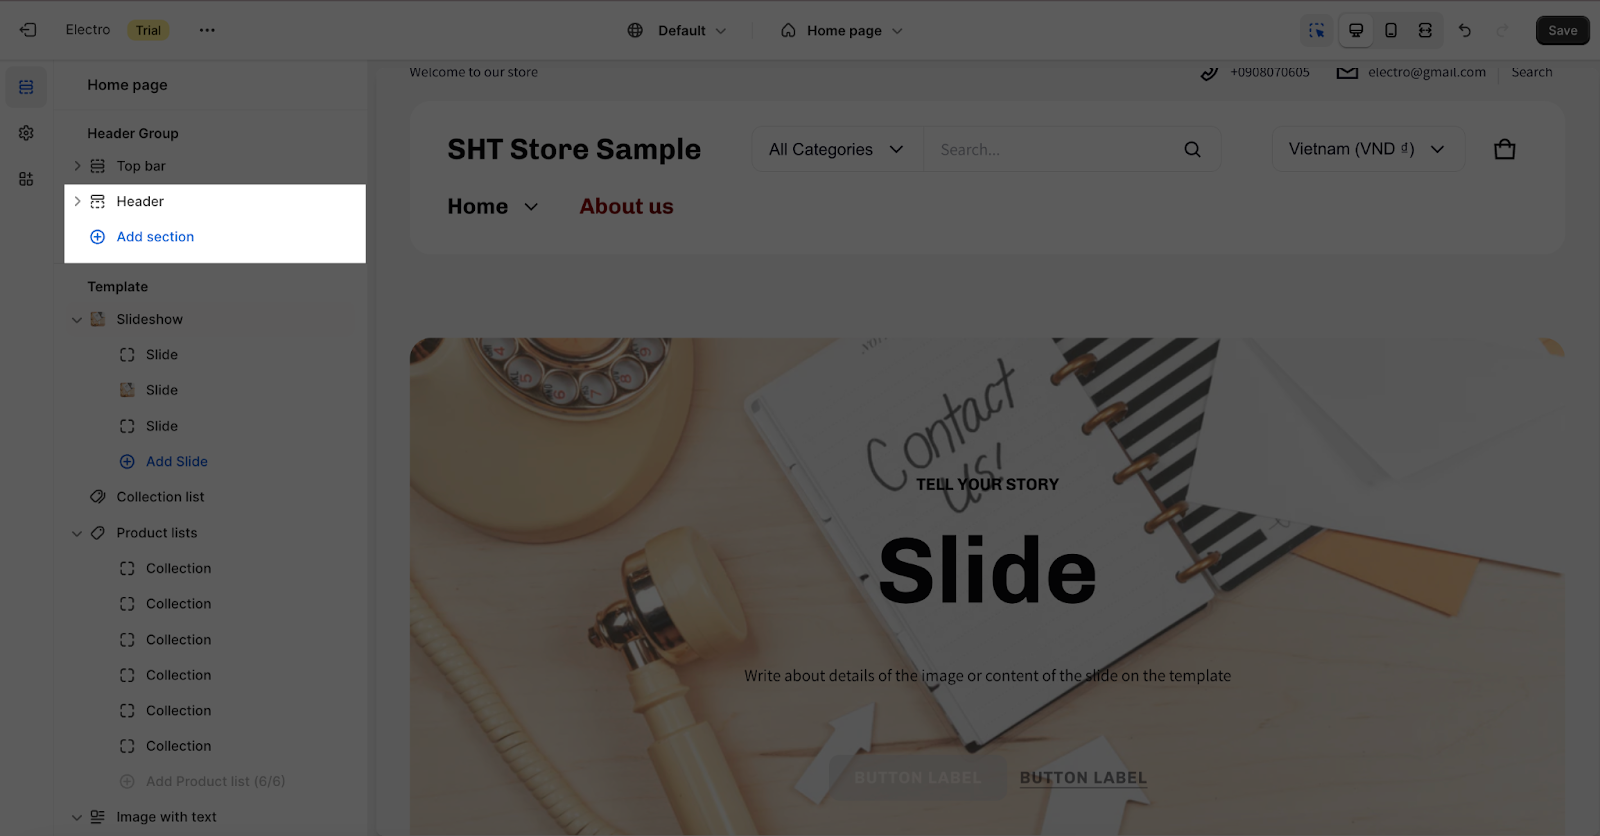
Please note that, you still can add more sections within the header group, however it’s not recommended, as the header will remain the same on ALL pages, therefore only default and brand information should appear in the Header Group.
The Header is undeletable, but you still can erase the items within the Header.
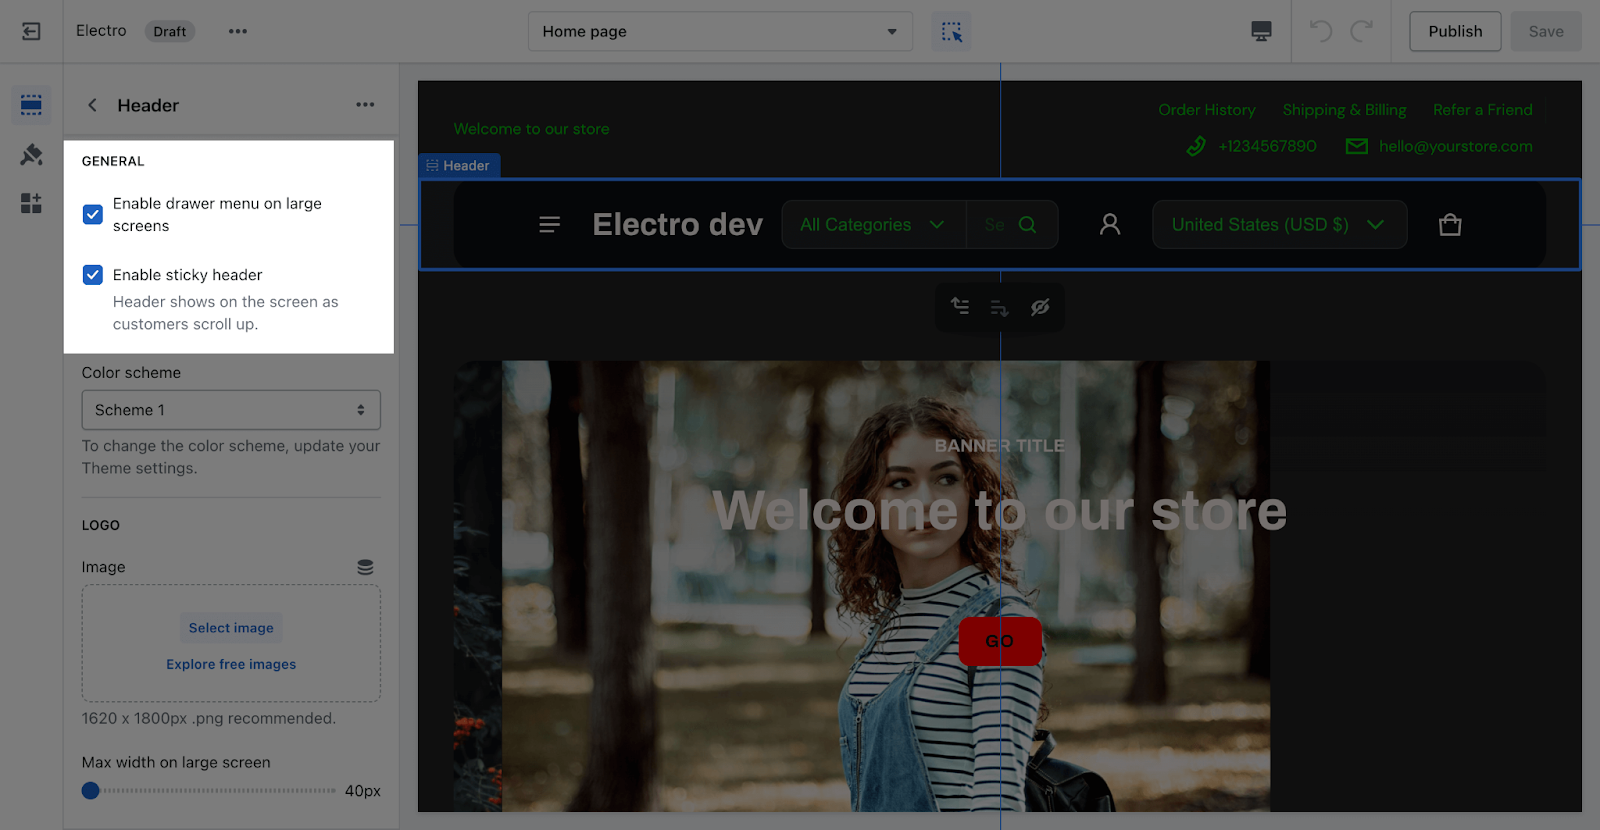
Edit General Settings
The Electro theme lets you activate or deactivate the drawer menu on large screens and sticky header. The header remains hidden while scrolling down and only appears when scrolling up.
The drawer menu is more commonly used on mobile devices to save screen space; additionally, when enabled on a larger screen, it can provide a clean and minimalist look to the store design.
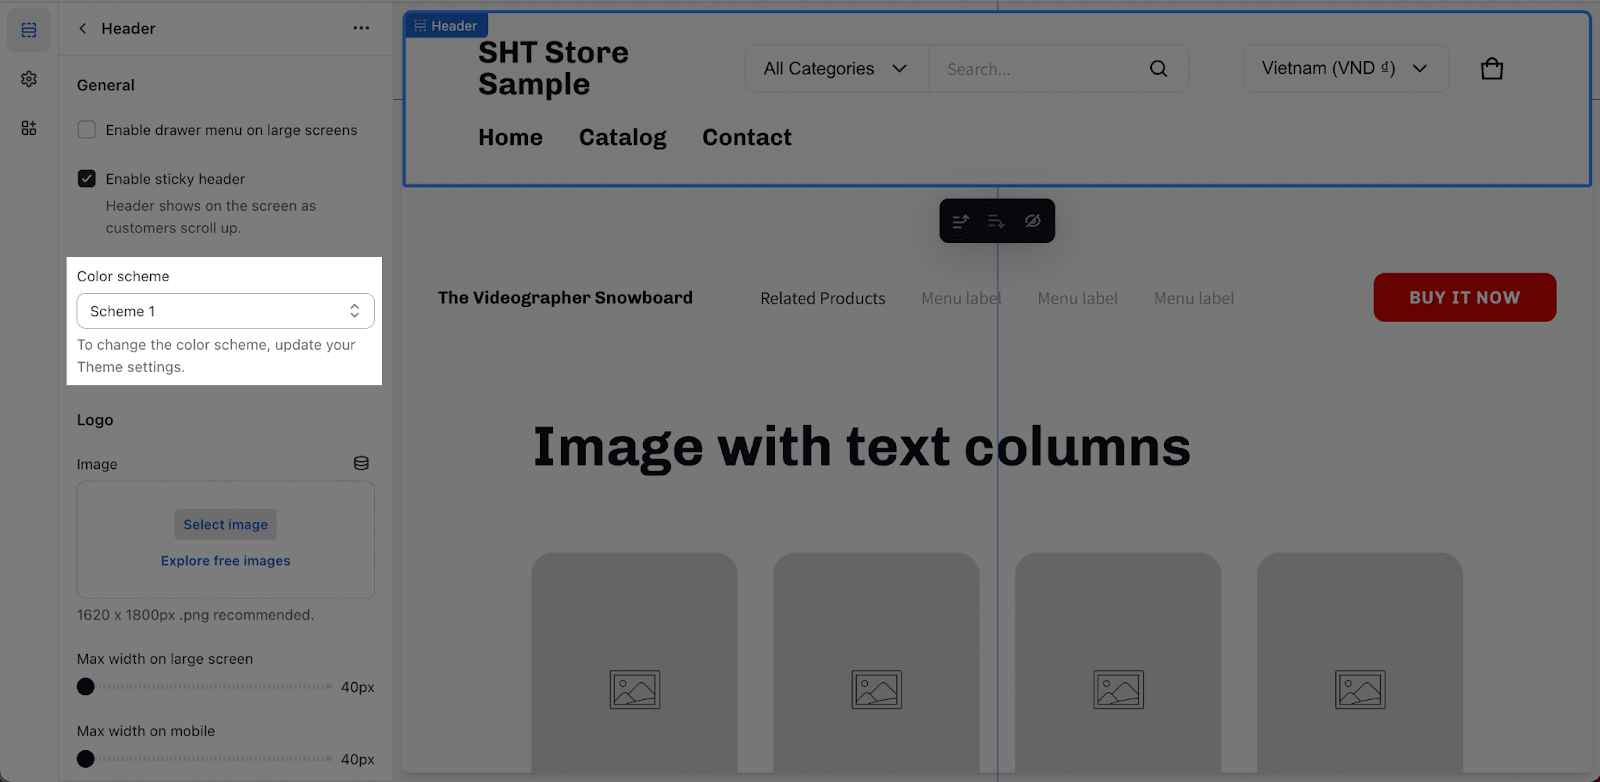
Then, you will be able to configure the color scheme, and select between Scheme 1 or Scheme 2. If you want to change the color scheme, please go to the theme settings to update.
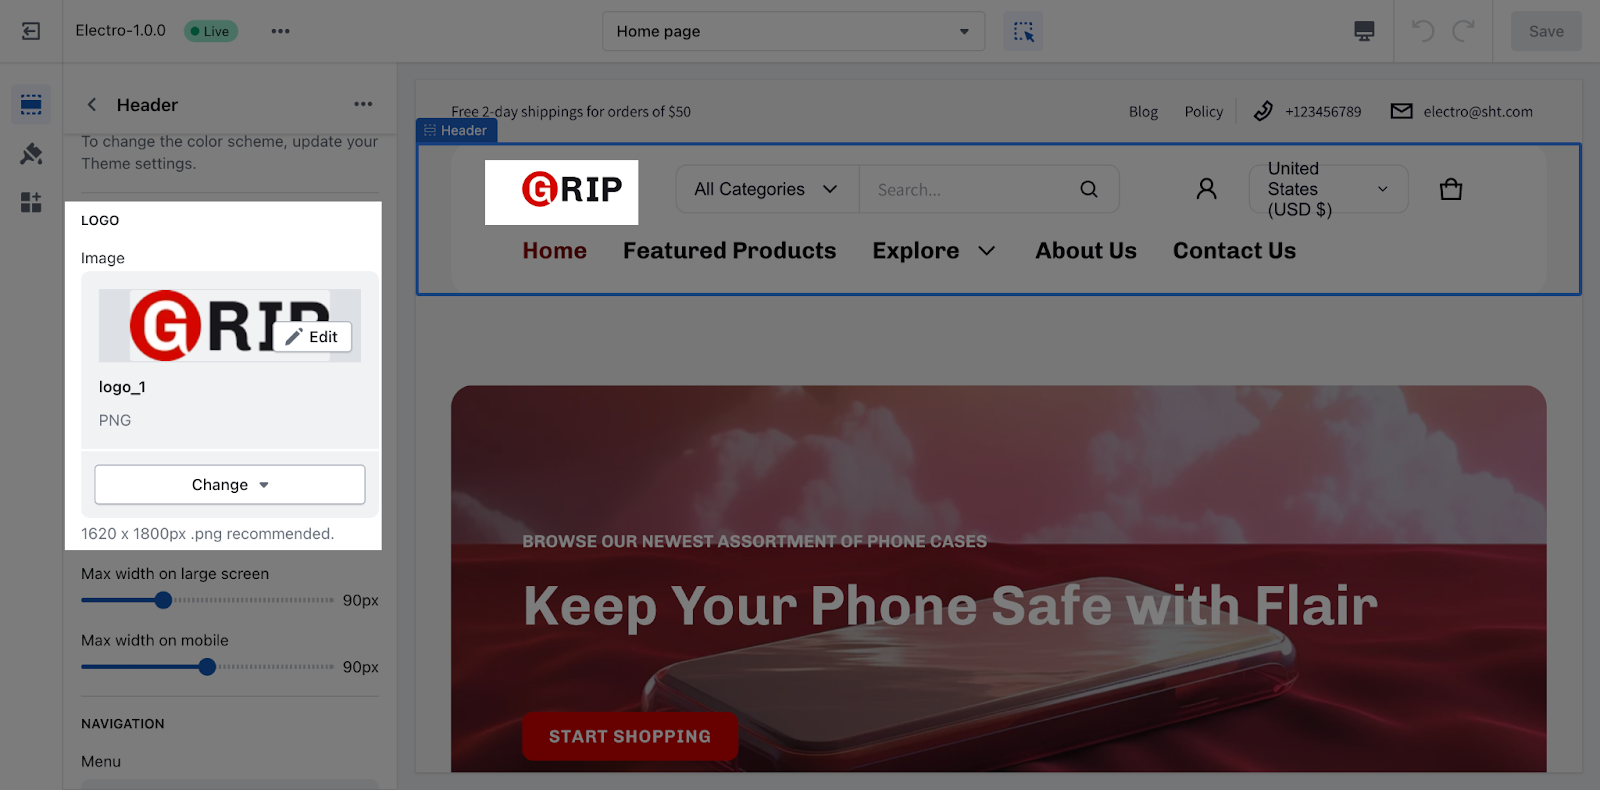
Add Logo
You can add the logo image in 2 steps as follows:
Step 1: Click the Select image button. The media manager will open up.
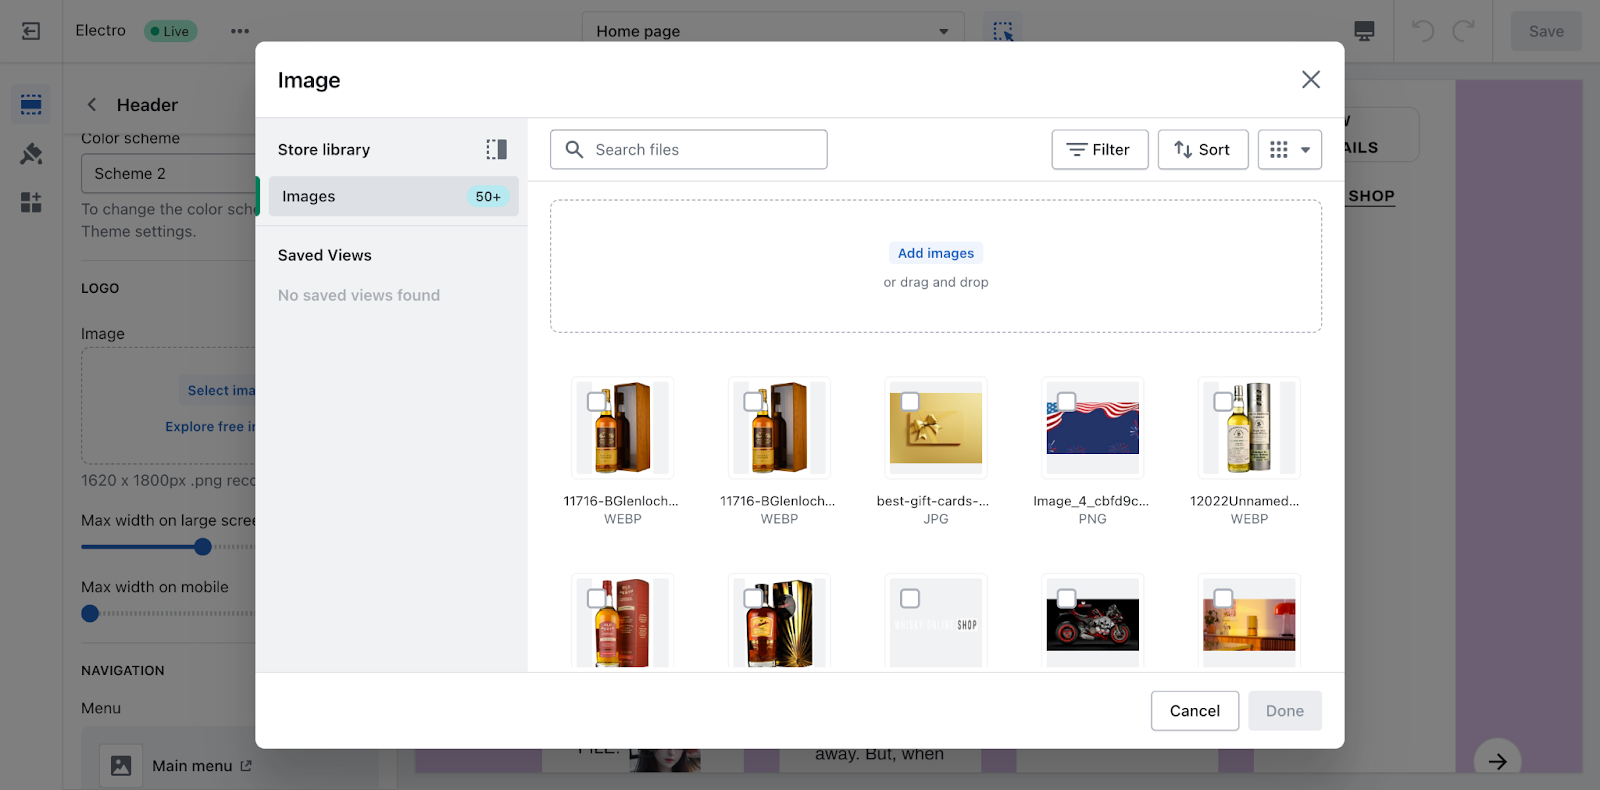
Step 2: Drag and drop your logo, or select it if it is already uploaded. Note that you can adjust Logo max width by default is 80px with min 40px – max 200px on a large screen and min 40px – max 140px on Mobile.
Edit Navigation
You can customize the navigation in 3 steps as follows:
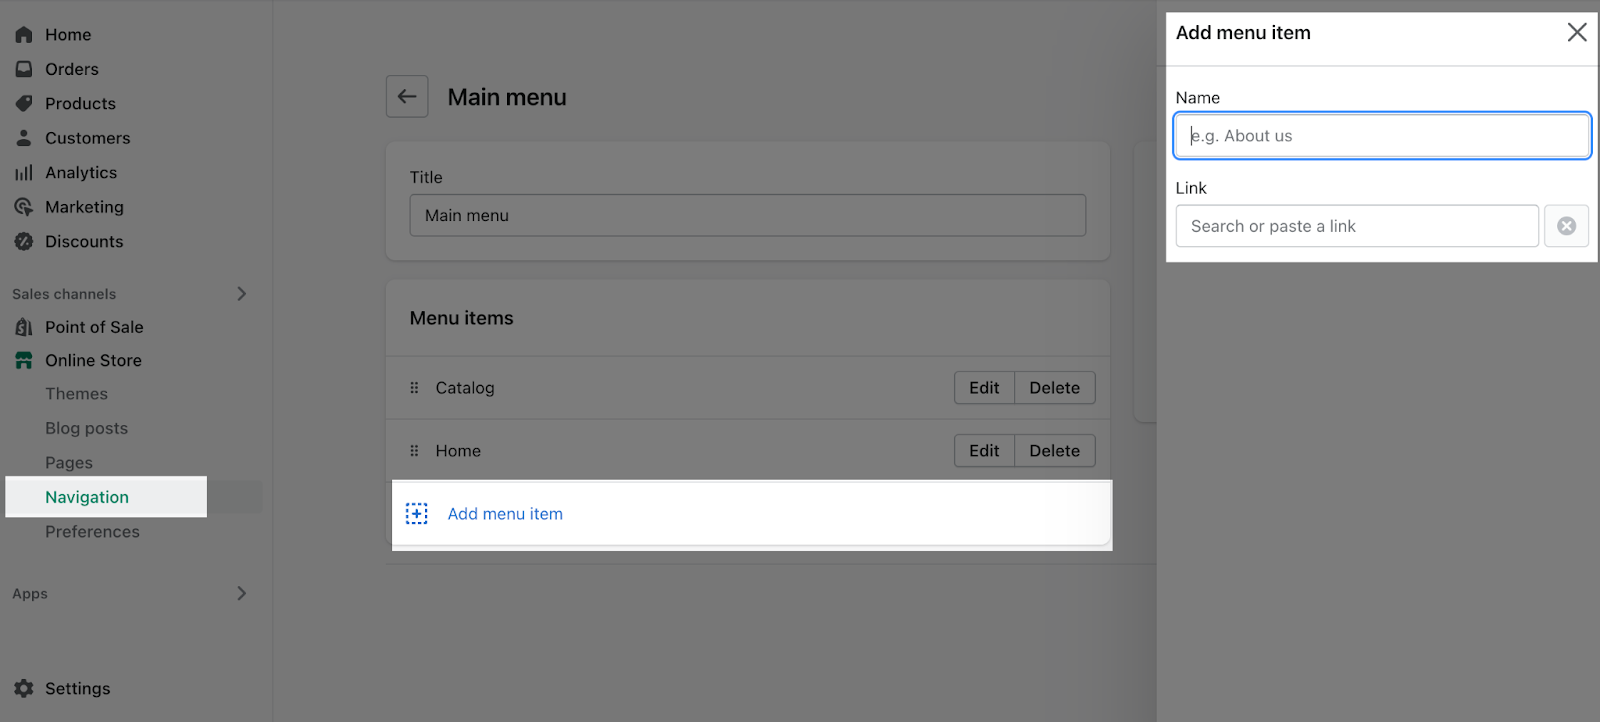
Step 1: Clicking on the Main menu, it will direct you to go to your Shopify store’s main menu page.
Step 2: Click on the Add menu item then enter the menu item name and link (existed link or a new link is available)
Step 3: Clicking on the Change button, you will have 2 option here:
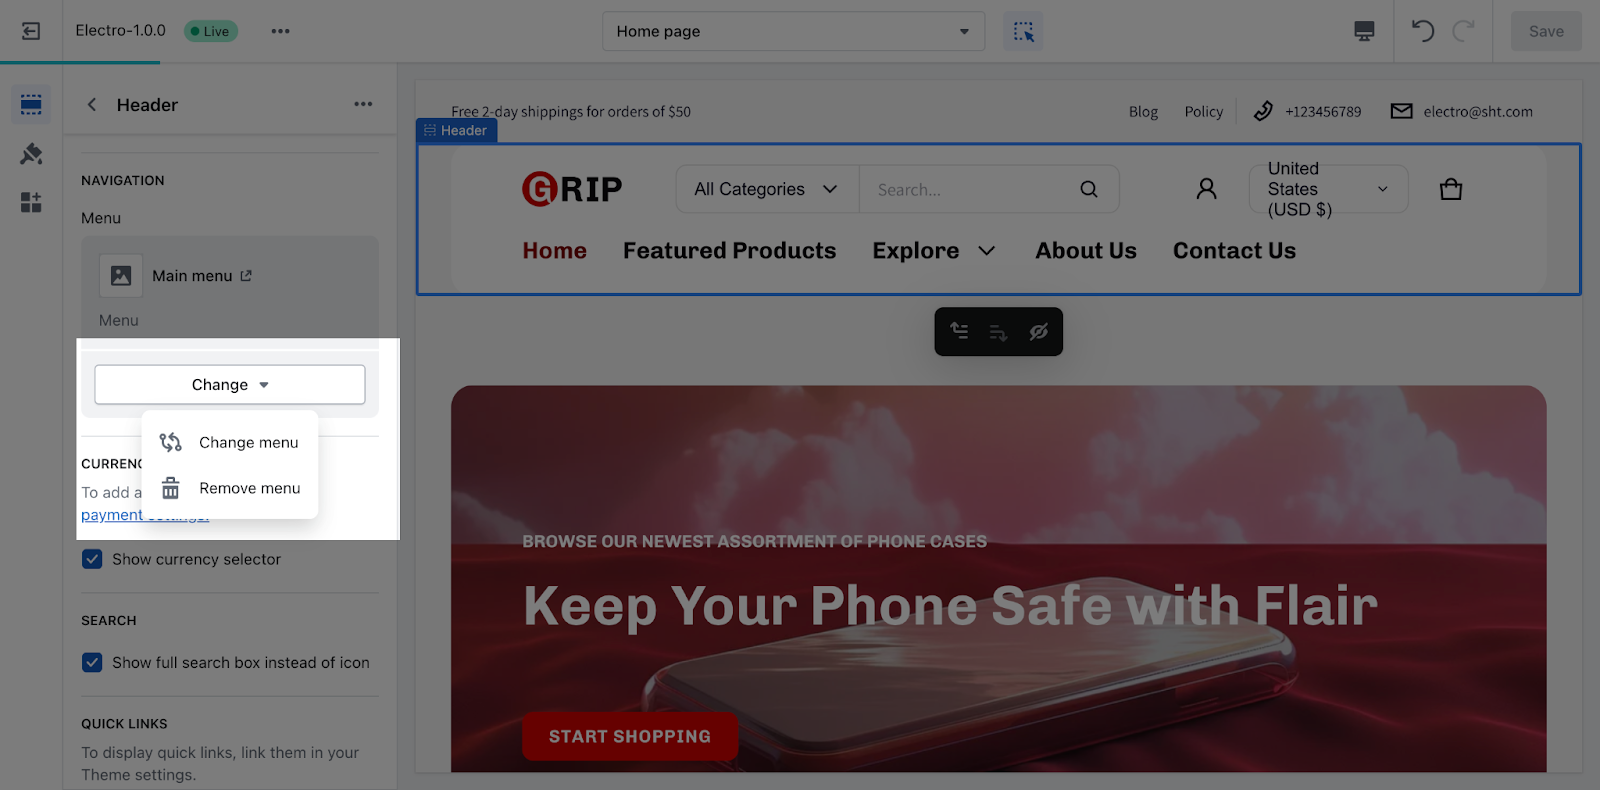
- Change menu: you can select existing menu or create a new one
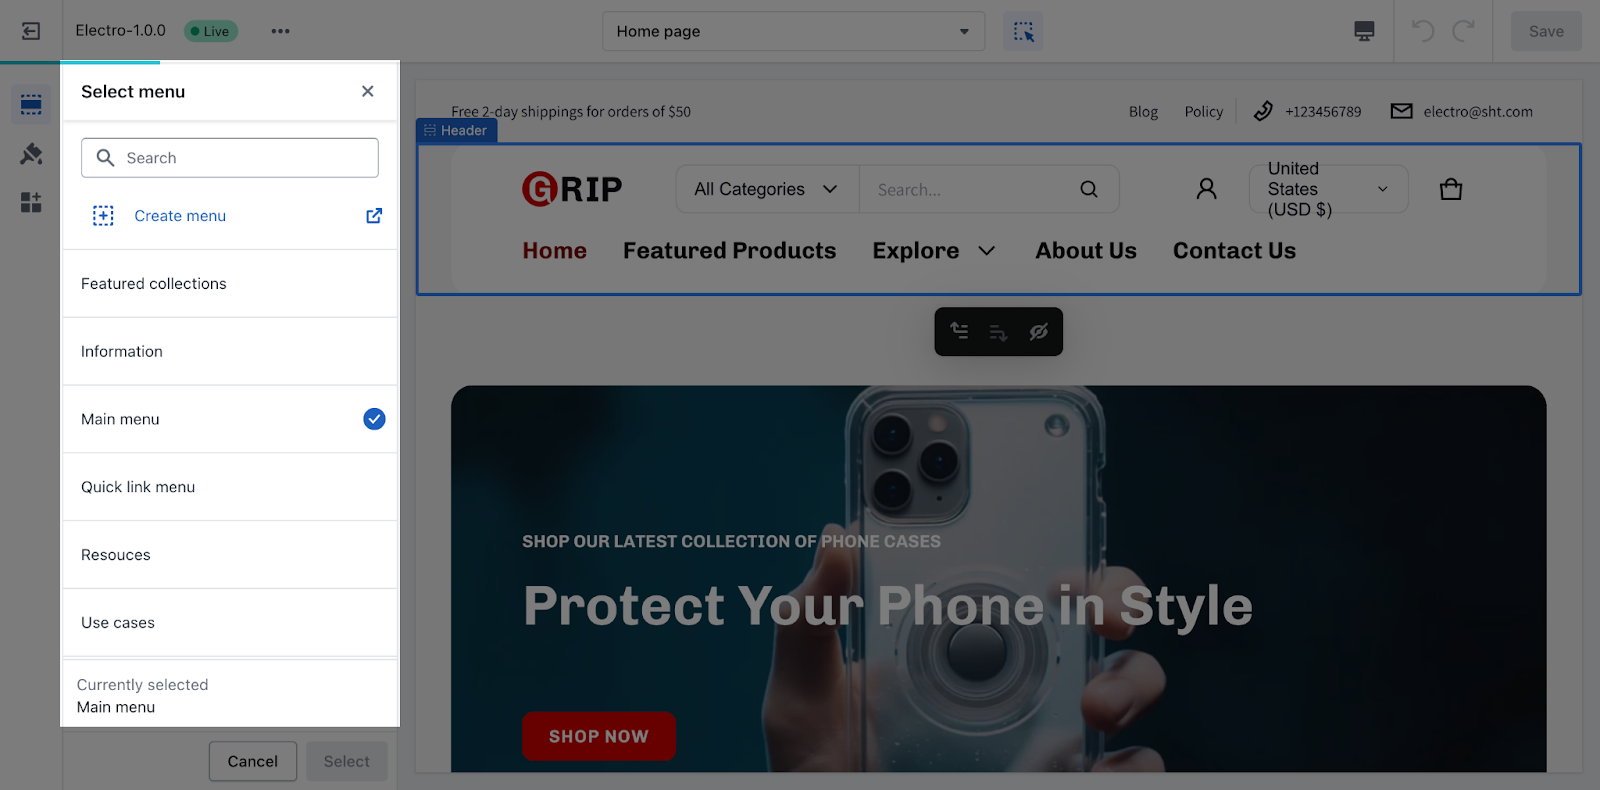
- Remove menu: remove the selected menu immediately.
Edit Currency Selector
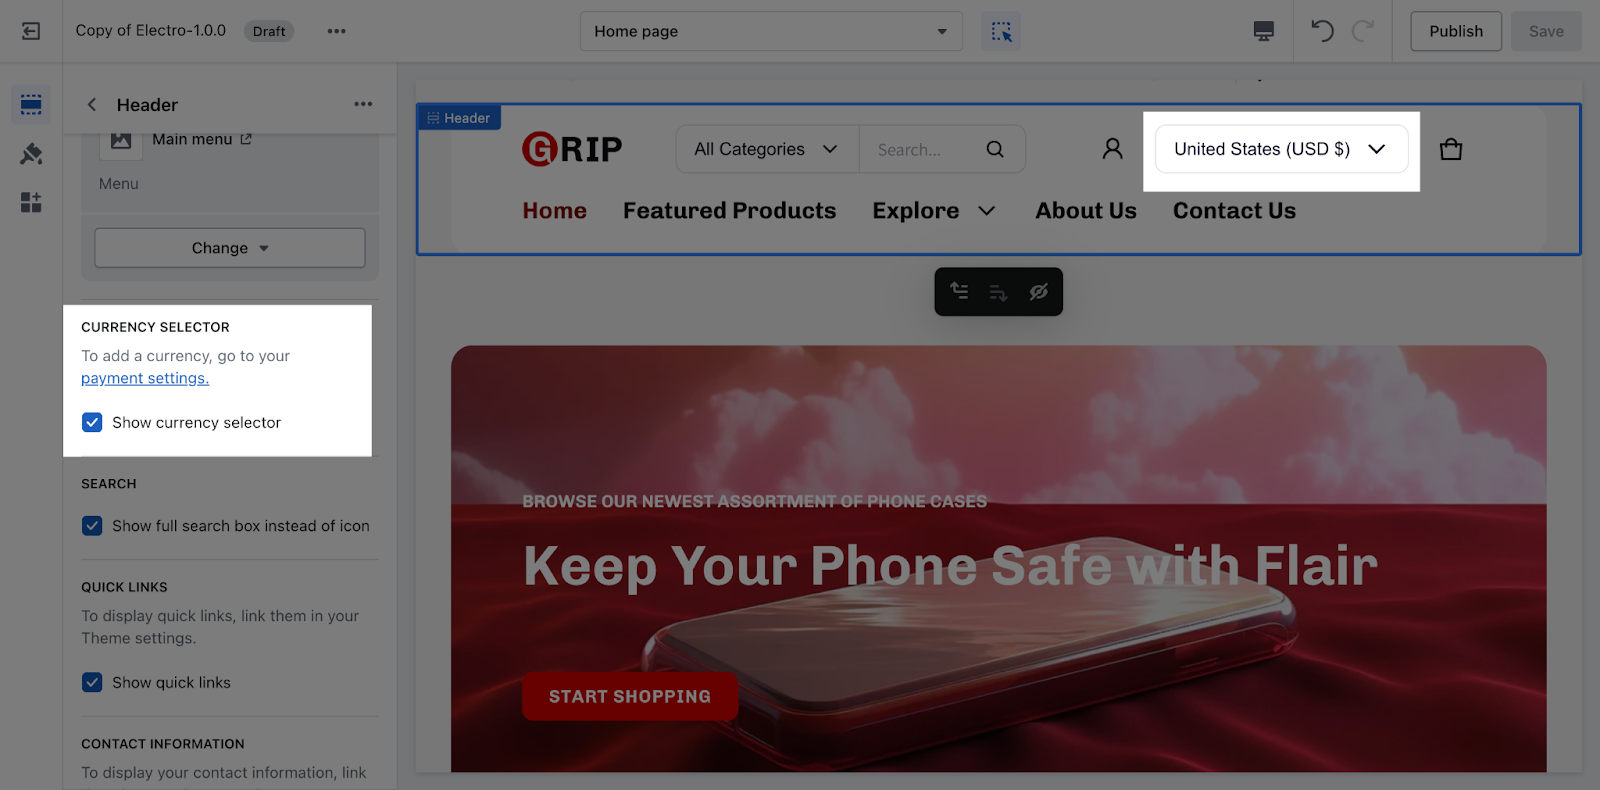
To enable the Show currency selector here, first, you need to add the currency in your Shopify store’s payment settings.
If the currency selector has been enabled, it will be displayed in the header, allowing customers to choose from the added currencies.
Edit ‘Search’ Button
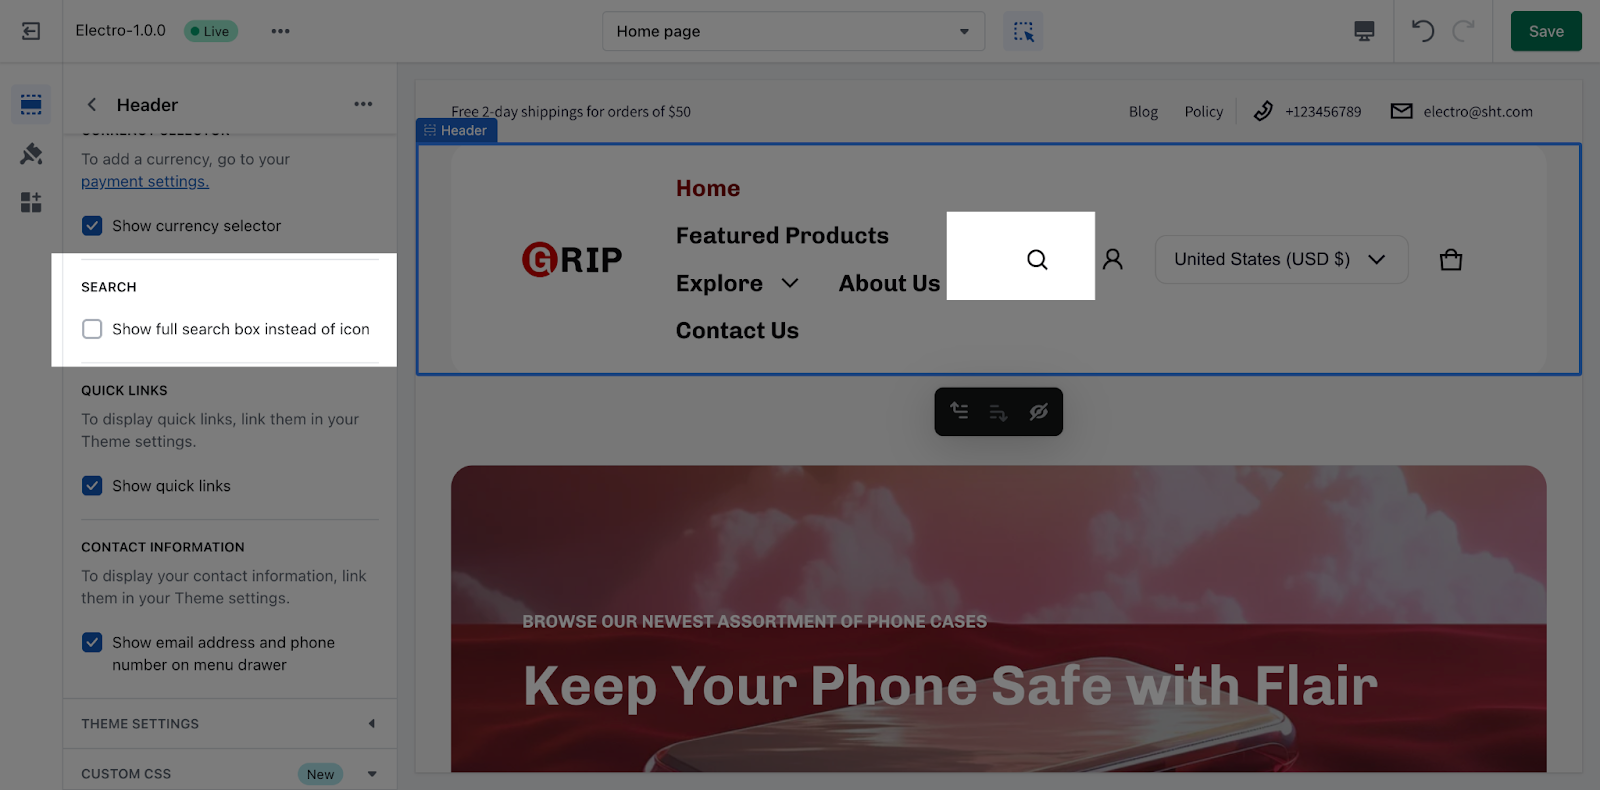
You have the option to enable the full search box, which will display the entire search box rather than just an icon.
- If you disable full search box, the header just show the search icon, as shown below:
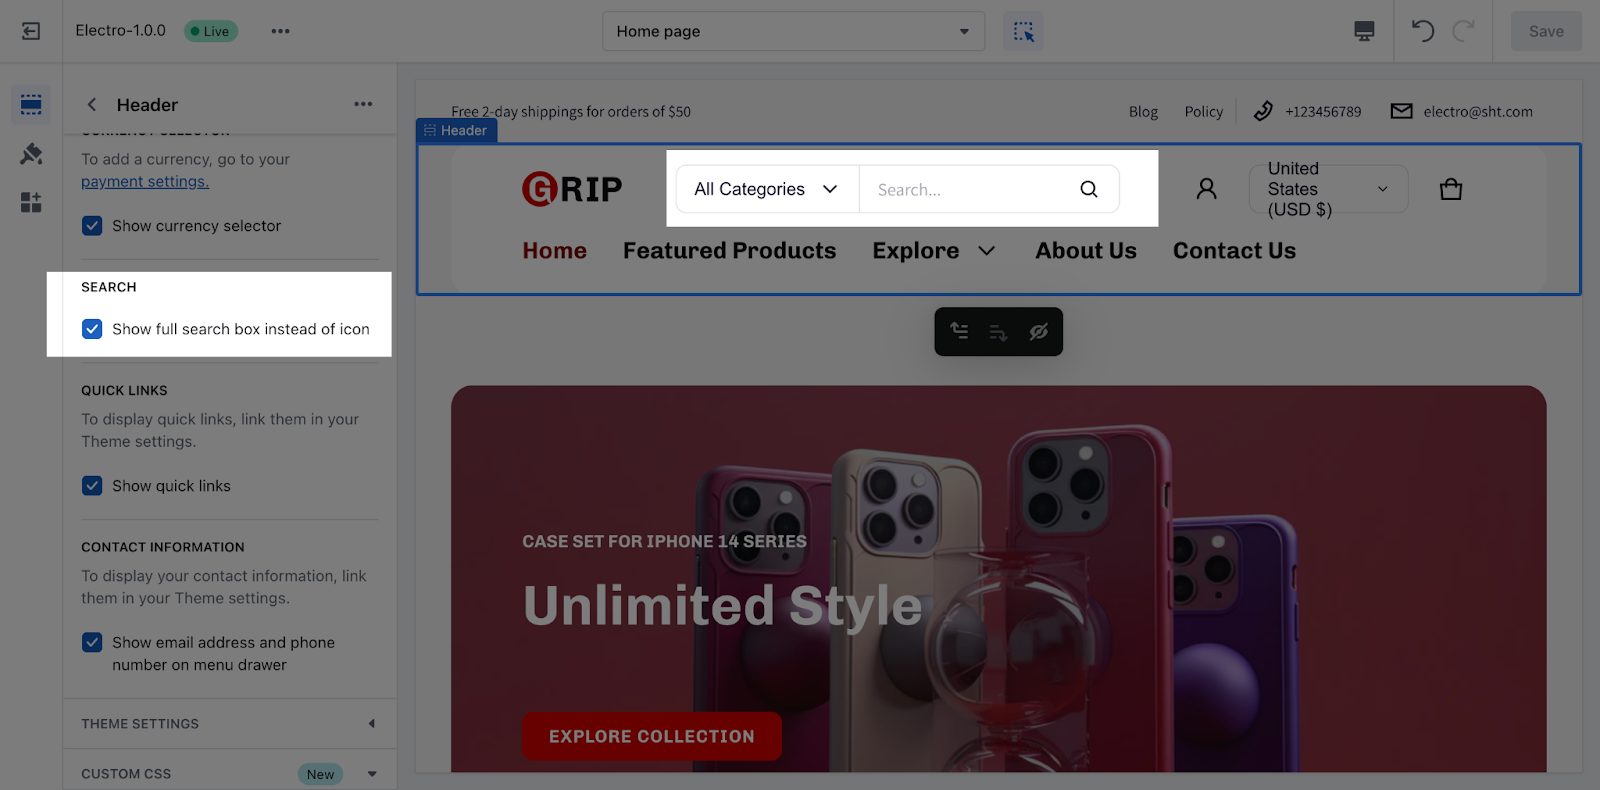
- If you enable the full search box, the header will display the complete search box and its accompanying icon, as shown below:
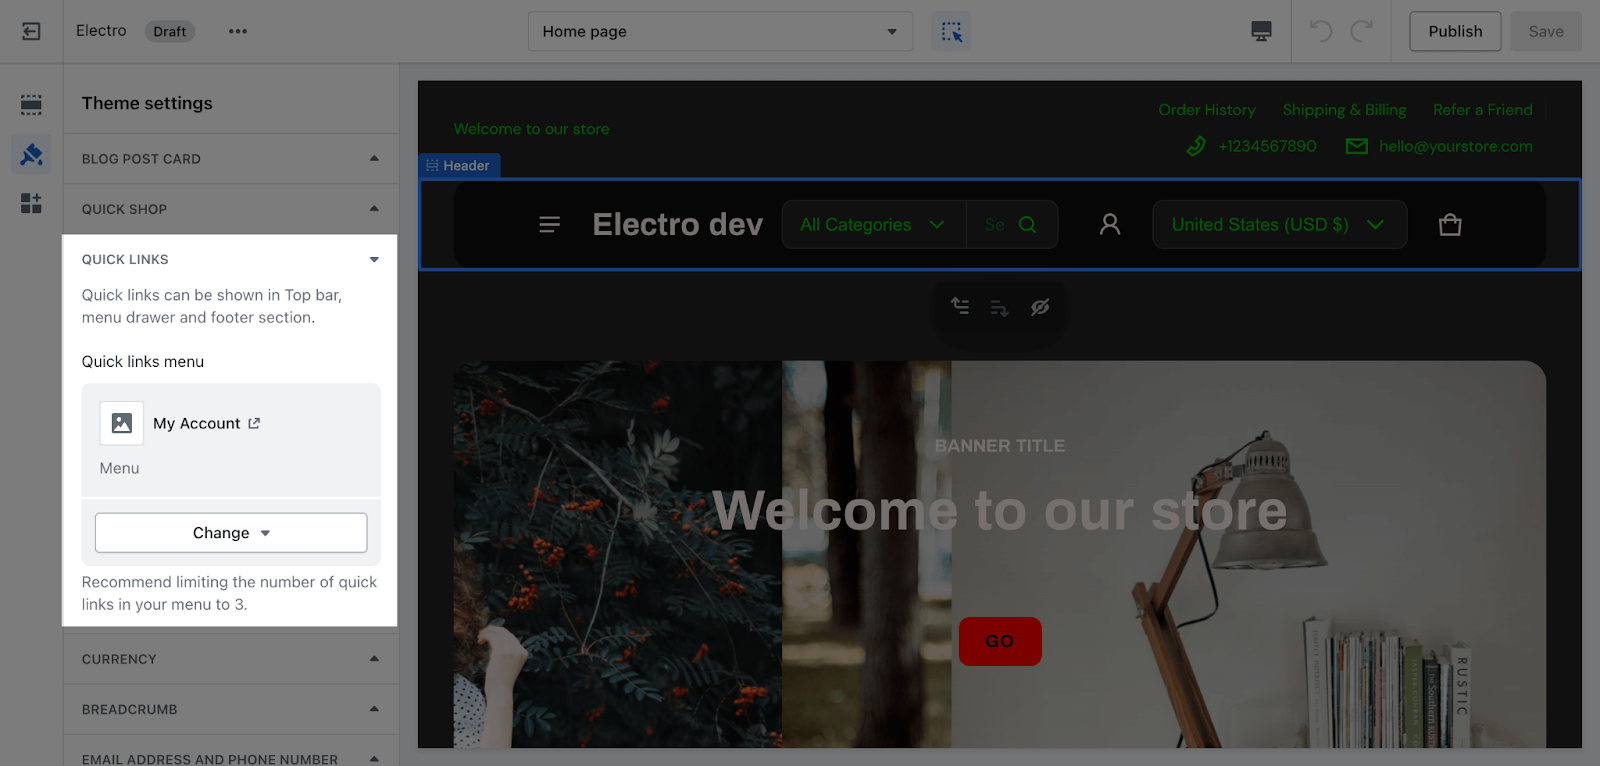
Edit Quick Links
You can Show quick links on the menu drawer here. Please note that you have to set up the quick link from theme settings first.
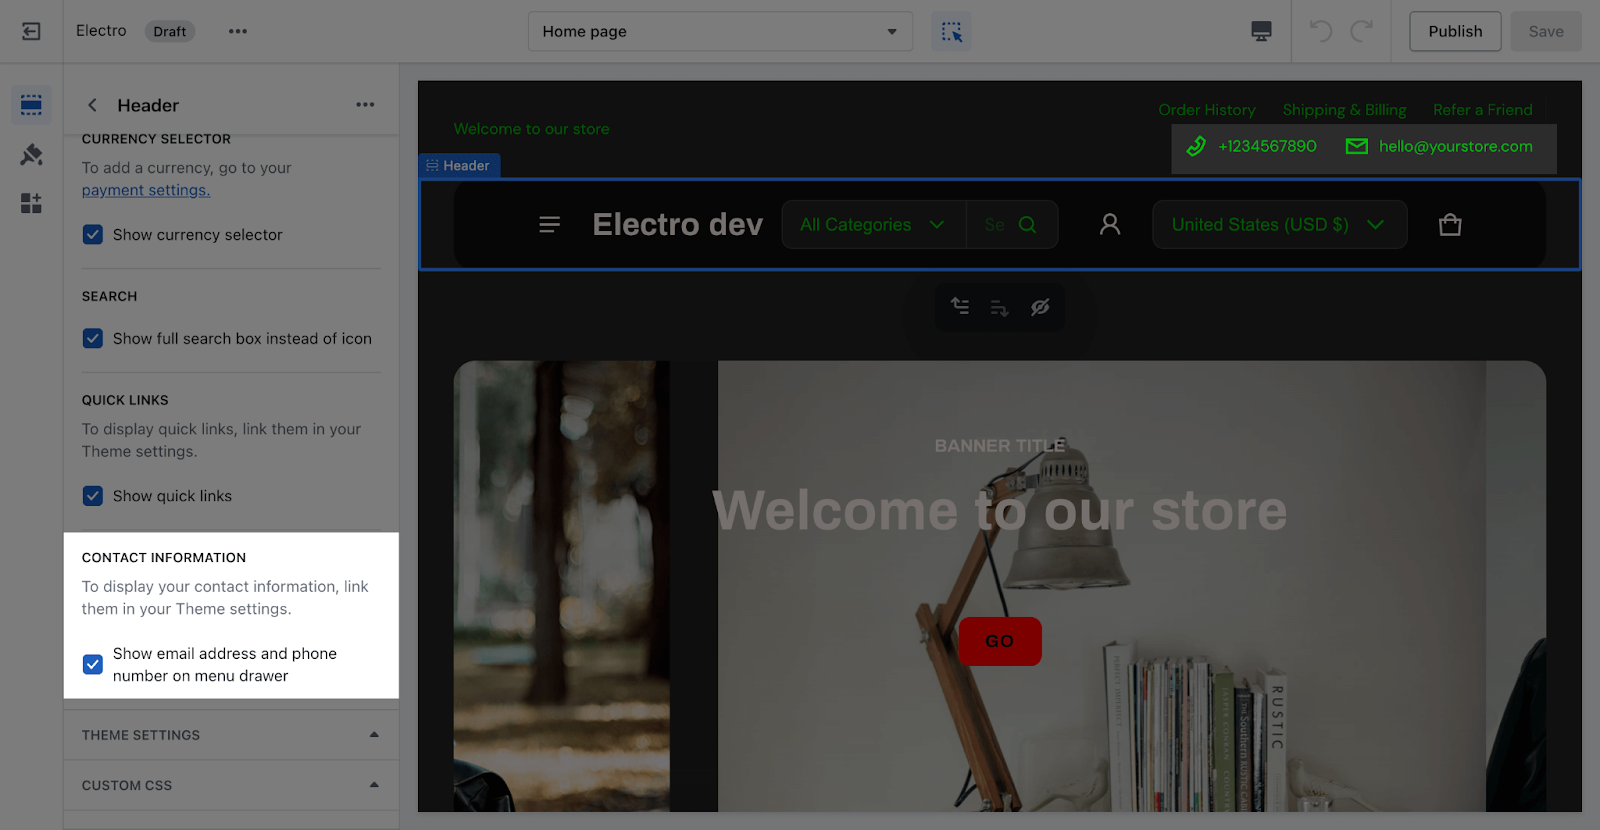
Edit Contact Information
At this part, you can enable or disable the Show email address and phone number on menu drawer. Please note that the email address and phone number which have been set up from Theme settings.
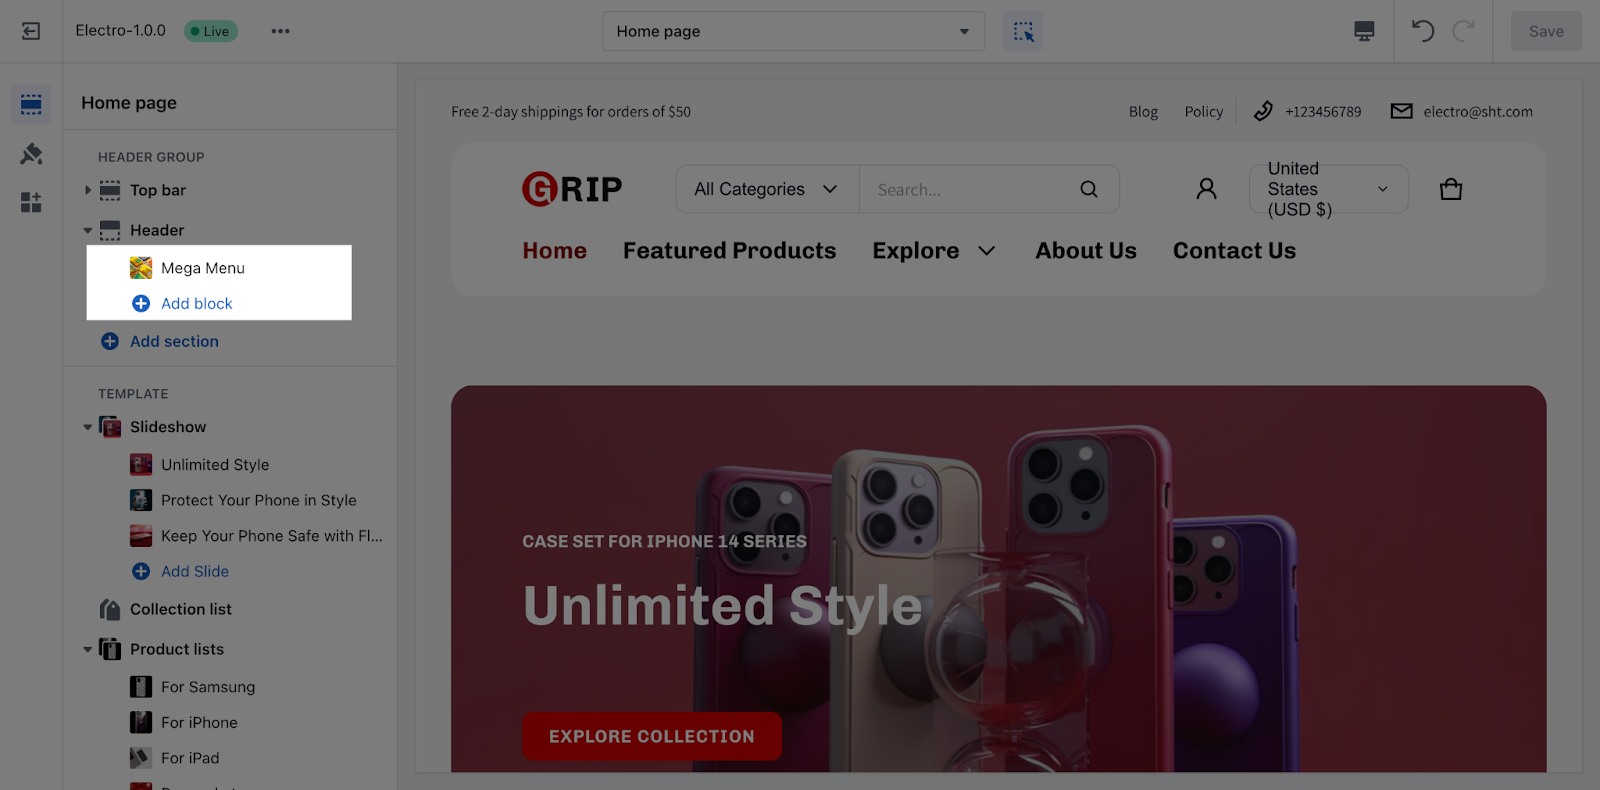
Edit the ‘Mega Menu’
The mega menu is a dropdown menu that can display a list of child menu items under a parent menu item. With the Electro theme, you can add up to two blocks with image backgrounds and headers to showcase products, collections, or any page on your store. In the header section, you can add multiple mega menus.
Note: To create child menu items, go to your Shopify admin > go to Online store > Navigation > Menus. Drag and drop child menu items into the parent menu item.
To adjust the settings for a mega menu in the Header section, click on the mega menu.
The Menu item name here must match the parent Menu item name in Shopify menus in order to appear in the header. You can change name or add more menu items by accessing the Shopify admin > Online store > Navigation > Menus.

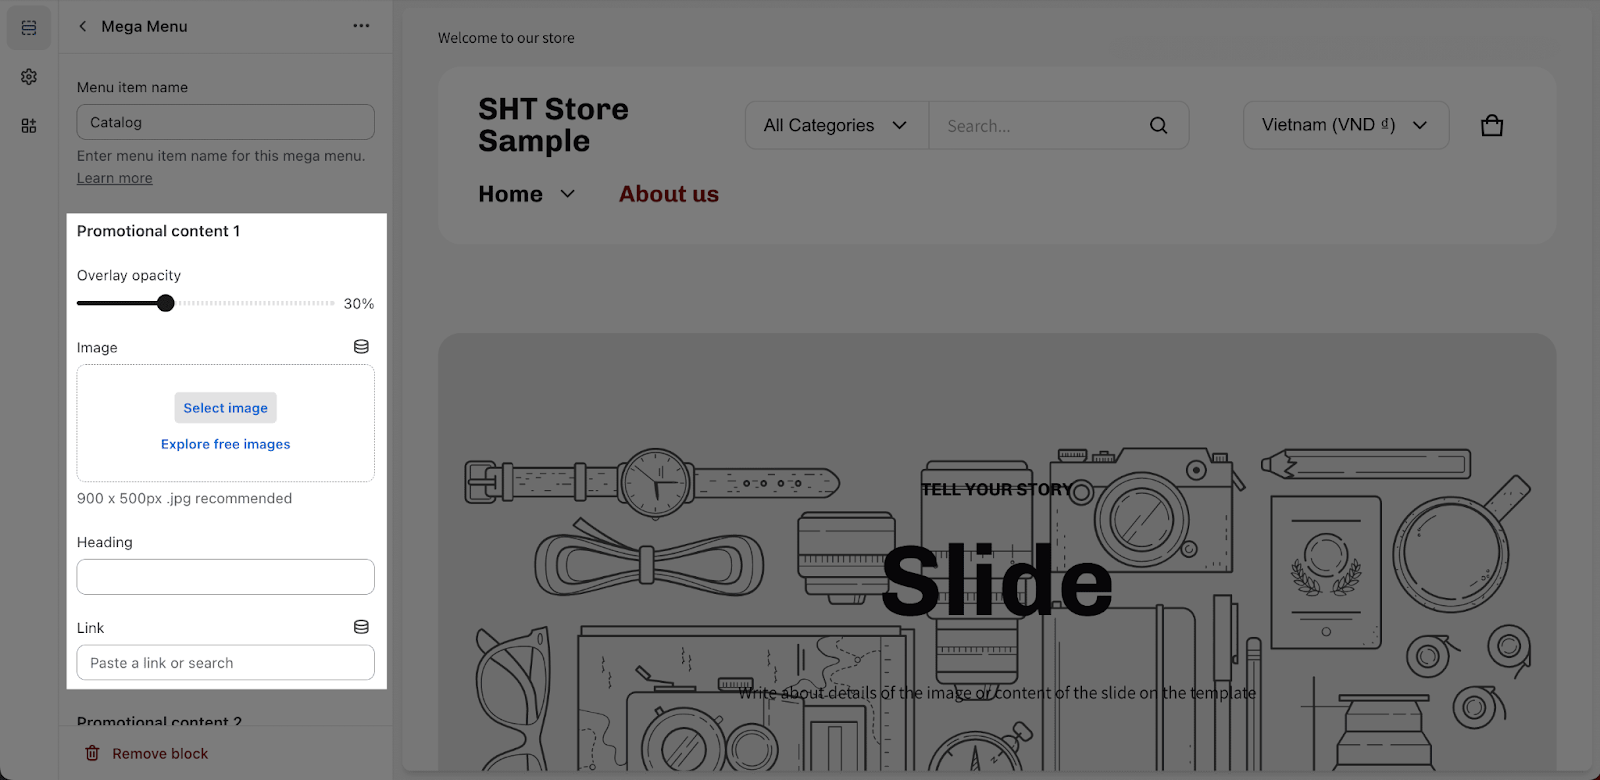
In the Promotional Content, you can set up an image background, overlay opacity, heading text, and a link for the block.
- Overlay opacity: You can adjust the opacity of the overlay image. This will allow you to see the text and other content behind the image.
- Image: The recommended dimensions for the image are 900 x 500px for best quality. To add an image, you can click the Select image button to choose an image from your store library or upload your own image. You can also click the Explore free images button to choose an image from Shopify’s free image library.
- Heading: You can insert the heading text by filling in the designated field. You also have the option to add a direct link to the heading. If you want to remove the heading, simply delete the text in the heading field.
- Link: You can select the page where you want to redirect visitors to by entering the URL in the Link field.
The settings for Promotional Content 2 are totally the same as the first one.
Check this video tutorial below to learn more:
Frequently Asked Questions
What is a website header?
A website header is a visual typographic strip, a menu which typically runs across the top of a website. This is the default section on every page
What are the basic components of a header on a website?
Basic assets, including brand name lettering, slogan or company statement, corporate colors, company basic information, list of products and services are available in your store, along with clean and clear navigation. With the Electro Header, you can add so much more than the basic items!