How to use Electro Blog Post Template
About Blog Post Template
The blog post template controls the look and feel of blog posts on your Shopify store. You can customize it to make your blog posts more professional and engaging.
The default Blog post template has a single section called Blog Post. This section cannot be removed, but it can be hidden. You can freely add or remove any other sections to the blog post template.
How To Access Blog Post Template
To access the Electro Product Template, follow these two simple steps:
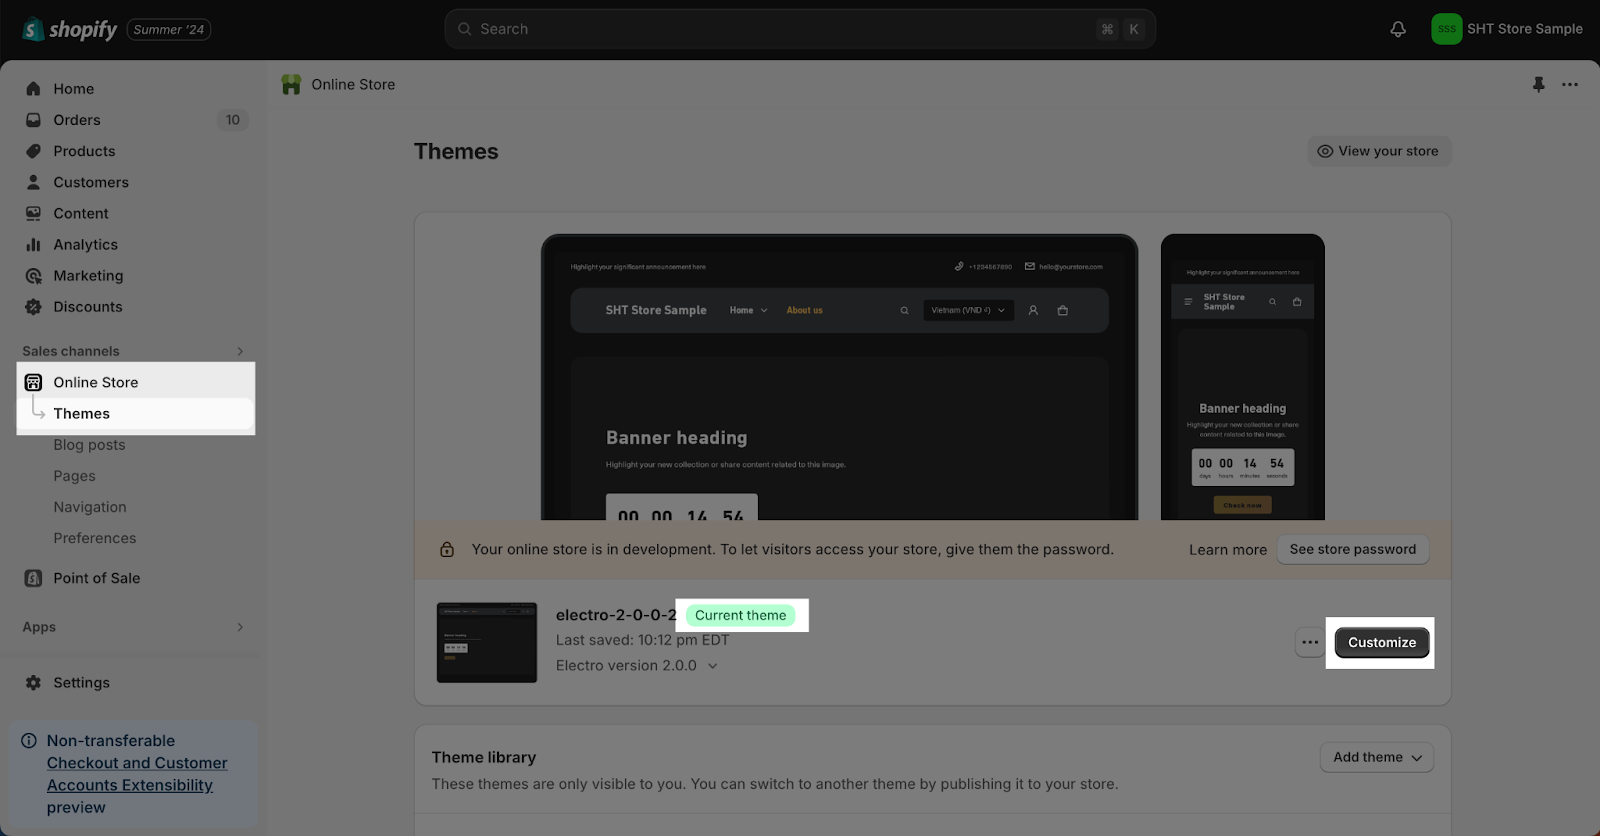
- Step 1: In your Shopify Admin, click on “Online Store”, then under “Current theme”, click the “Customize” button.
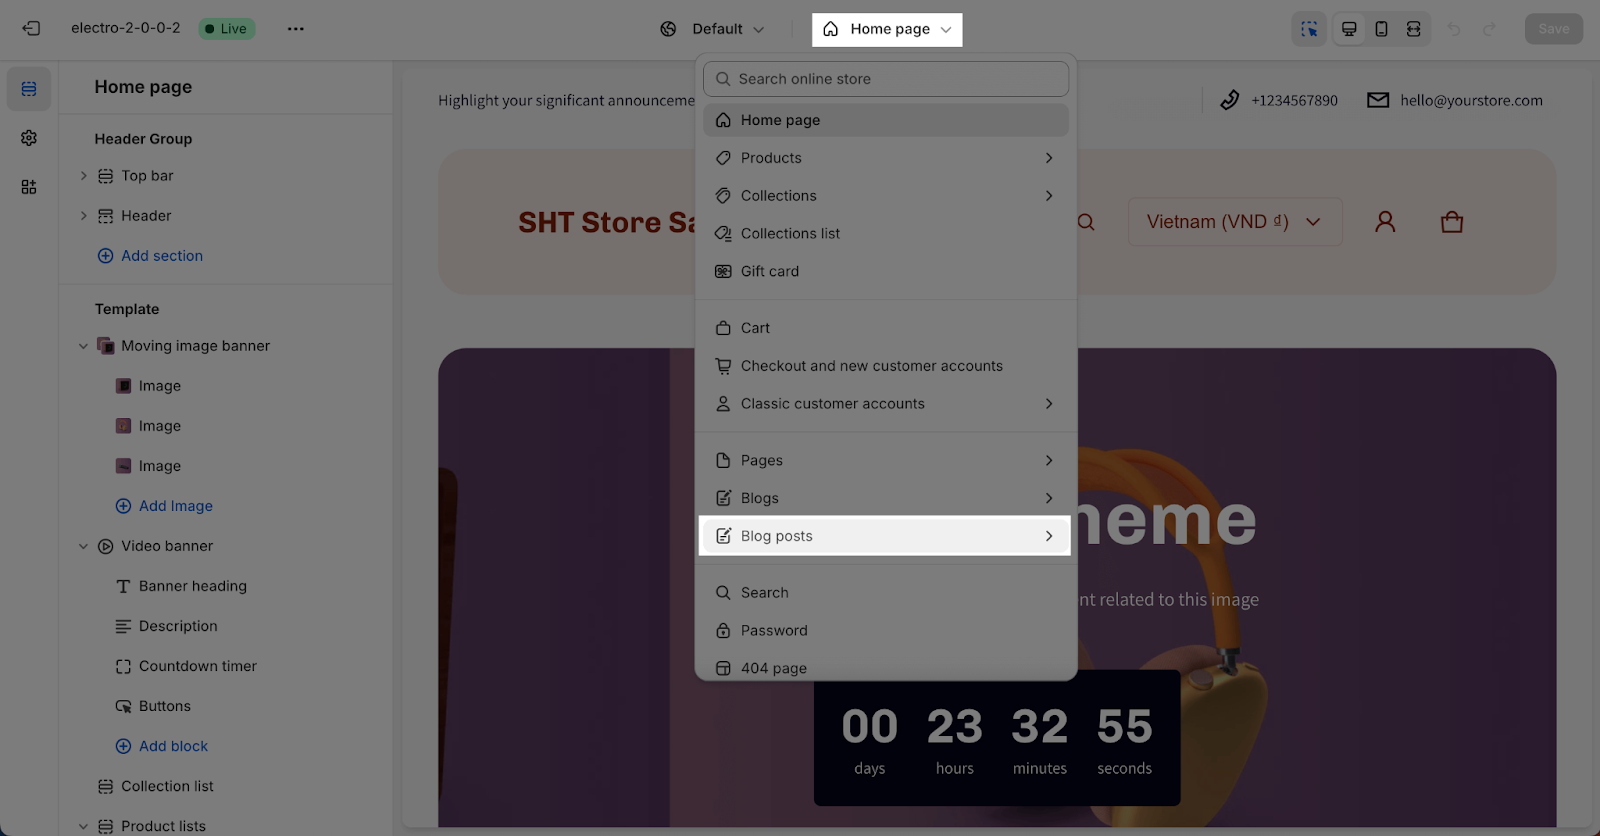
- Step 2: In the Theme Editor, click the page type dropdown menu and select “Blog Post”.
How To Configure Blog Post Section
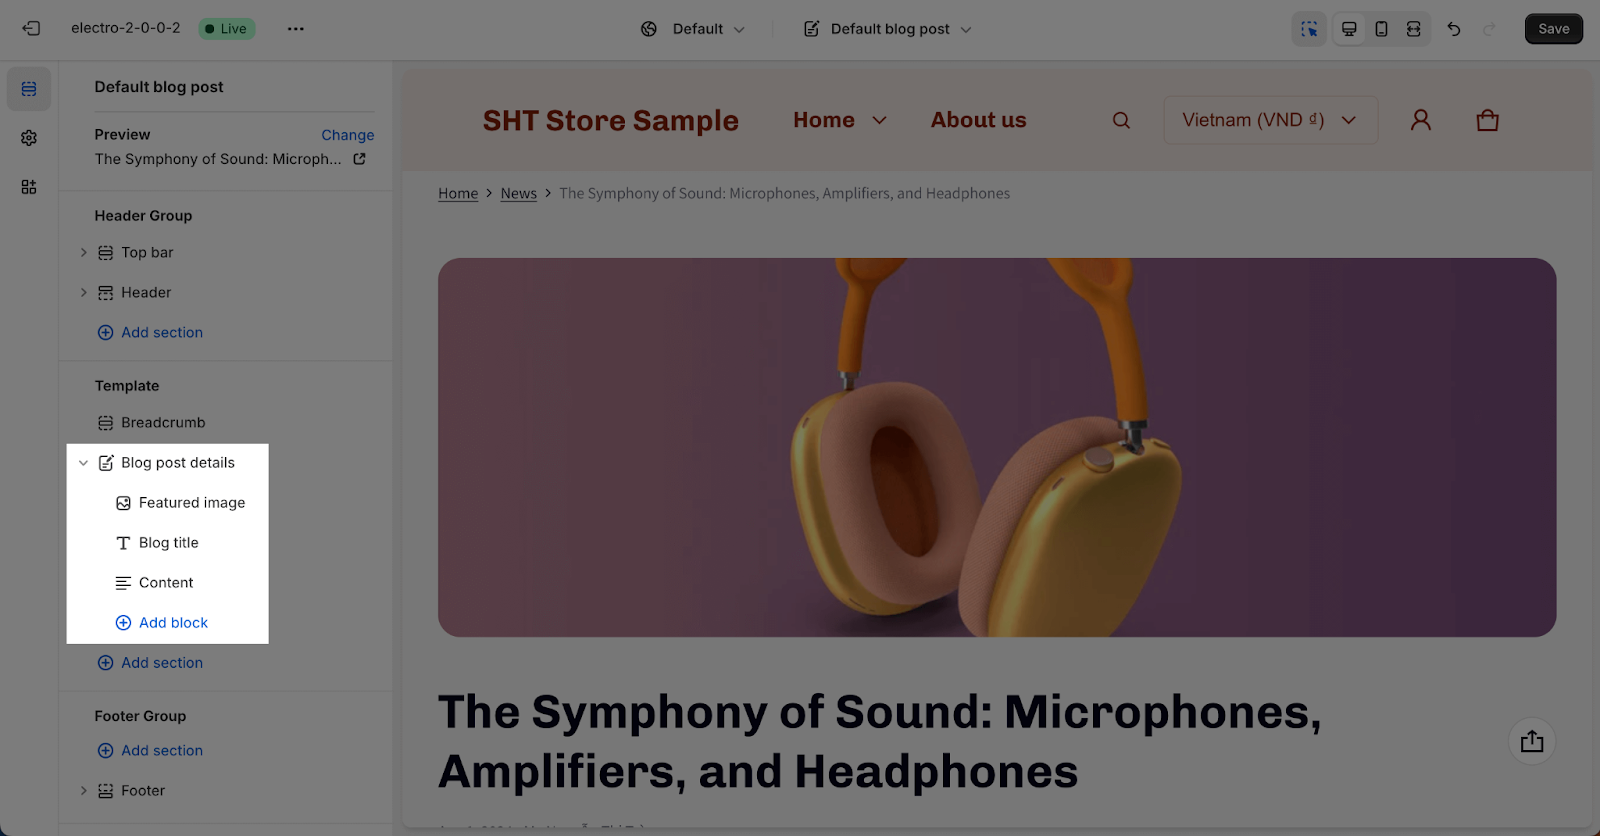
The Blog Post section has 3 default blocks: Featured Image, Blog Title, and Content. Each block can only be used once in the same section. If one element has been added, you will not be able to add more elements of the same type.
The Blog Post section does not have any additional settings.
To customize a block in the Blog Post section, click on the block you want to edit.
Feature Image
Image in this section is automatically taken from the Blog Post image. To change the image, go to the Editor of your Blog Post on Shopify Dashboard.
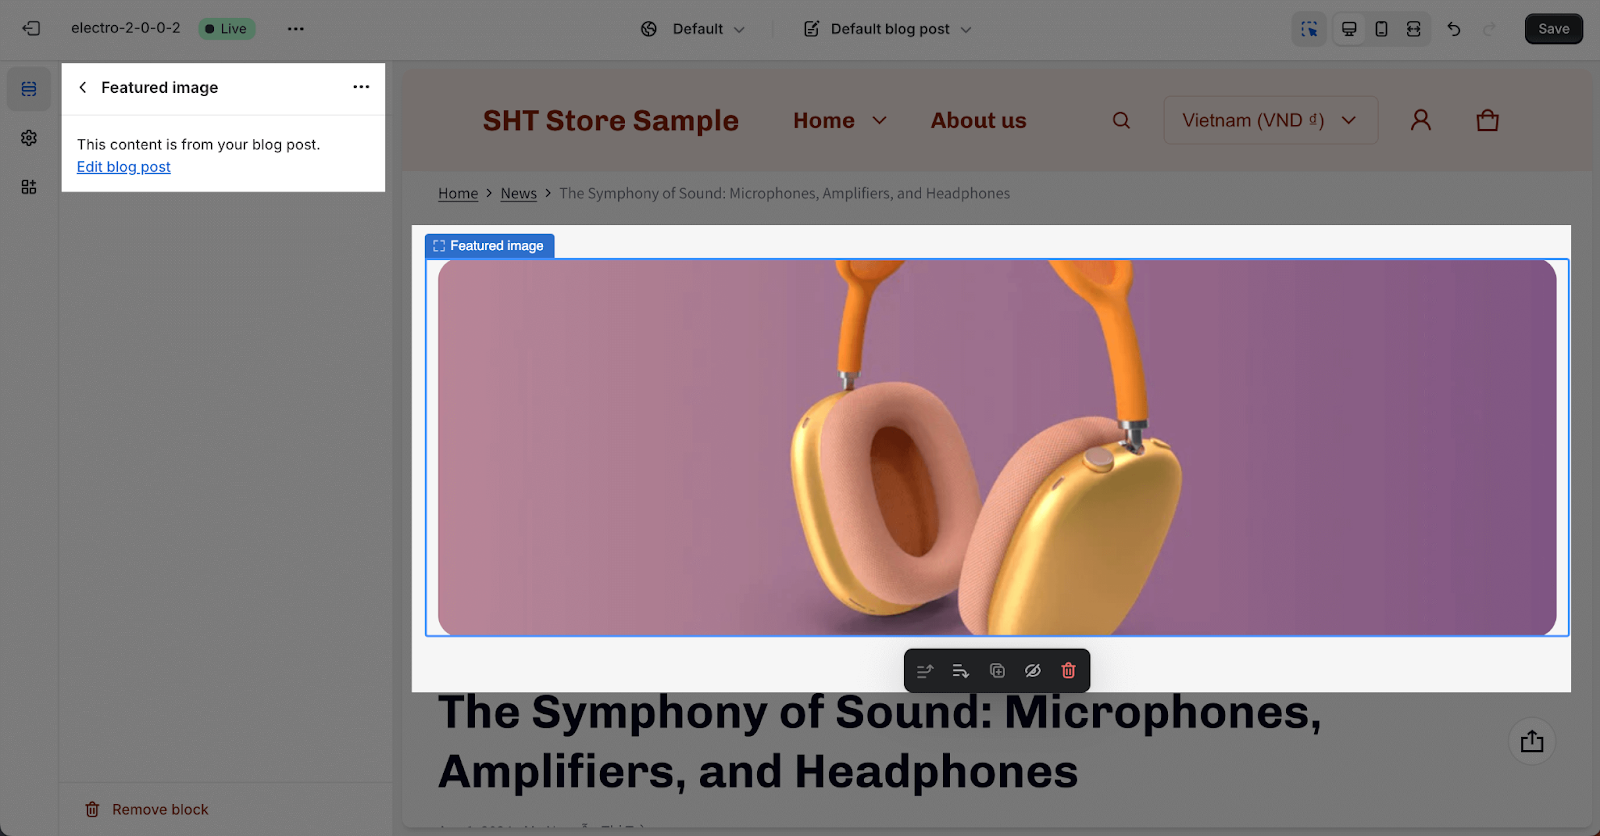
In Electro theme, the Image height and width is set to be fixed by default according to the devices:
- Mobile: 35vh and full width
- Tablet portrait: 50vh and container width
- Desktop regular/ tablet landscape: 50vh and 10 cols
- Desktop large: 50vh and 10 cols
Blog Title
For the blog post title, you can choose the heading size from Headline, H1, H2, or H3. The size of these headings will be based on the Base text size that has been set up in Theme settings > Typography.
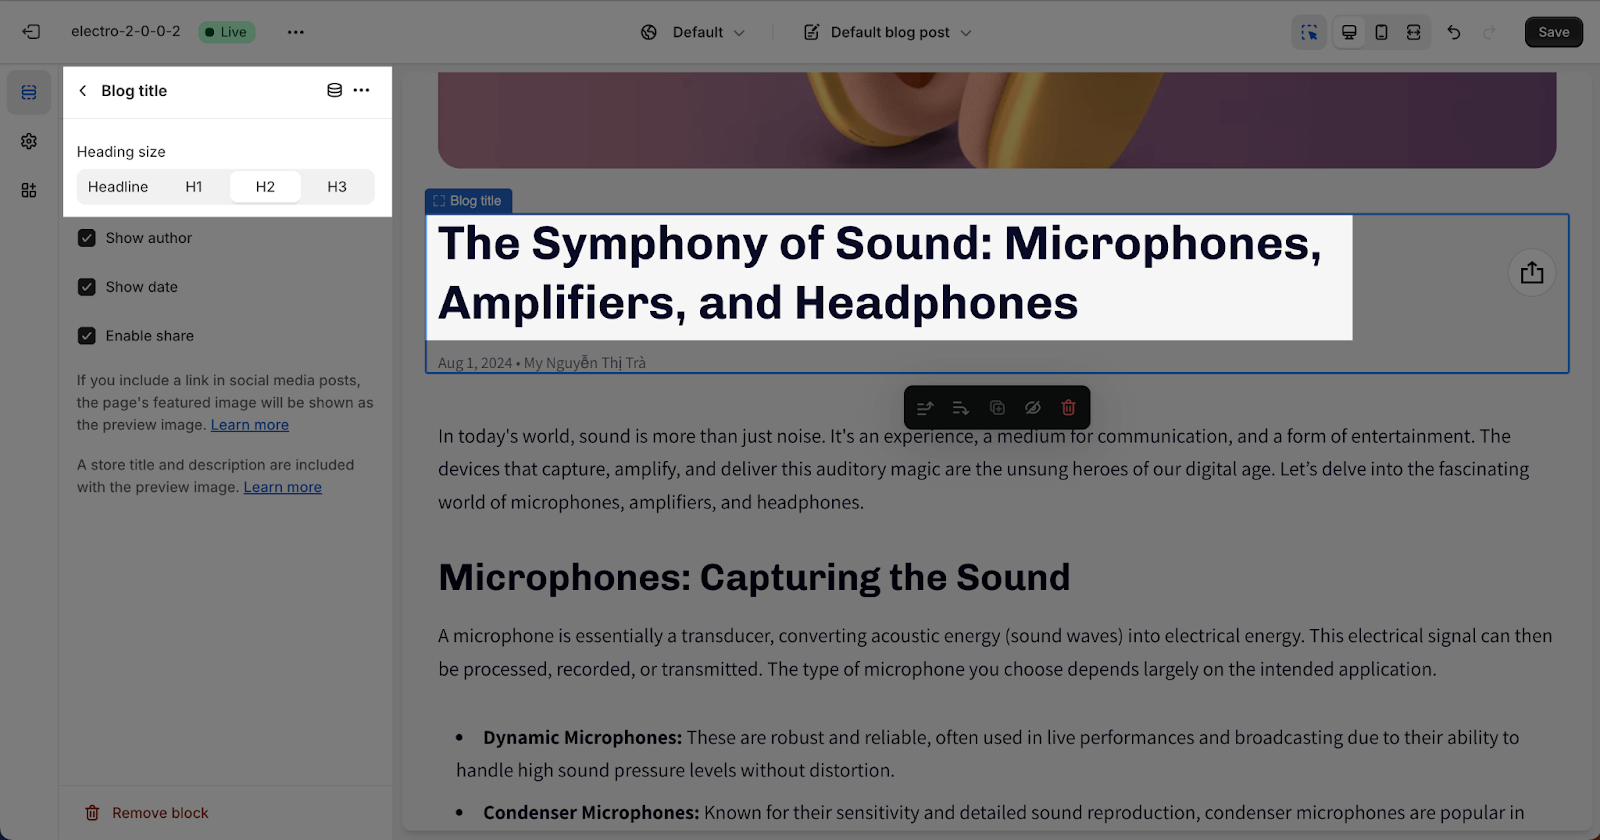
You can also choose to show or hide the author, date, and share icon.
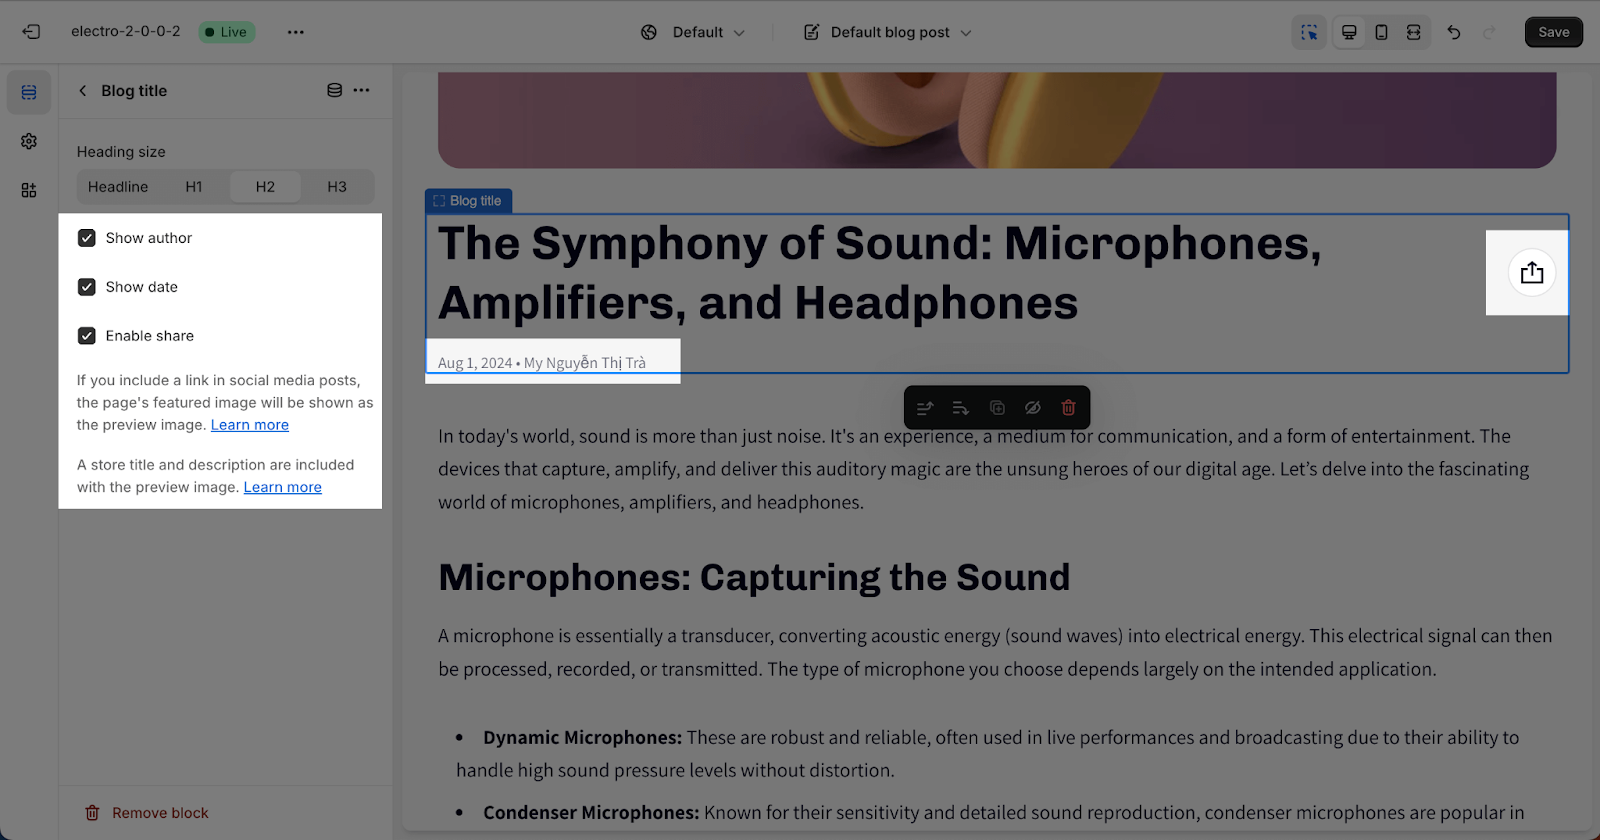
When the share icon is enabled, there are options to share the blog post on Facebook, Pinterest, Twitter, email, or copy the link to share on other channels. You can change the links for these social media platforms in the Shopify admin dashboard.
Content
The content block contains the following:
- Texts: The text of the blog post.
You can choose the Blog post text size from 18 to 22px.
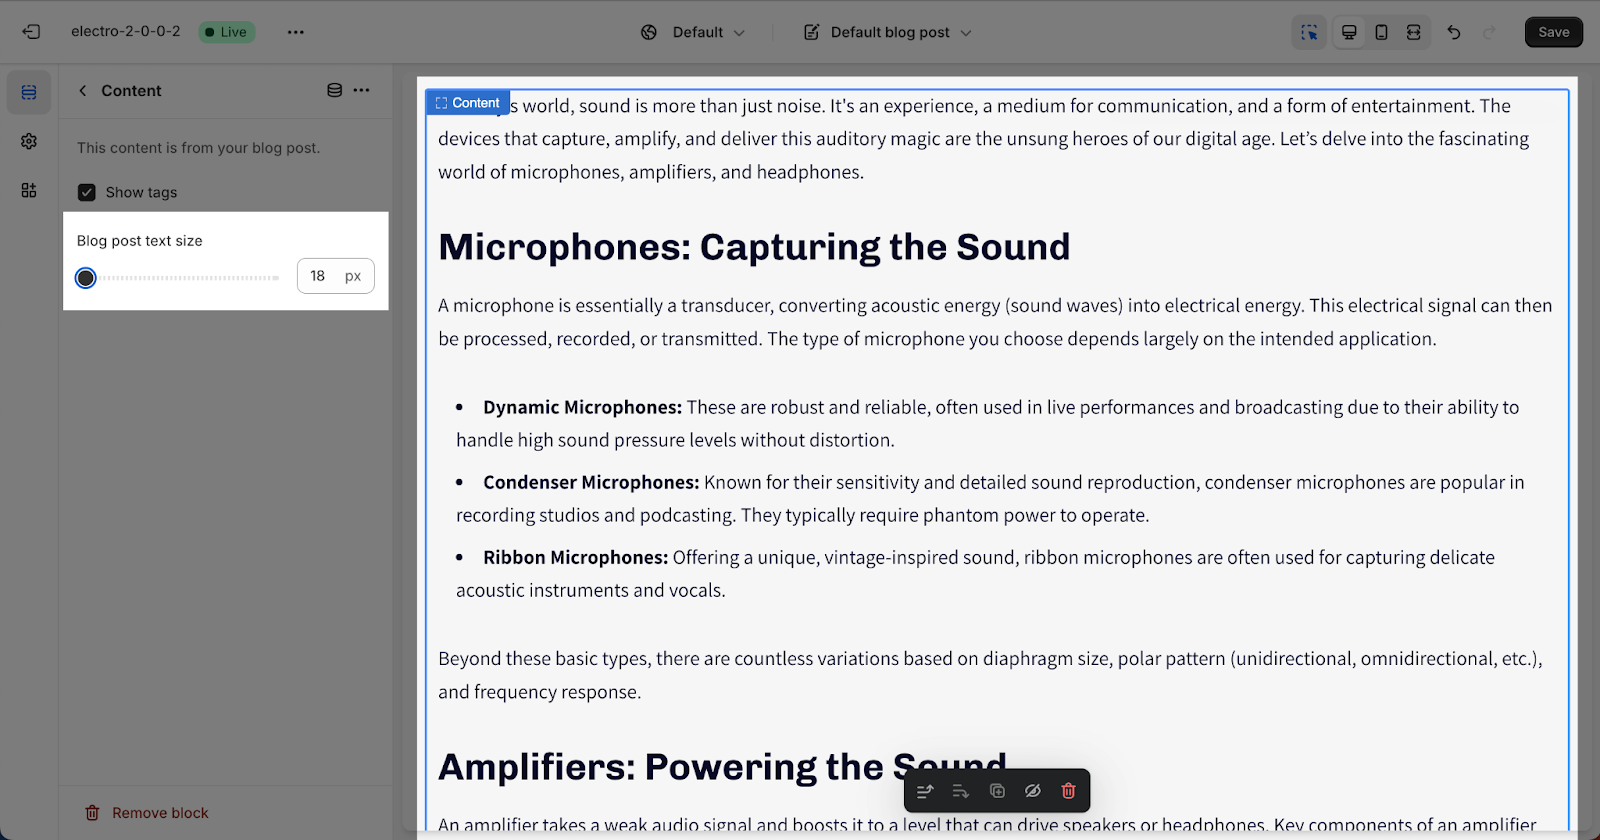
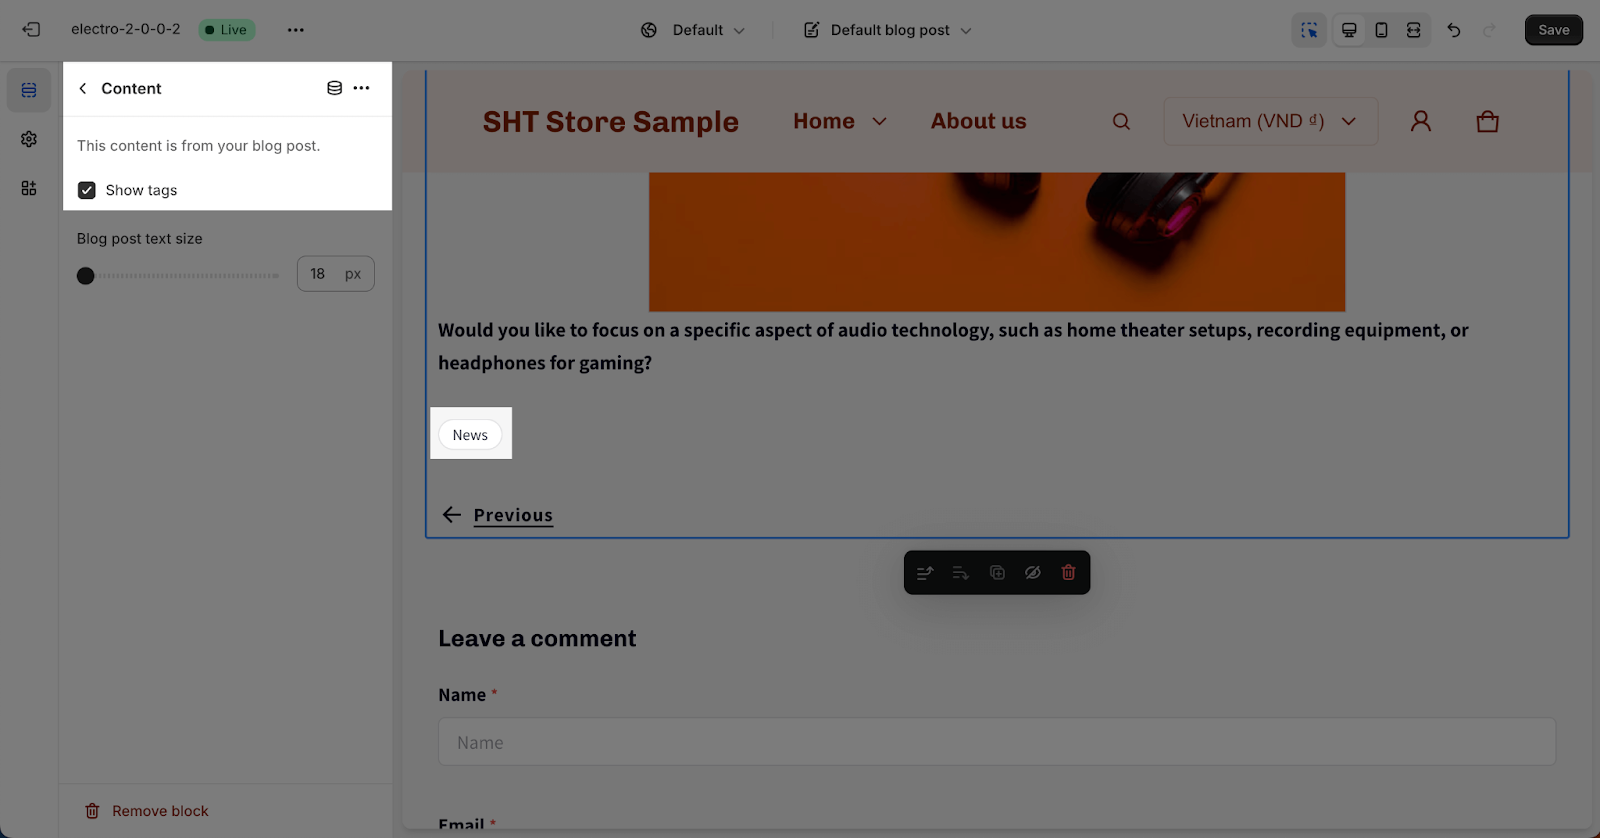
- Tags: The tags associated with the blog post are displayed at the bottom of the text content. If the tags exceed the container, they will be broken into new lines. You can select each tag filter to display articles containing that tag.
You can choose to display or hide it by selecting the Show tags option.
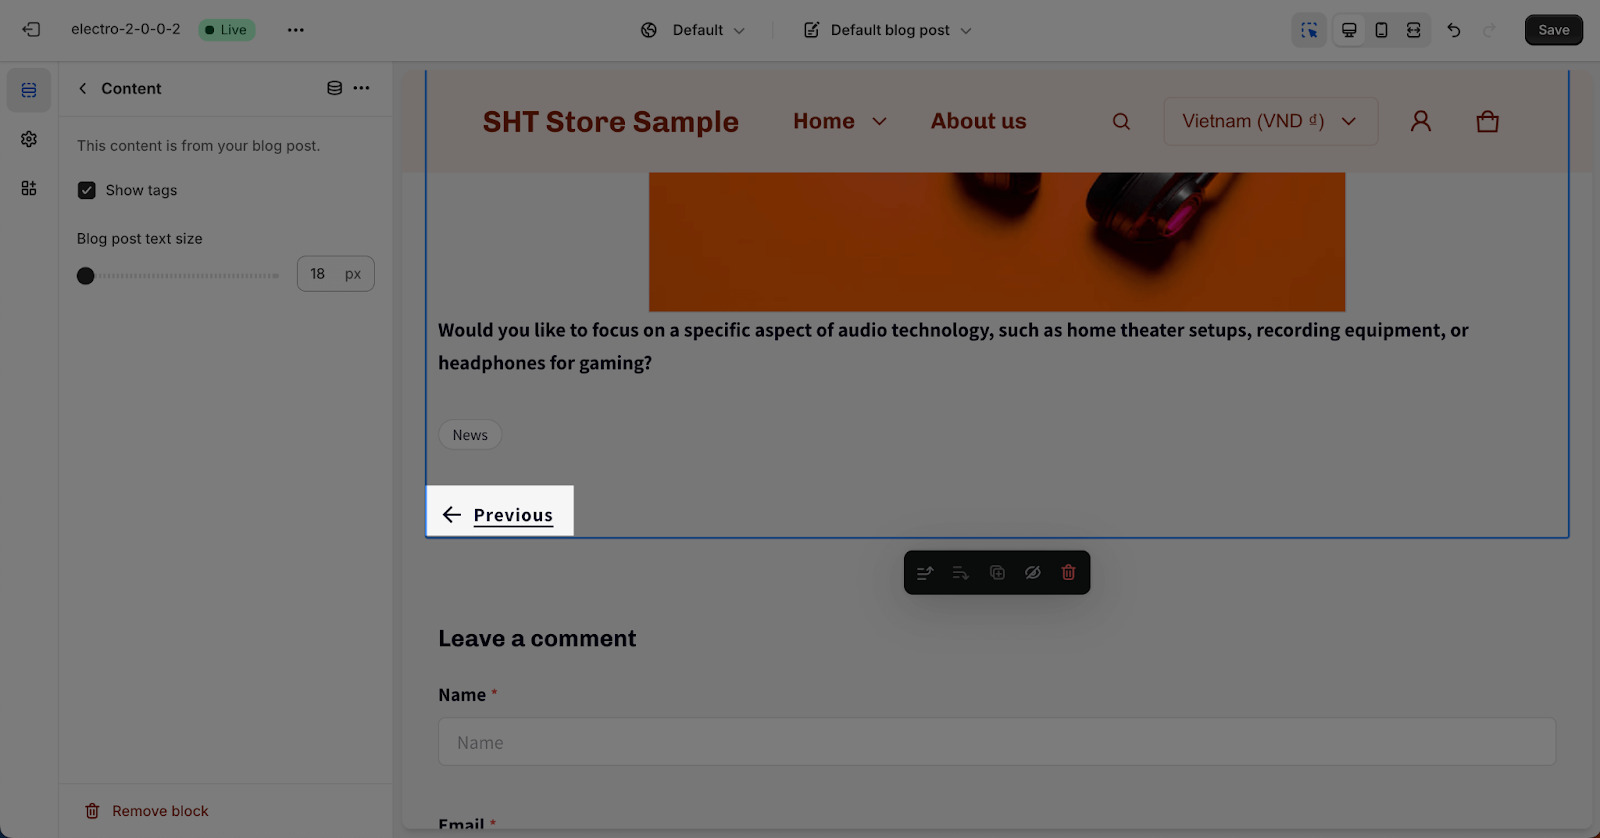
- Navigation: The previous and next buttons that allow users to navigate between blog posts. These buttons only show if the user has more than one blog post. The content will be auto-inserted into the blog post content.
Common Cases
Disable The Comment Section
The comment section where users can leave comments on the blog post. Comments are displayed in chronological order. The comment section will be auto-inserted below the blog post content.
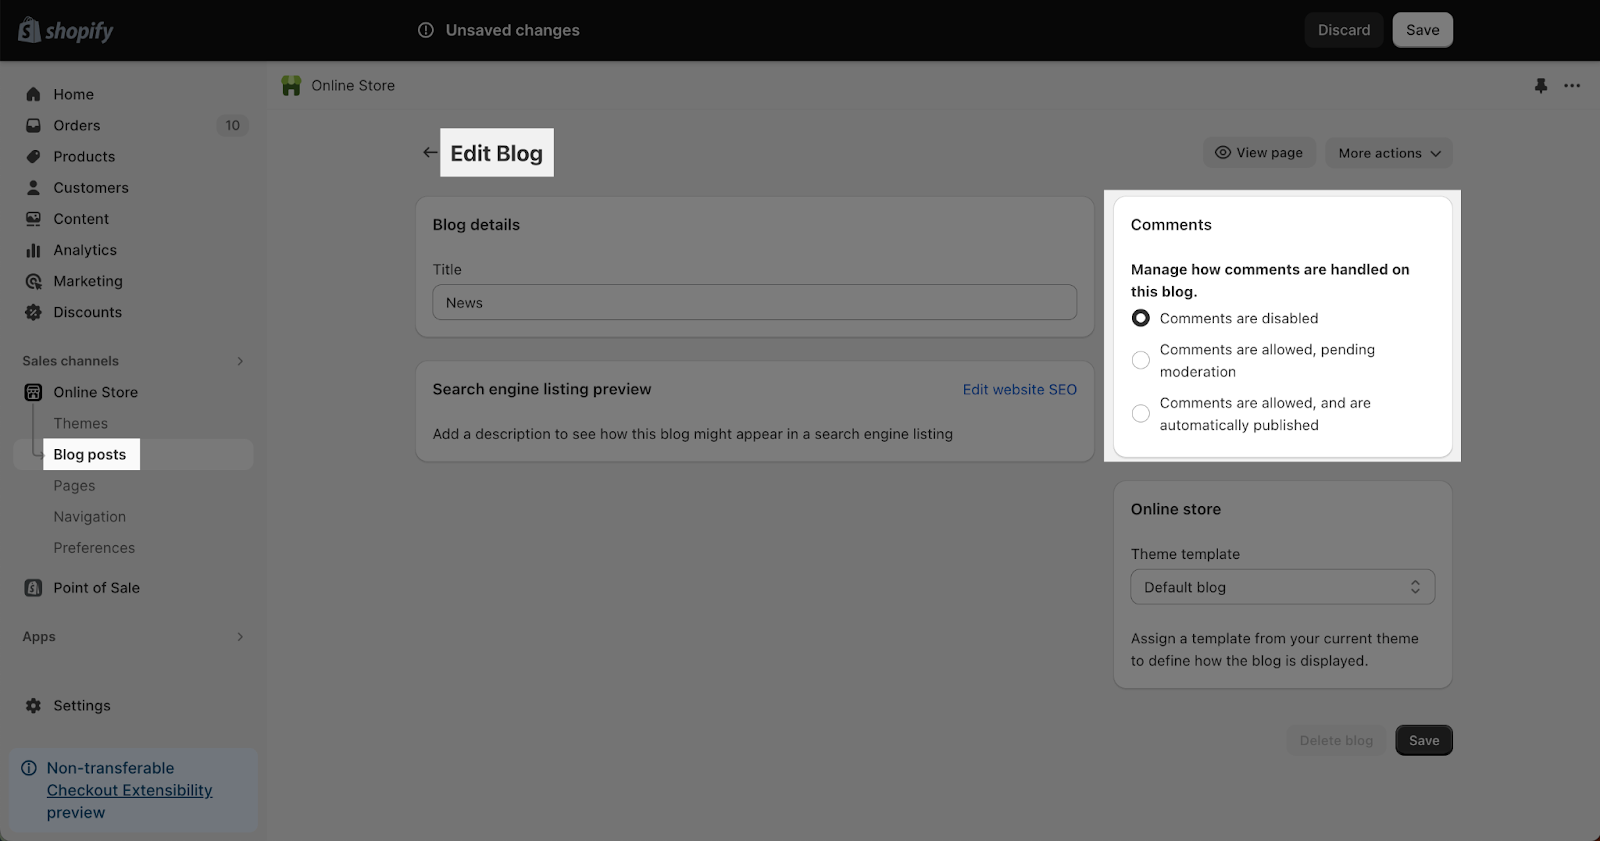
To disable comments on a blog post, follow these steps:
- Go to your Shopify dashboard.
- Click on the Online Store.
- Click on Blog posts.
- Click on Manage comments.
- Click on the name of the blog that contains the blog post you want to disable comments for.
- In the Comments section, select the option for “Comments are disabled”.
- Click on Save.
Frequently Asked Questions
1. Can I customize the text size of the blog post content?
Yes, you can choose the Blog post text size from 18 to 22px.
2. How are tags displayed in the blog post?
Tags are displayed at the bottom of the text content. You can choose to show or hide them.
3. Why does my blog post don’t have the Comments section?
The Comments section will be added automatically on the blog post if you have turned on the Comments for the Blog. To add a comment section to a blog post, you need to go to the Editor of your blog in the Shopify Dashboard.