How to Edit Electro Content Collage
About Content Collage Section
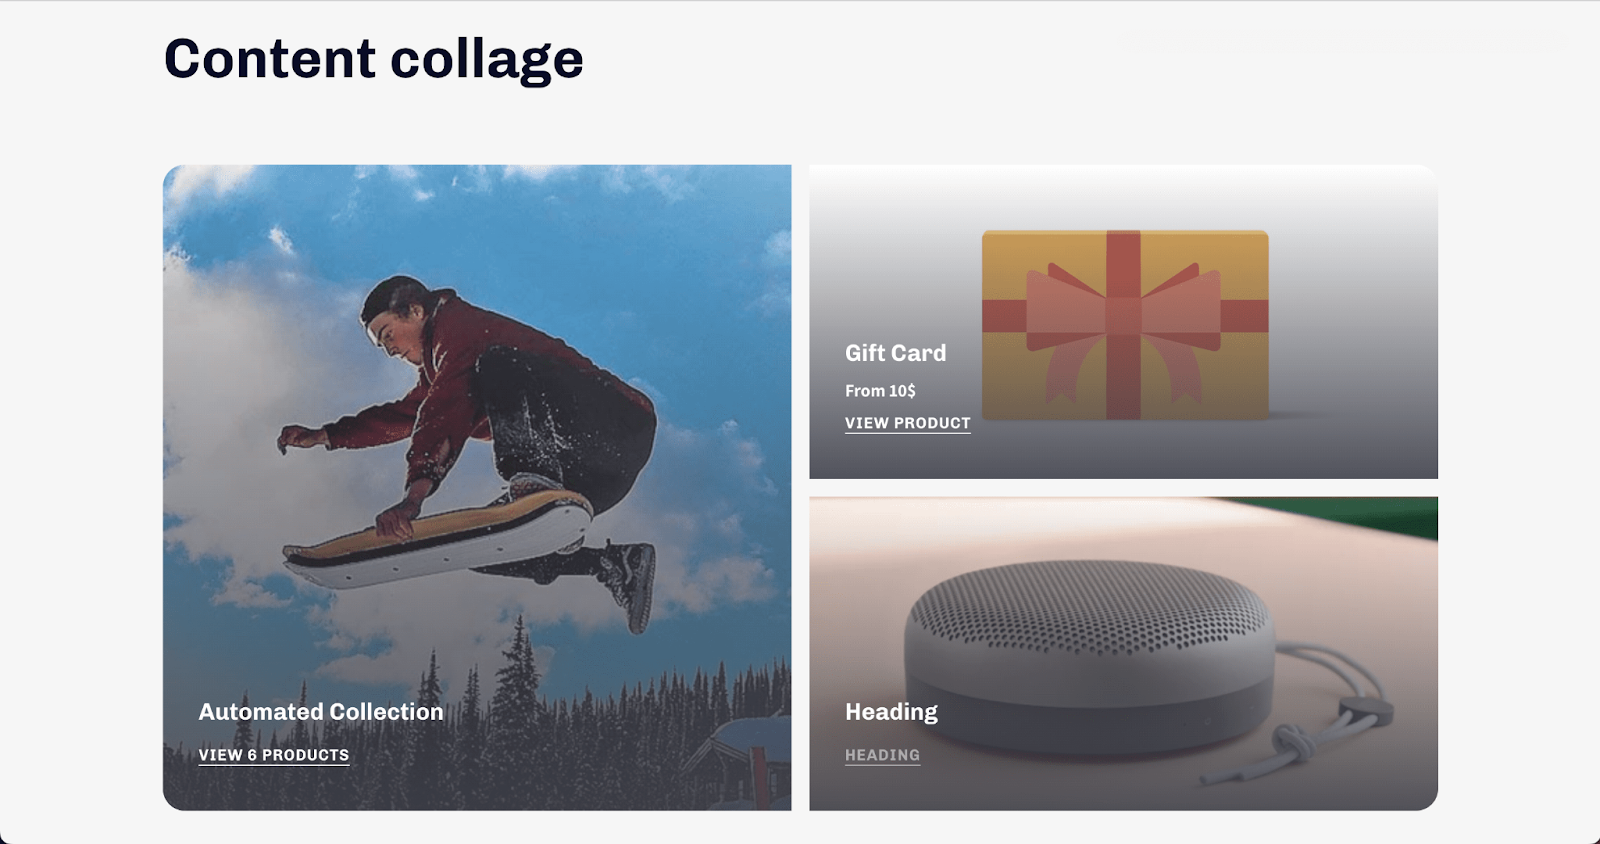
The Content Collage section in the Electro Shopify theme is a great way to show different types of content on your website, such as images, collections, and products. You can easily customize this section to create a layout that fits your needs.
How To Access Content Collage Section
- Step 1: Go to Online Store > Themes > click on Customize
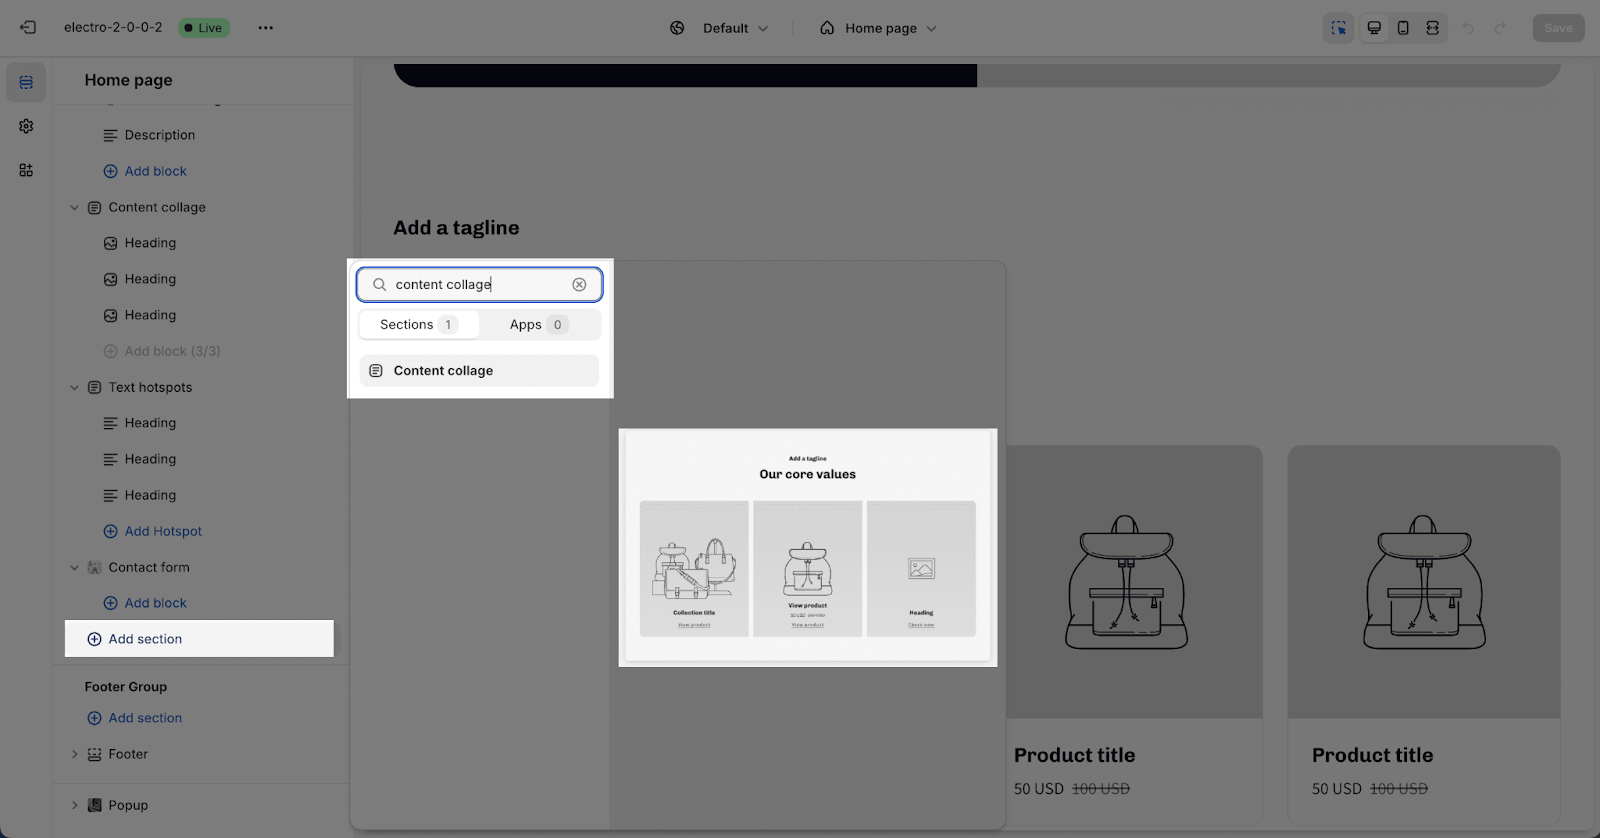
- Step 2: Click on Add section > search for “Content collage” in the search bar and select it
How To Configure Content Collage Section
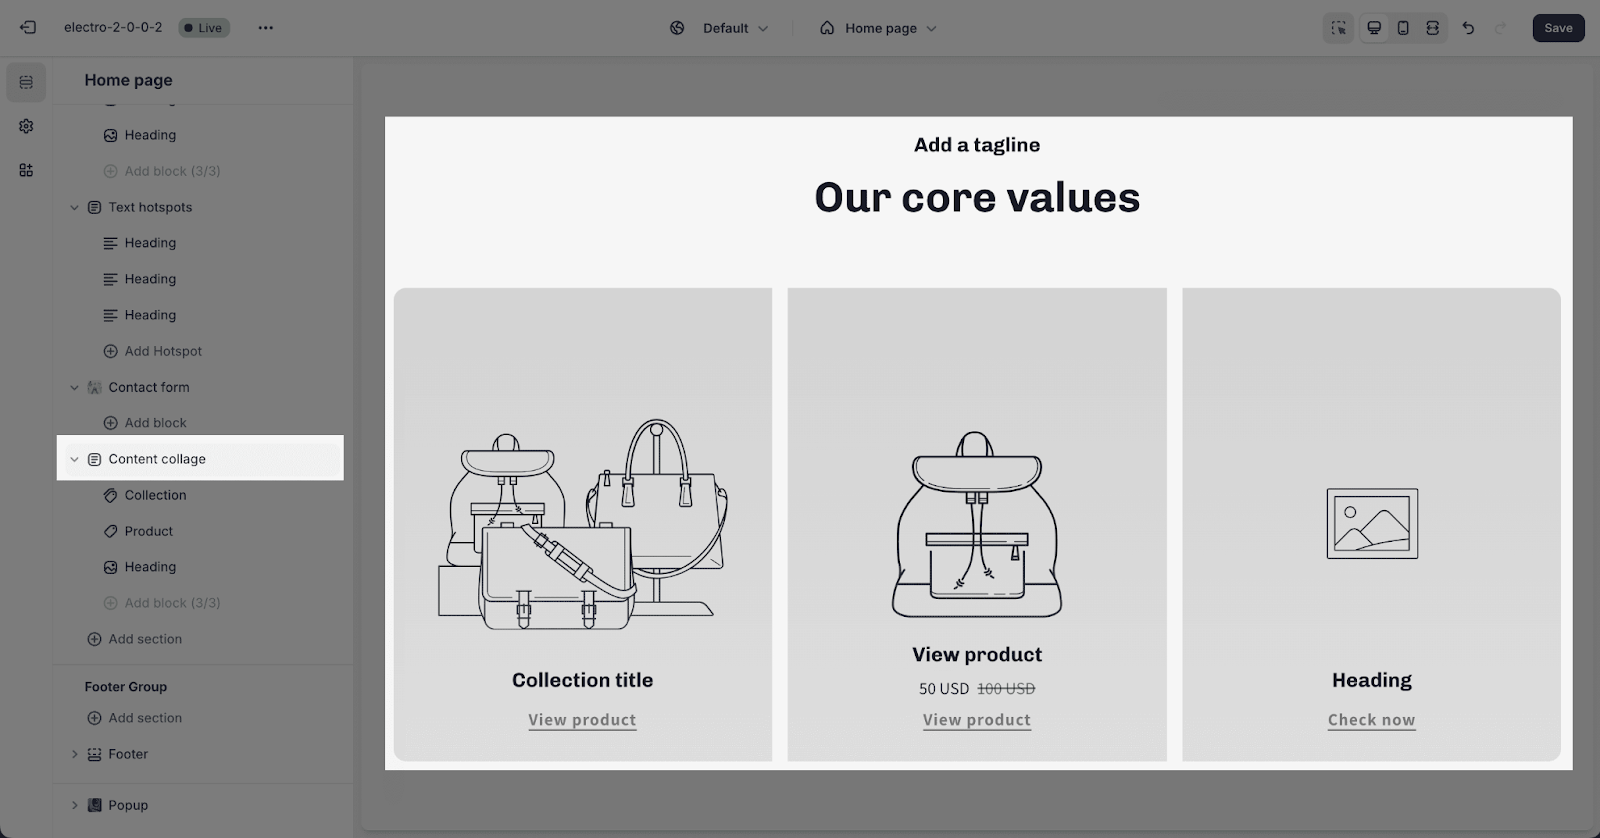
Click on the Content Collage section to open its settings. You’ll see three main setting cards: General, Layout, and Items.
General
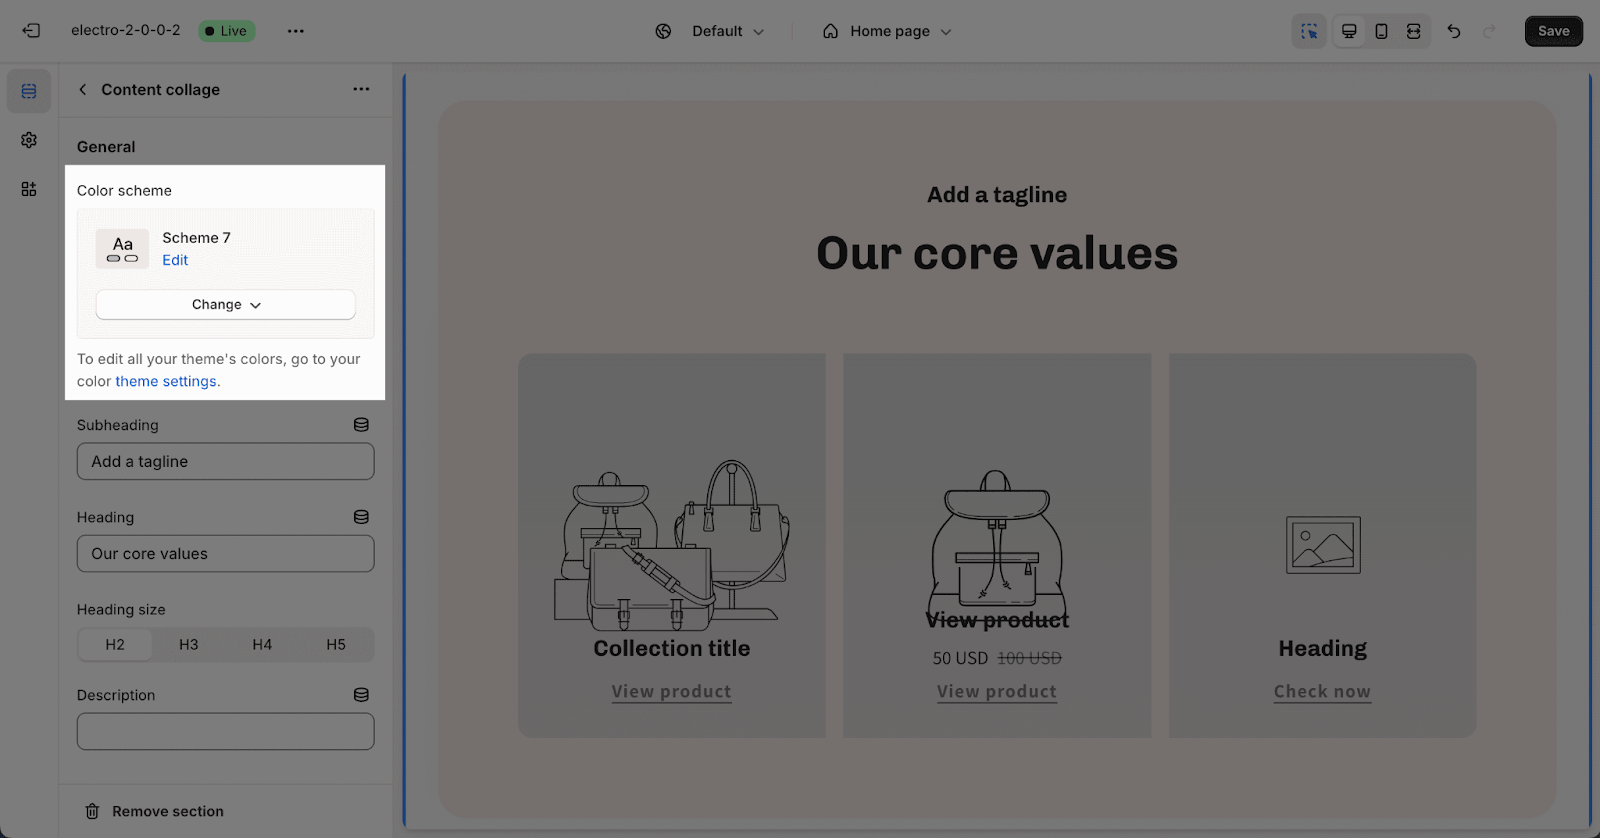
In the General tab, you can choose the color scheme for the text and background of the content blocks. To change these color schemes, go to Theme Settings > Colors.
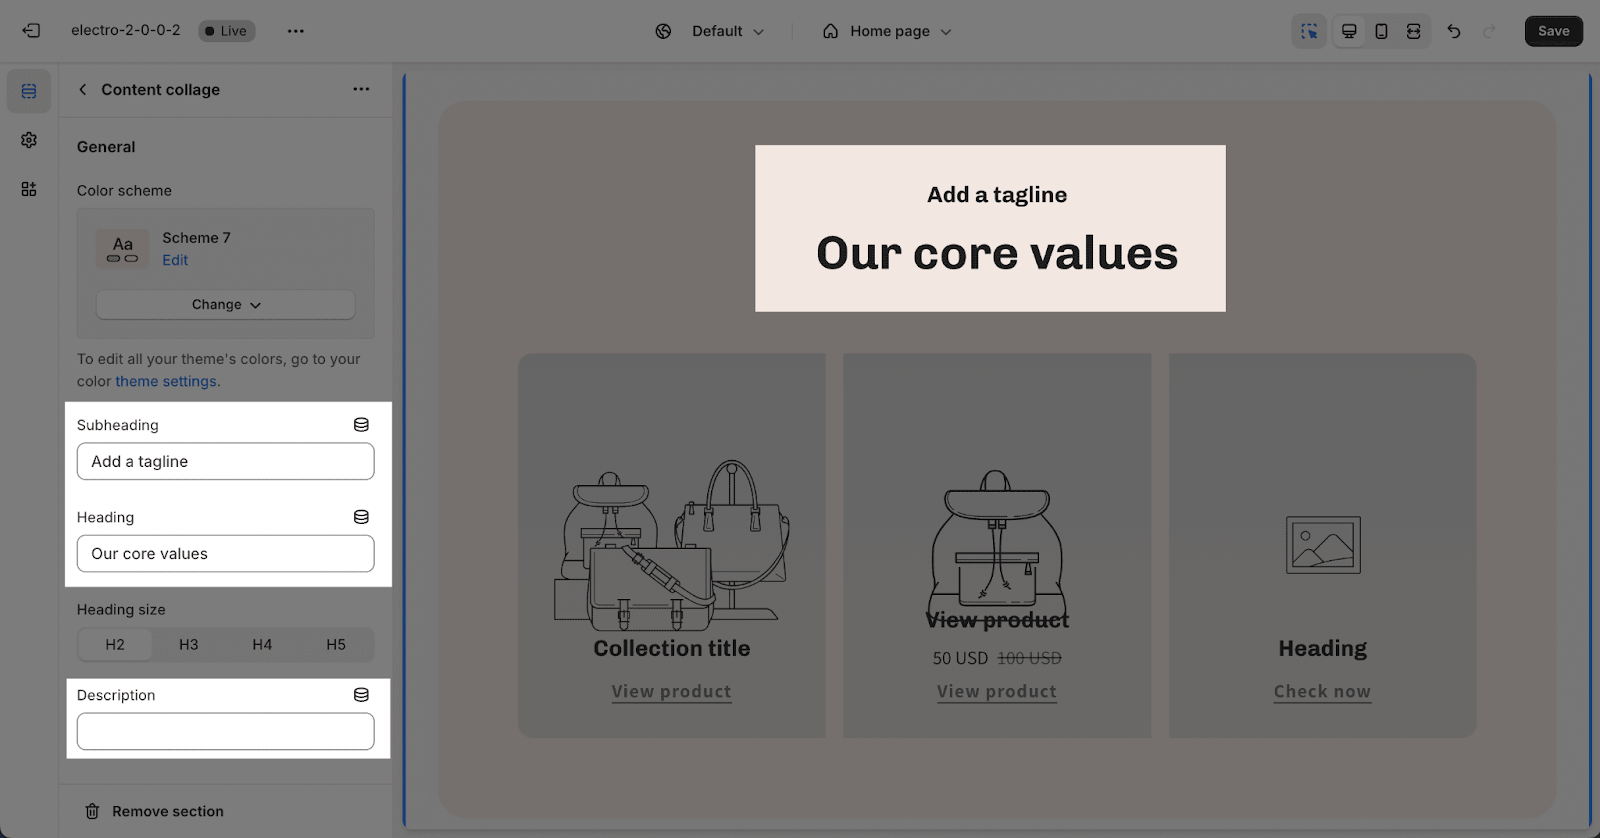
You can add content to the Section Subheading, Heading, and Description by clicking on the text box and typing your content. To remove content, simply delete the text in the box.
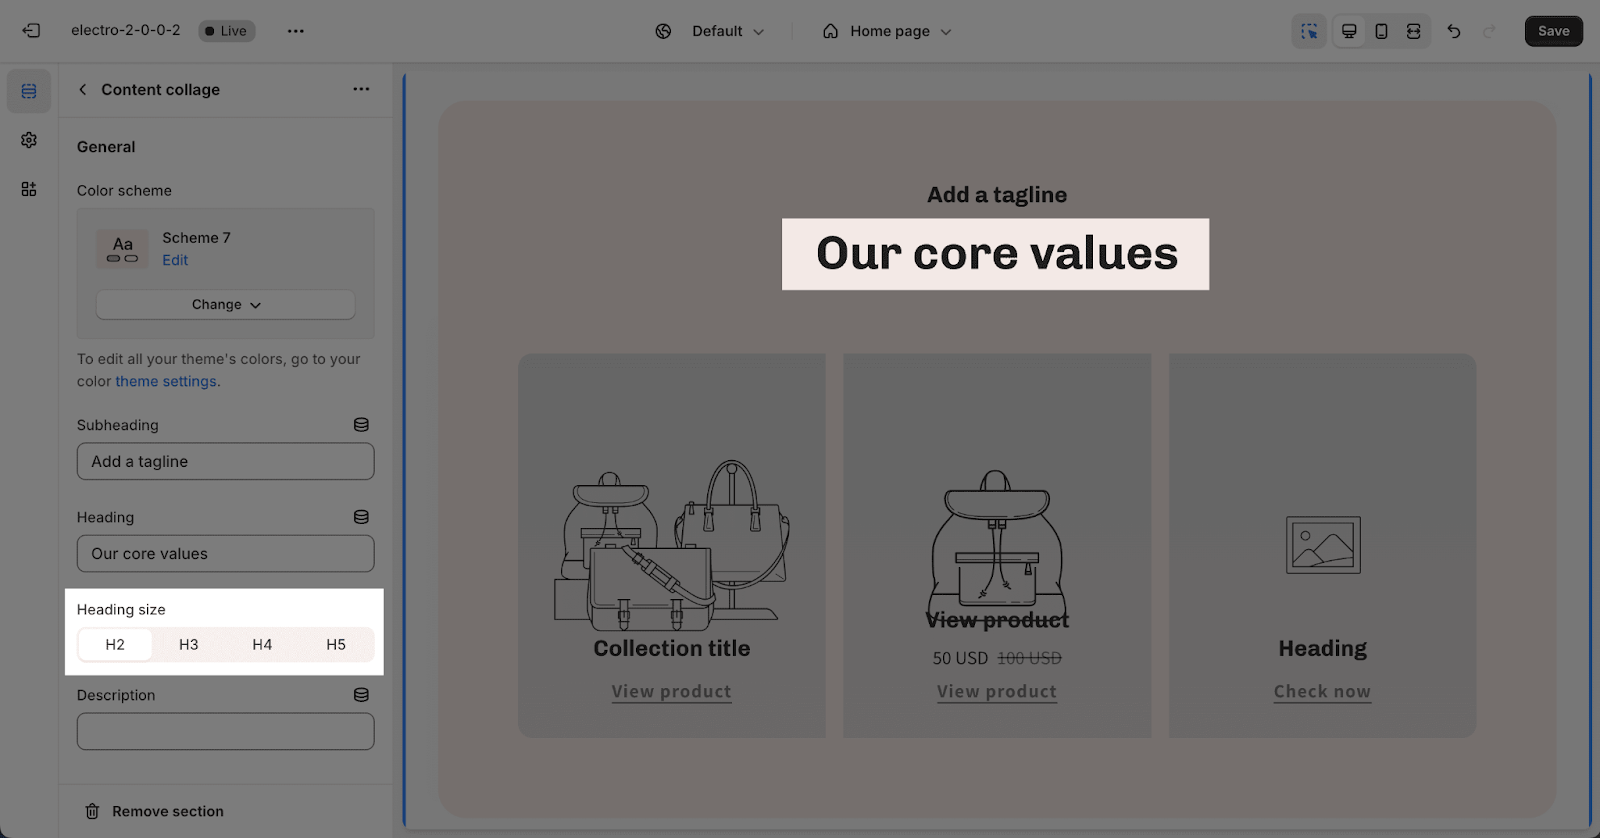
For the heading text, you can change its size from H2, H3, H4, and H5. These heading sizes are based on the Base text size set in Theme settings > Typography.
Layout
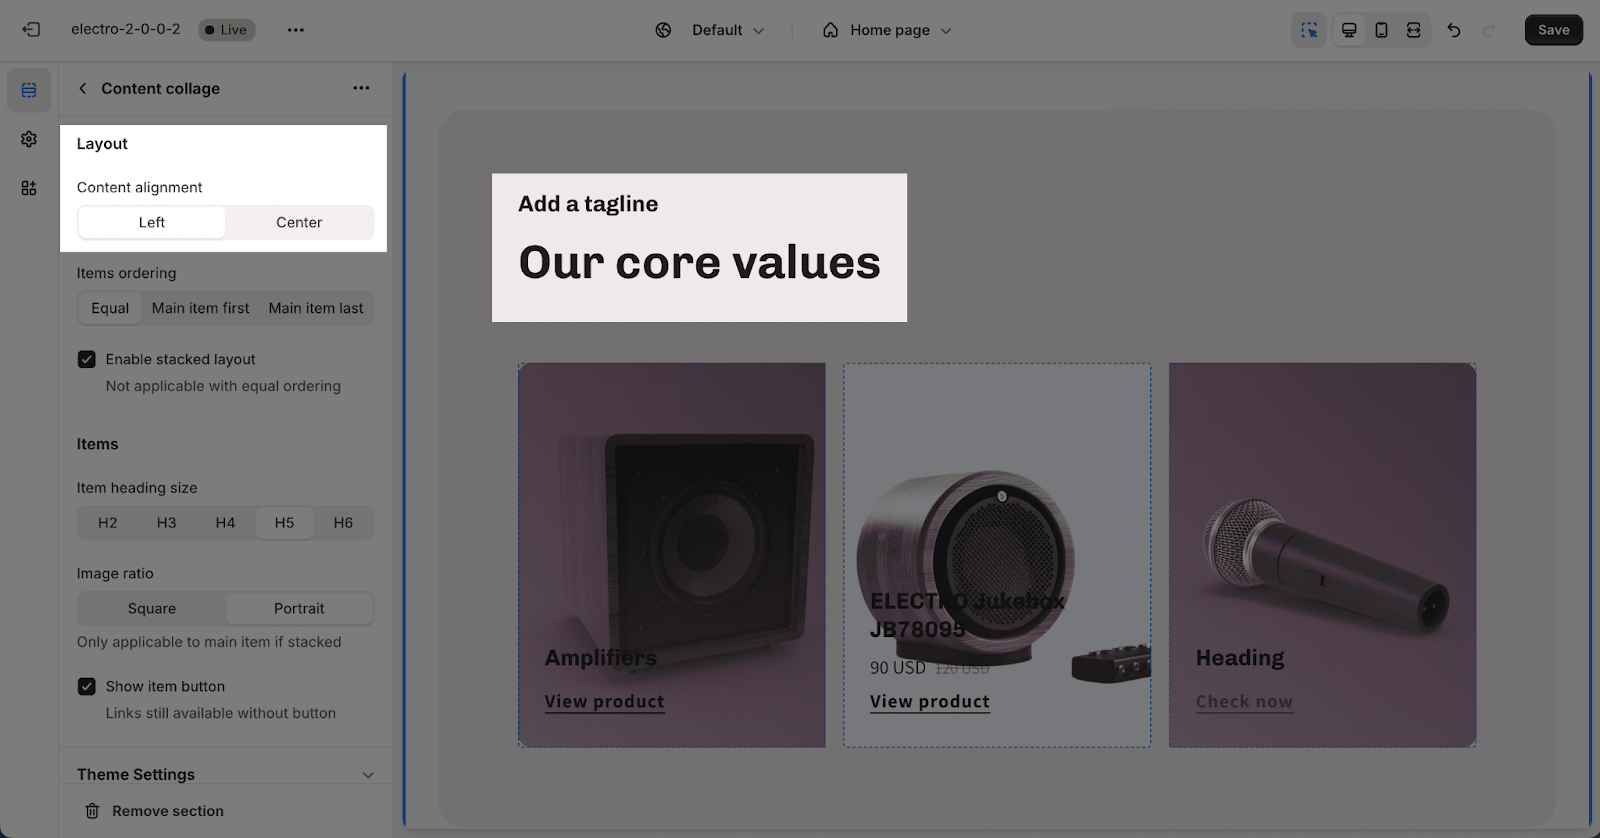
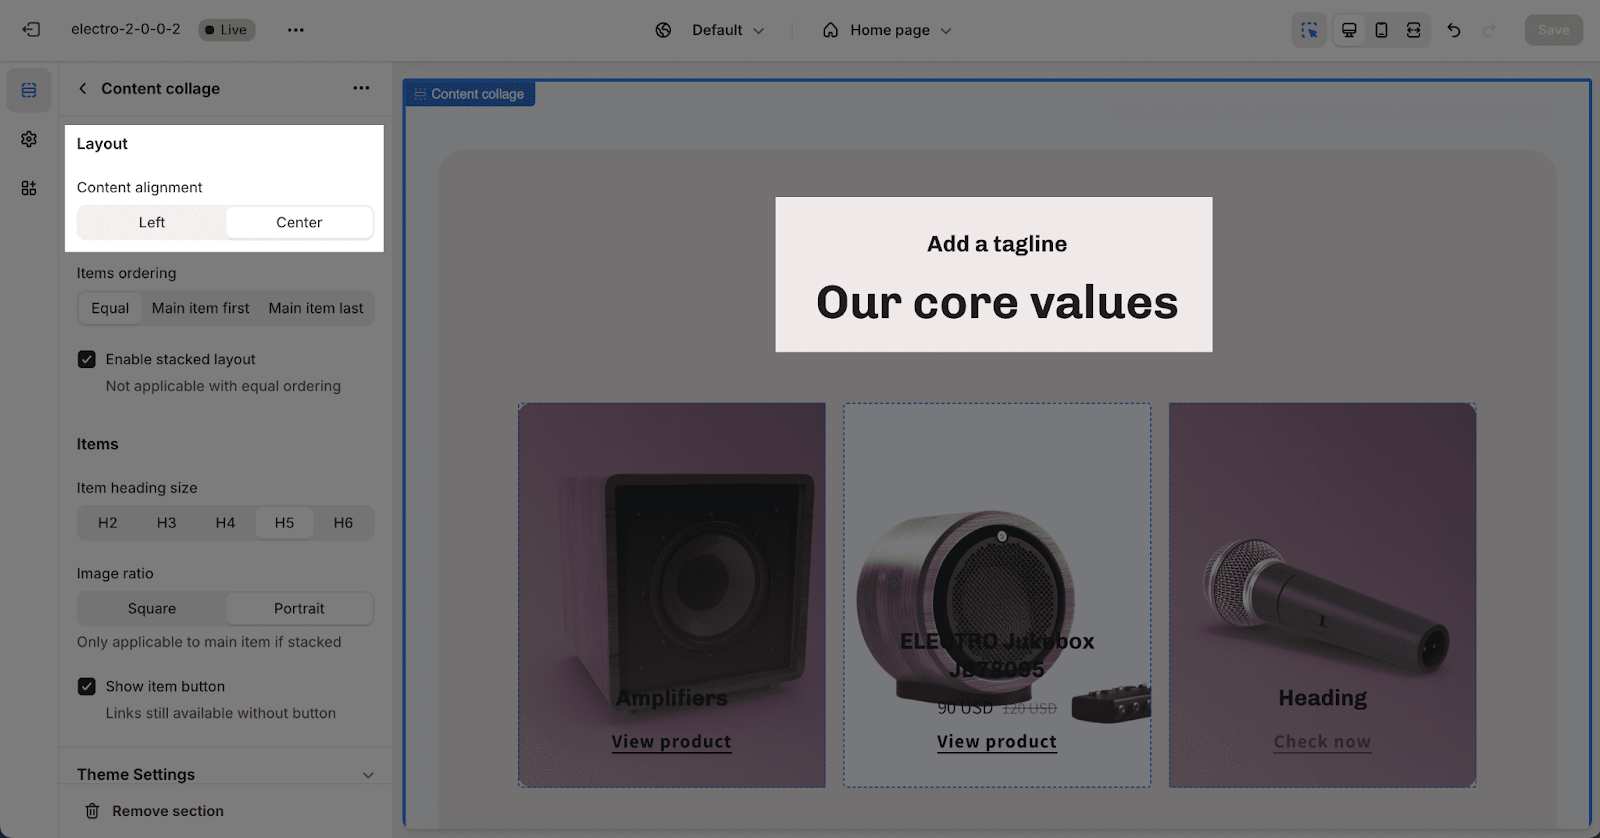
In Layout tab, you can select the position to display for the heading content of the section:
- Left:
- Center:
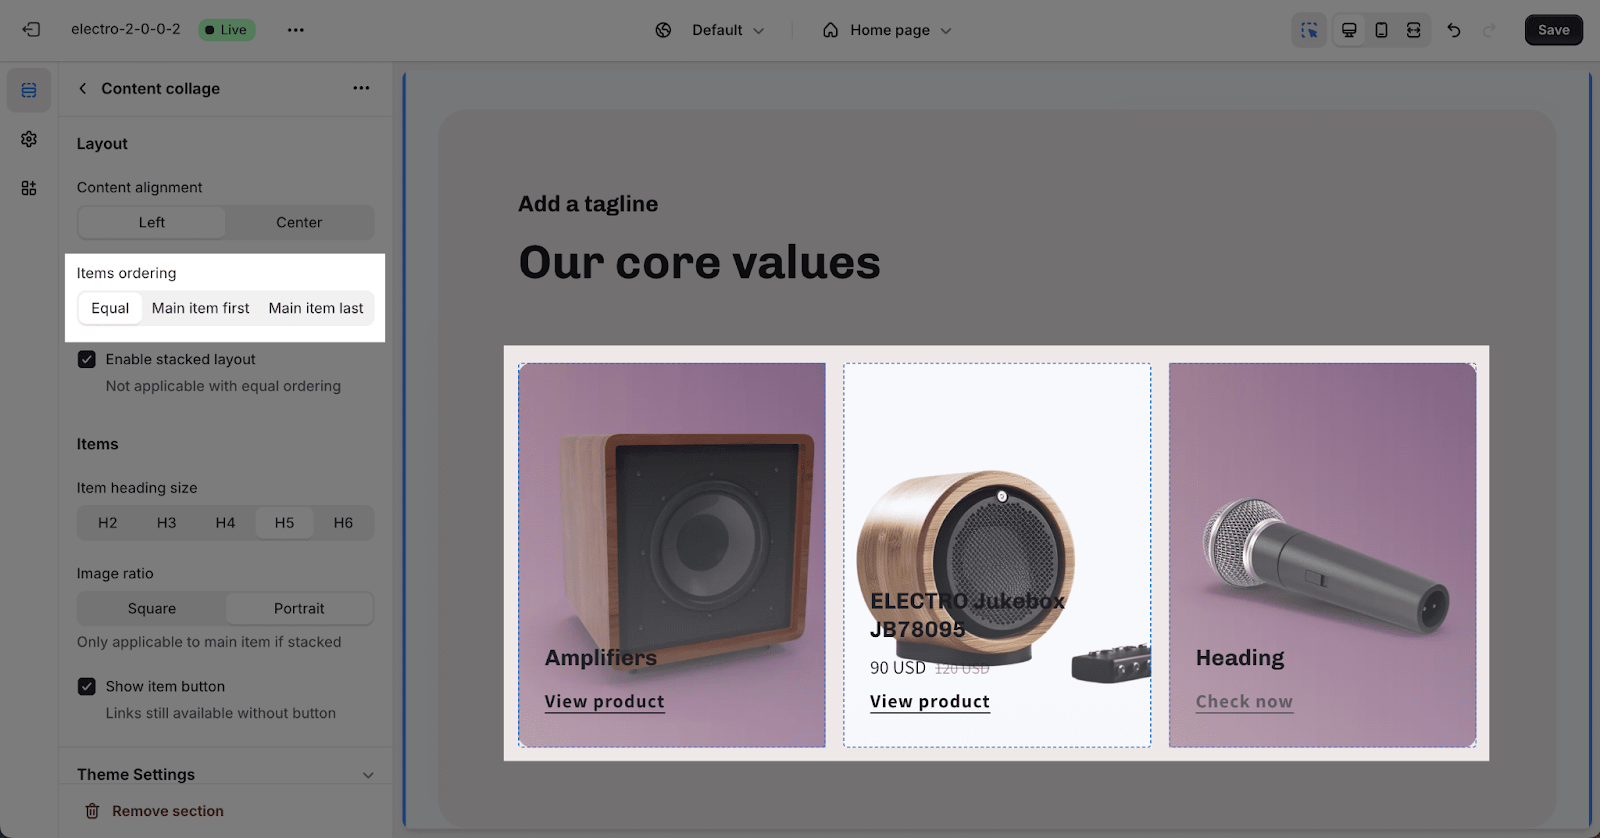
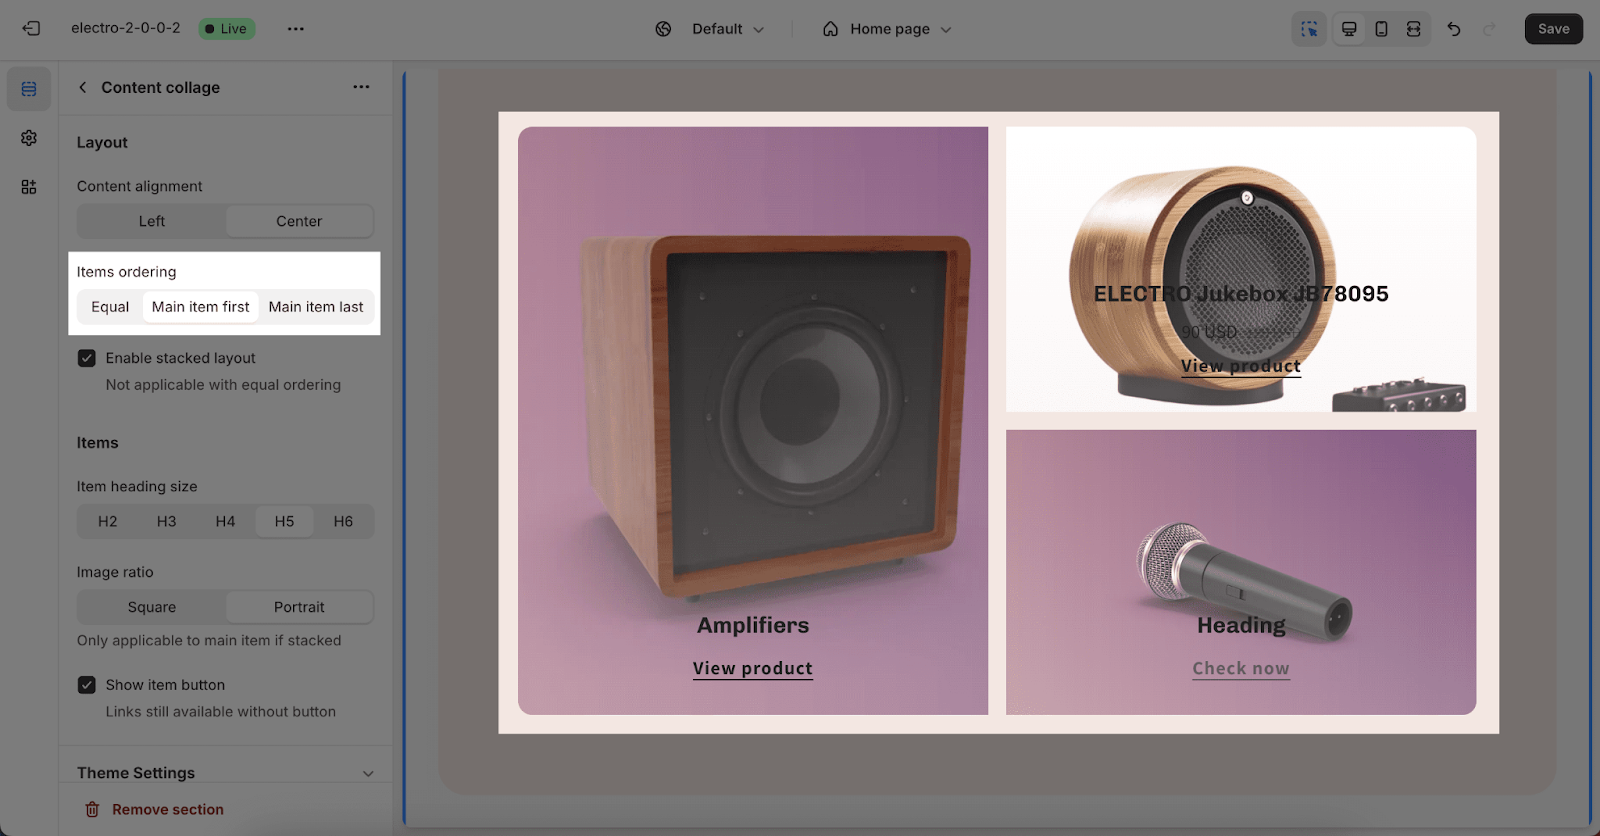
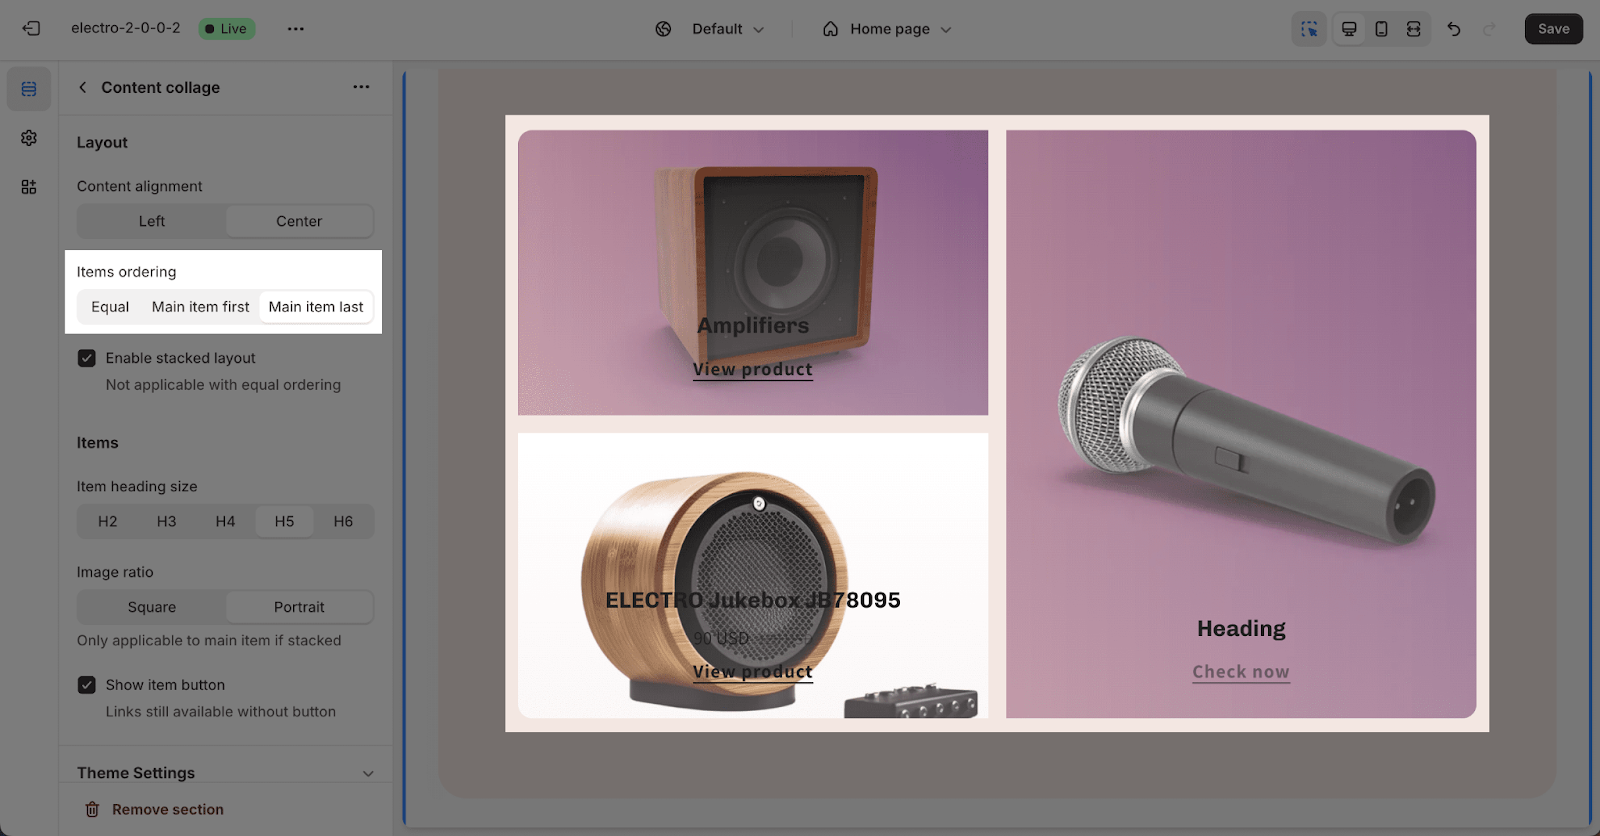
In Items ordering, there are 3 types:
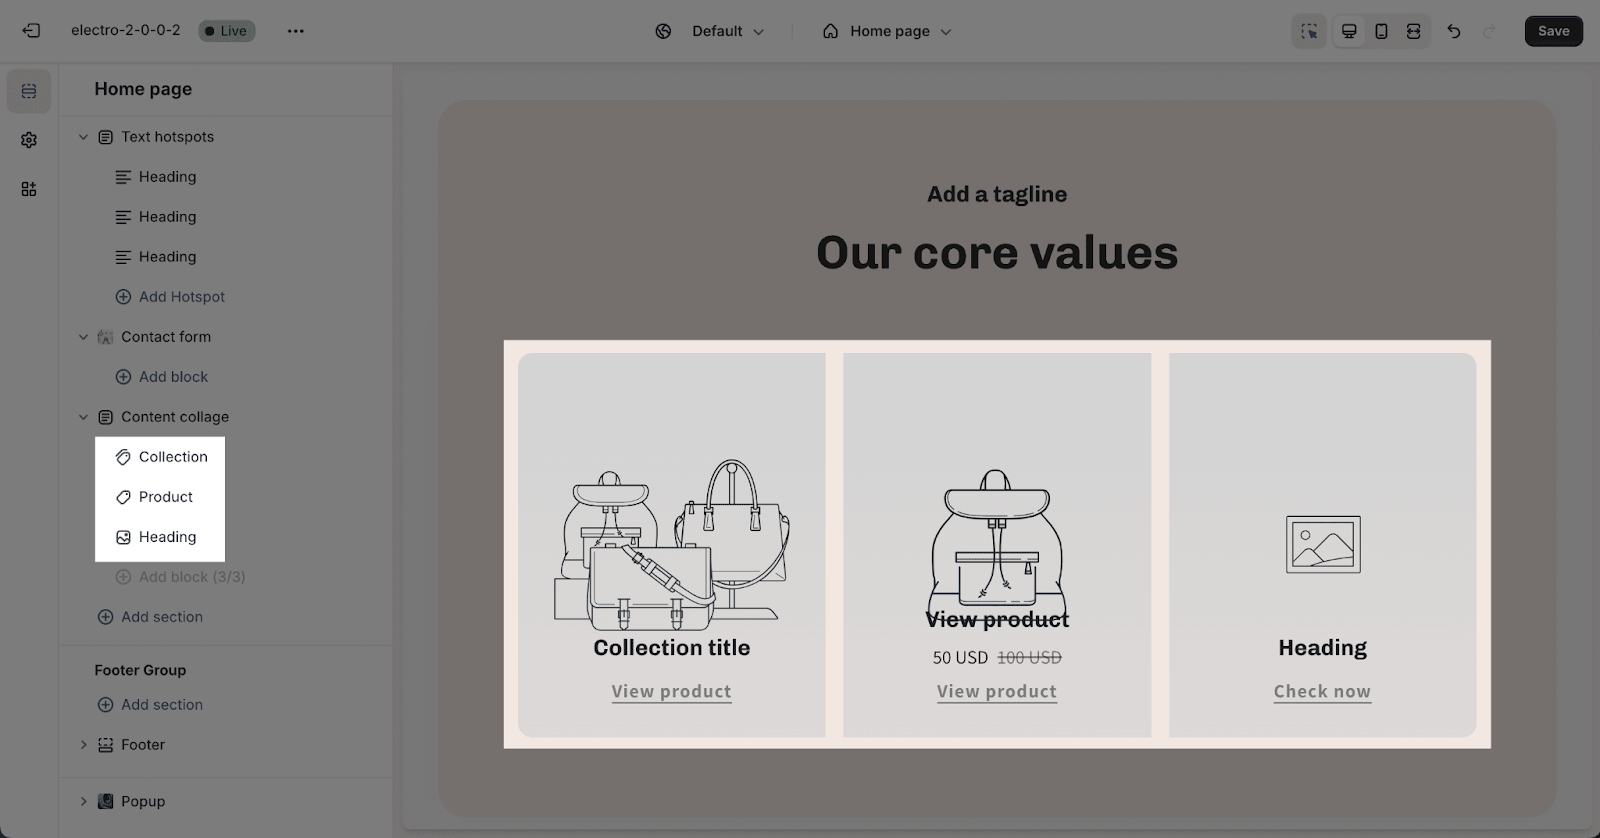
- Equal: the Collection, Product and heading image show equal in size
- Main item first: the first item will be bigger than others
- Main item last: the last item will be bigger than others
By default, the Equal type is selected.
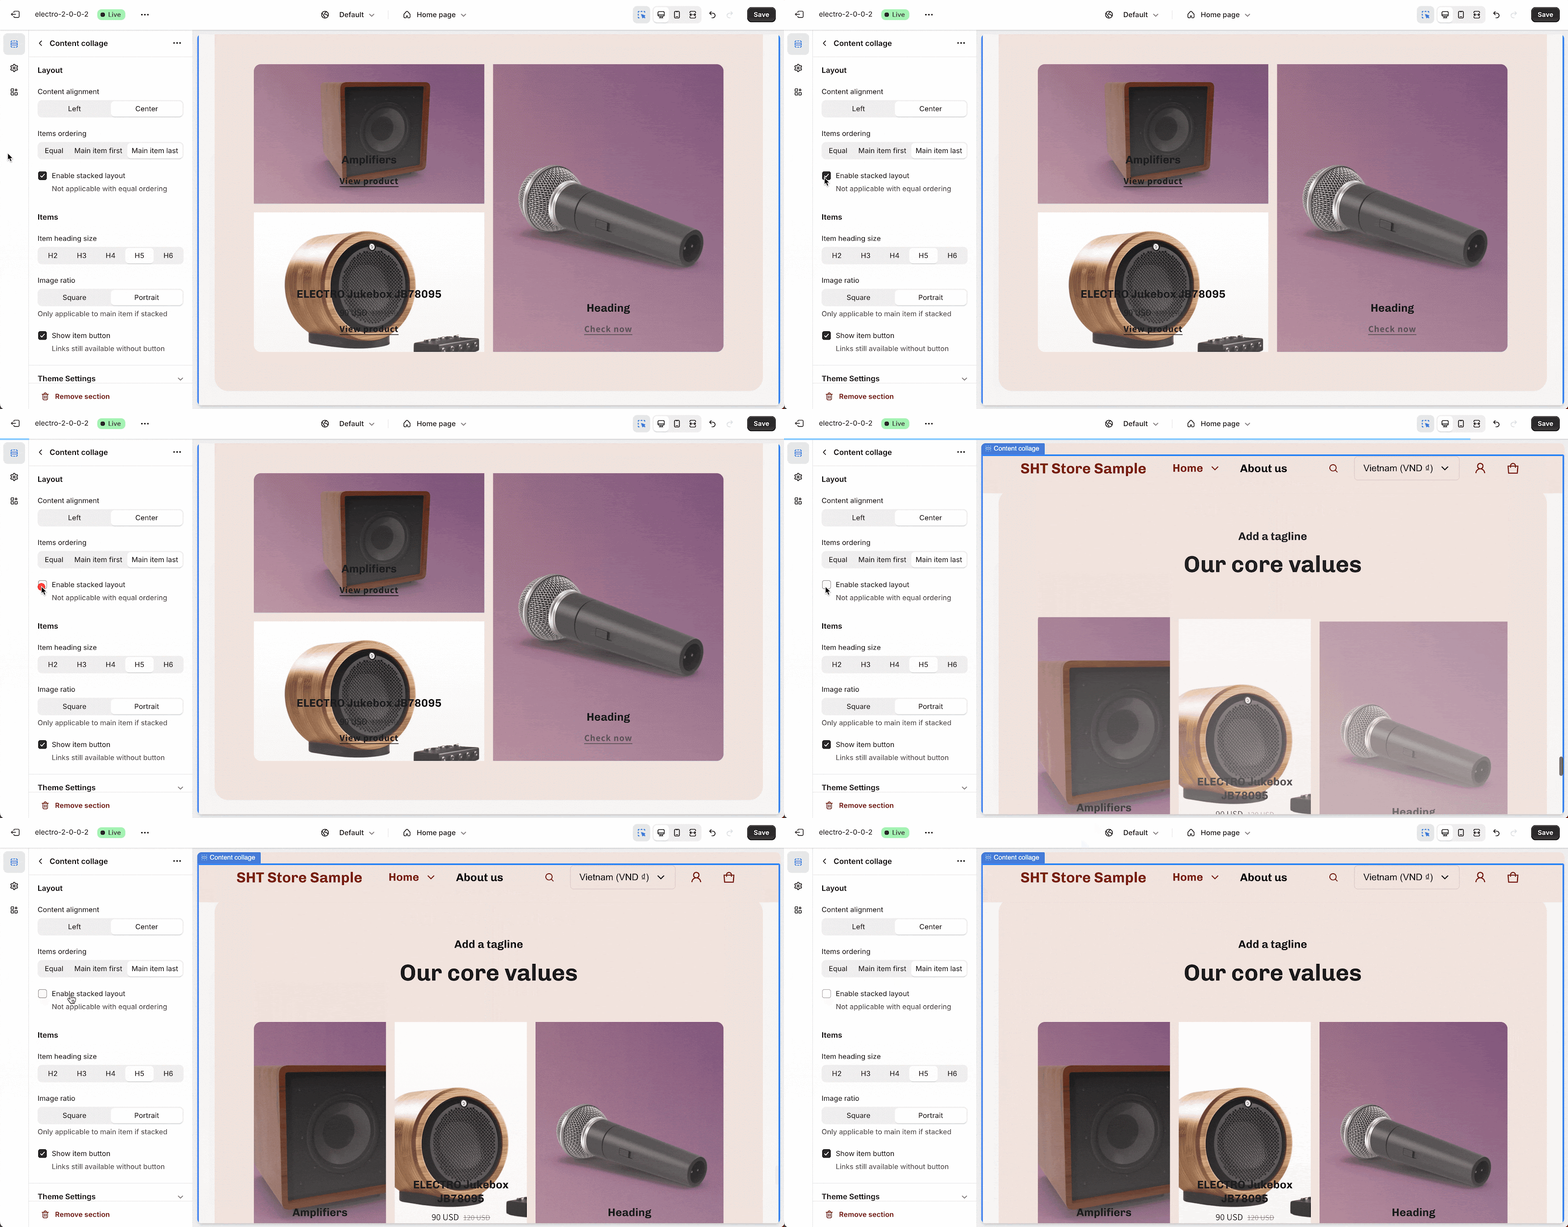
You can also turn on or off the stacked layout by checking the checkbox.
Items
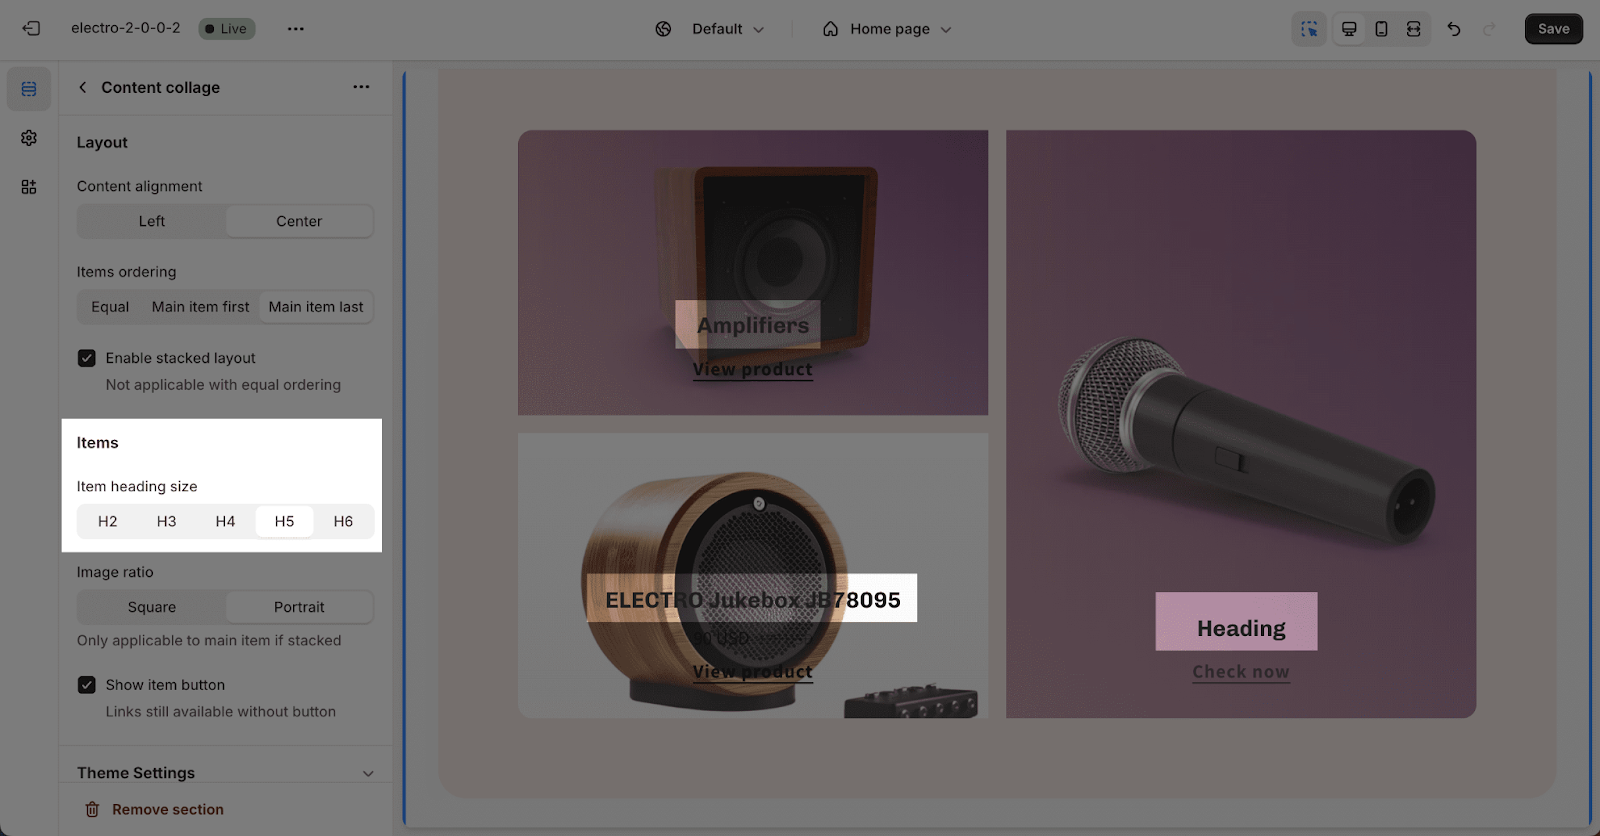
In the Items tab, you can choose from 5 sizes for the Item heading. These sizes are based on the Base text size you’ve set in Theme settings > Typography.
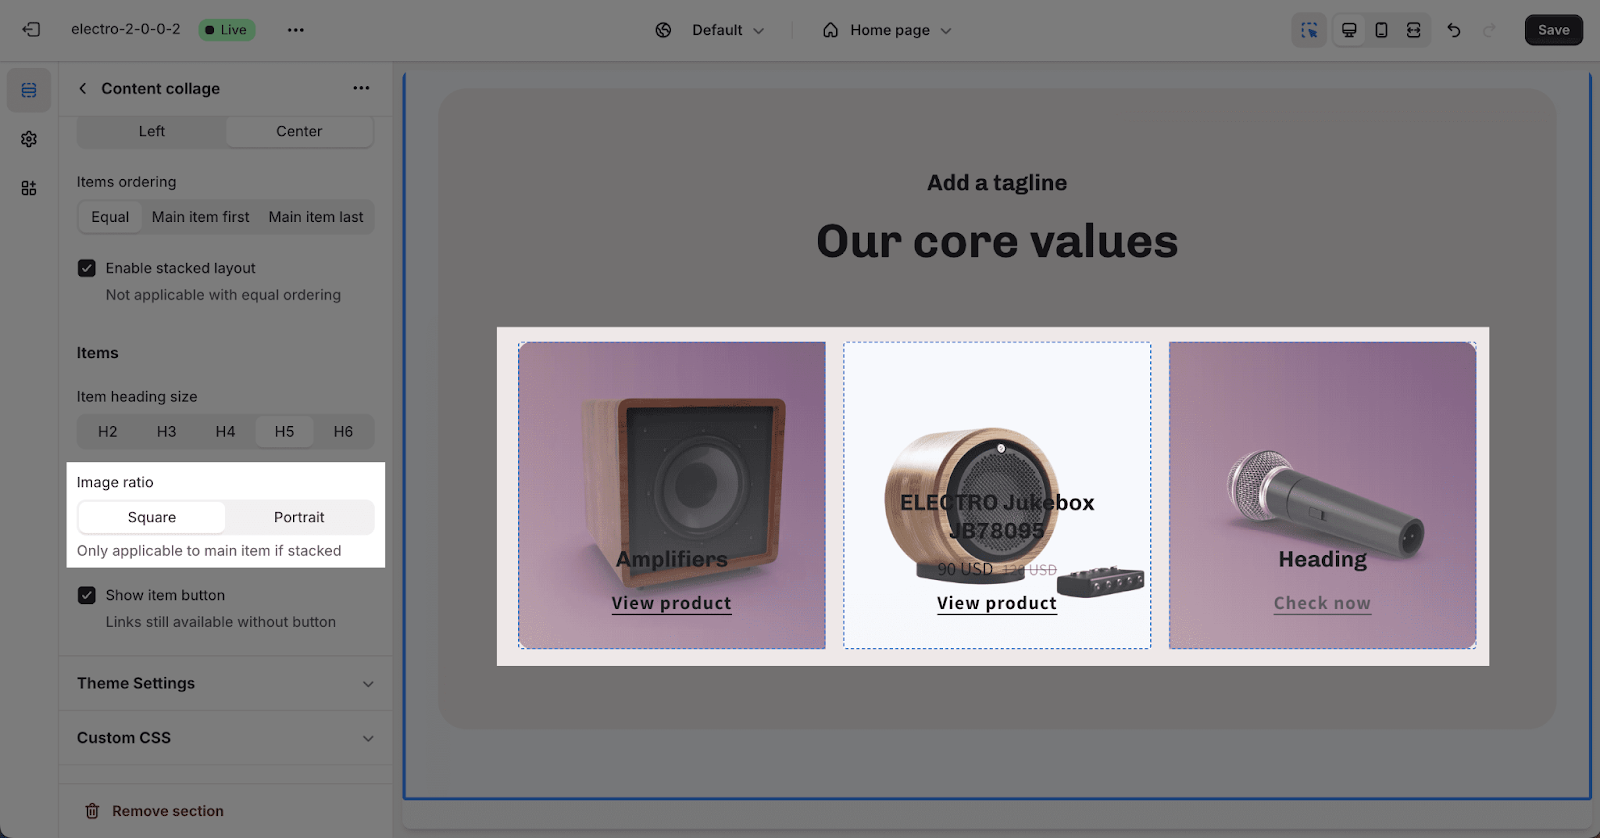
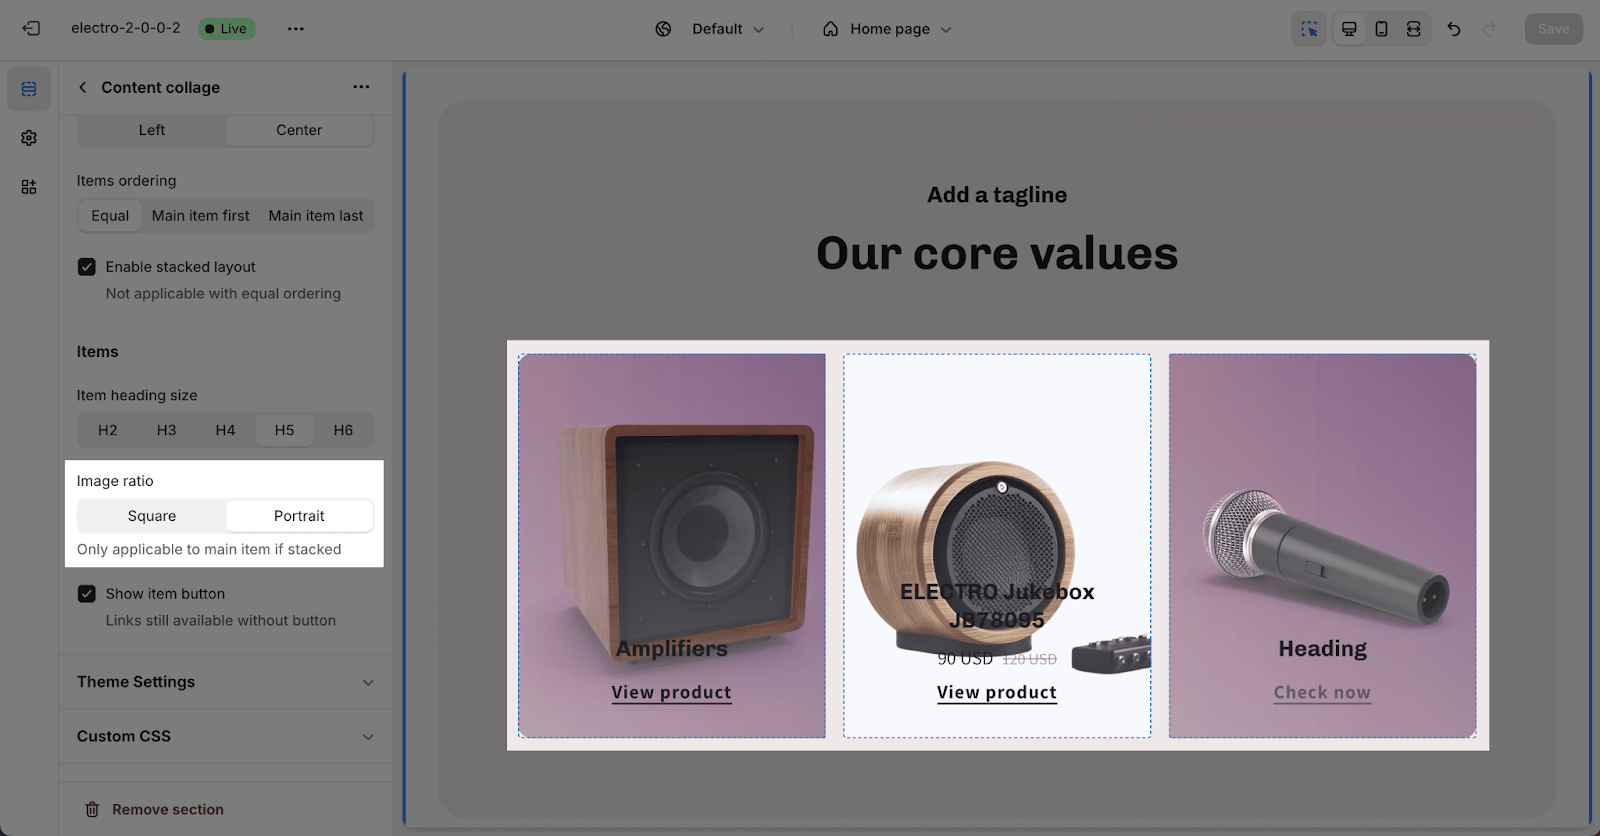
You can change the Image ratio for the content items. There are 2 options:
- Square
- Portrait (4:5)
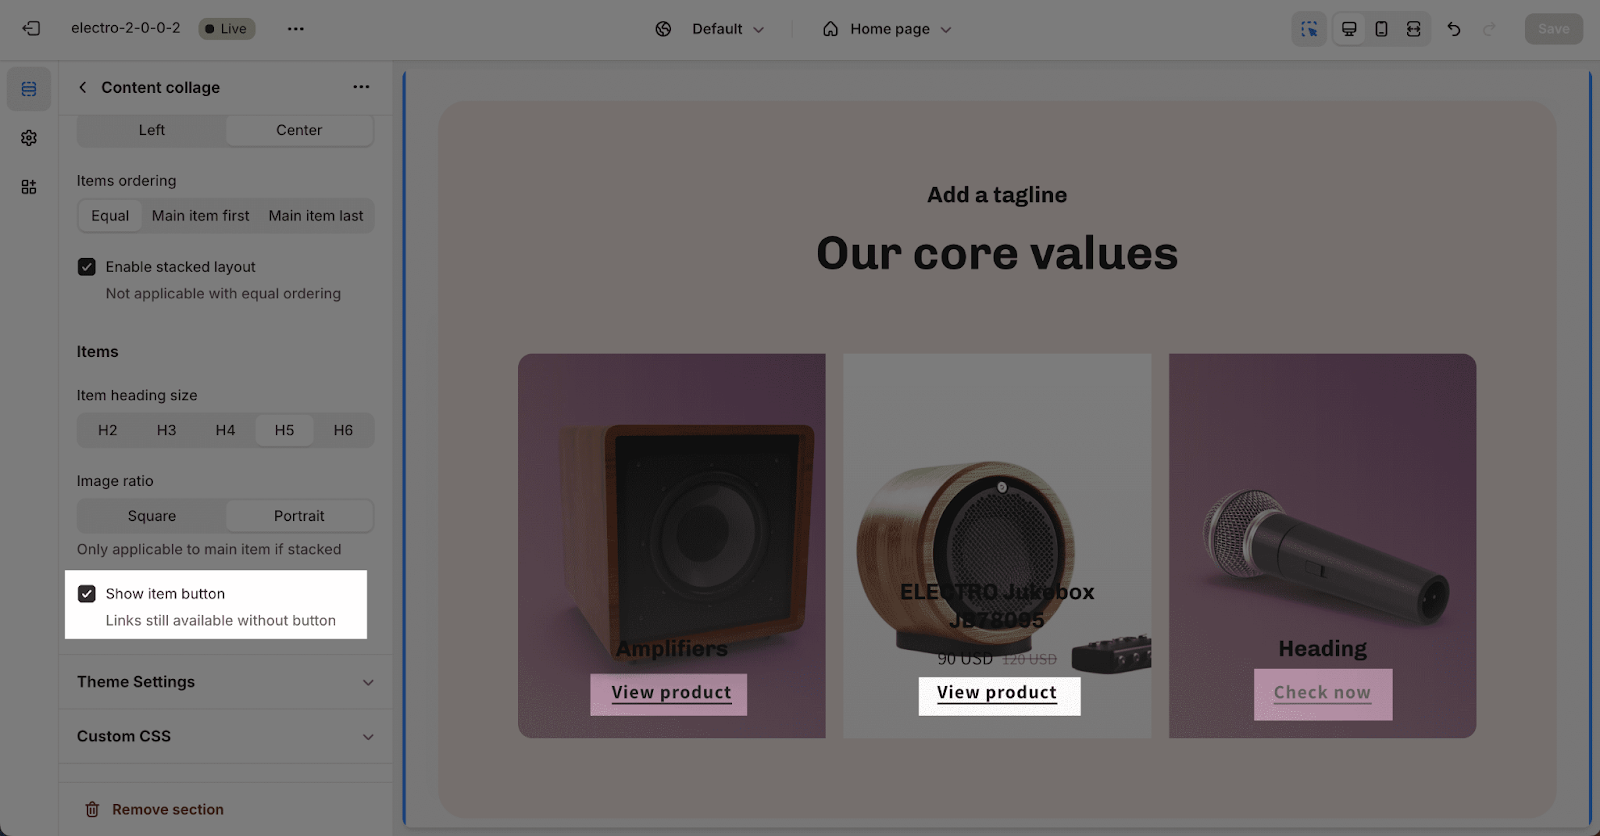
Click the Show items button to show or hide the CTA button for each item. Remember that the link still works even without this button.
How To Configure Content Collage Block
You can have up to 3 blocks in the Content Collage. These can be Collection, Product, or Image blocks. Click on each block to change its settings.
Collection
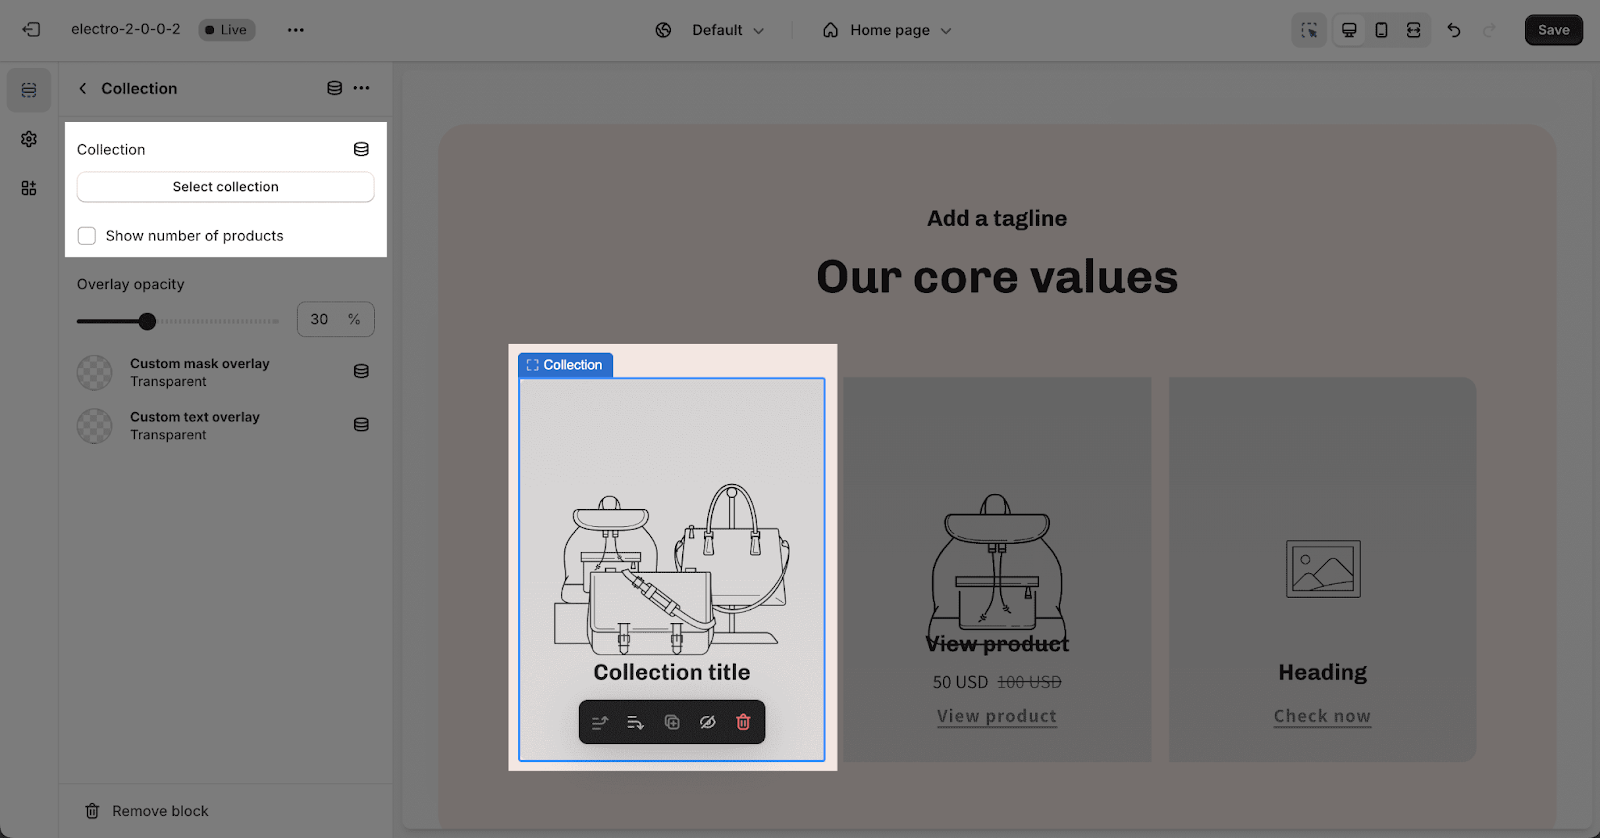
To select a collection for the Collection block, click on the item and hit the “Select Collection” button to choose one collection. Check the “Show number of products” box if you want to display how many products are in the collection.
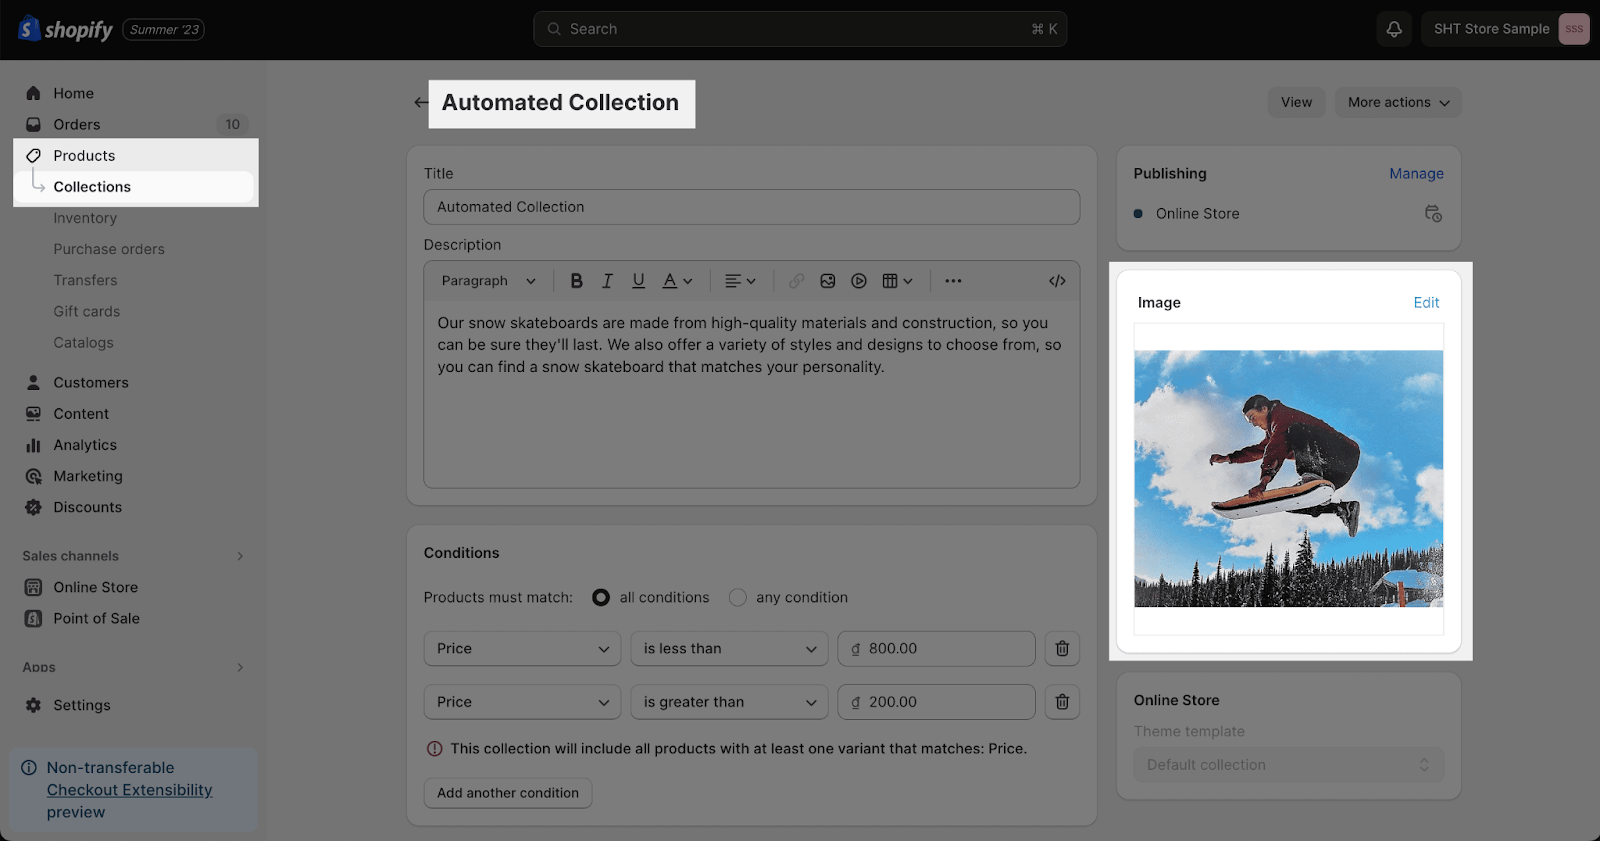
Once you select a collection, the block’s background image and content will change to the collection image and name you set up in Shopify admin under Products > Collections.
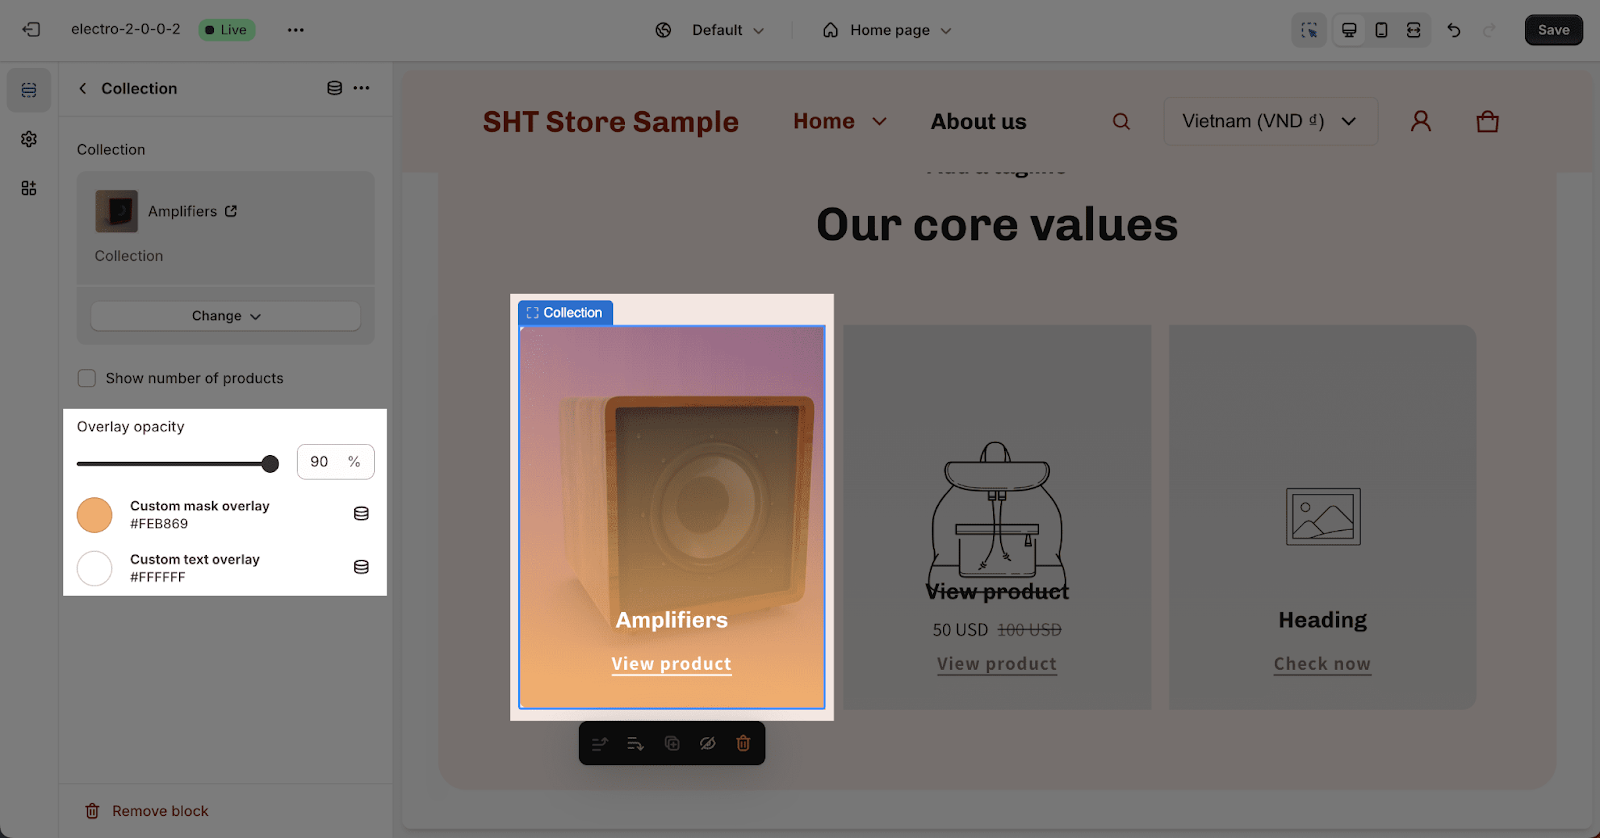
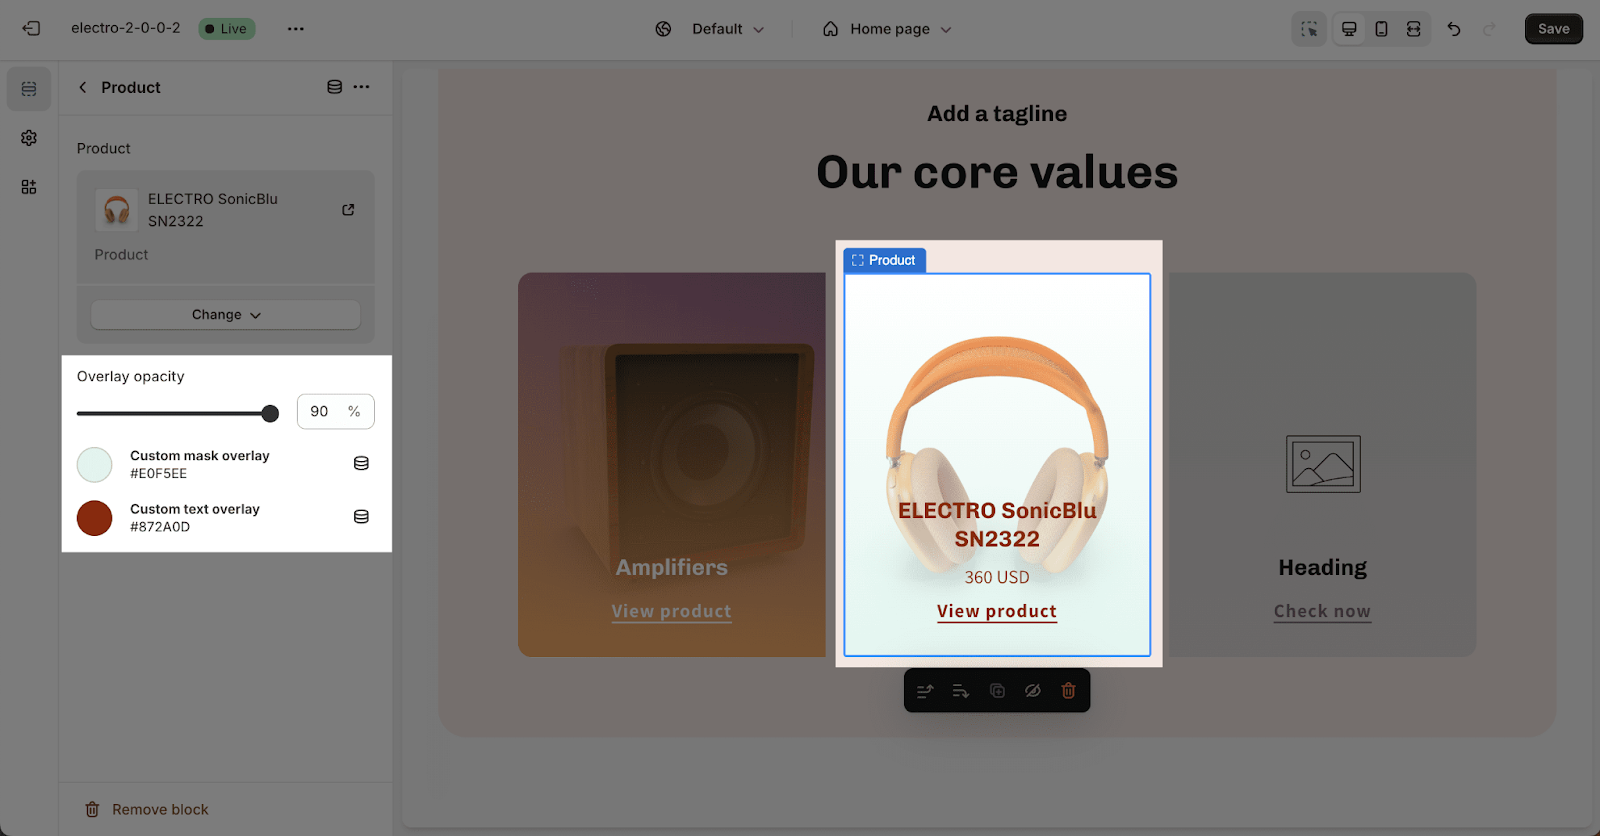
The Overlay opacity controls the opacity of the overlay color on each block background image. You can drag the bar to change the opacity, from 0% to 90%. You can also choose the Custom mask overlay and Custom text overlay for this block.
- Custom mask overlay: the color of the overlay of the block.
- Custom text overlay: the color of the text inside the block.
Product
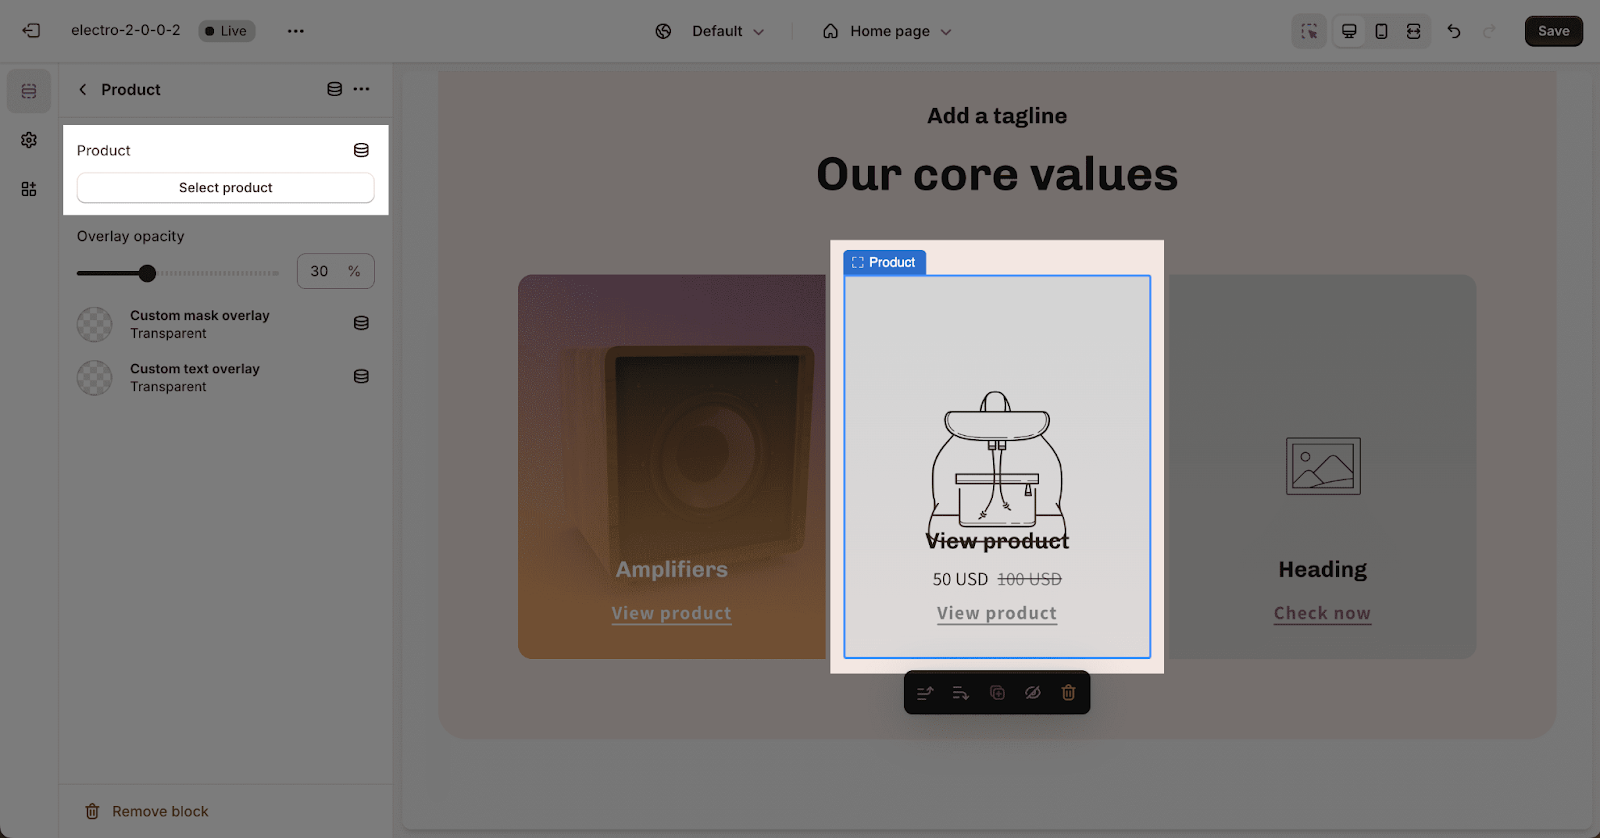
To select a product, click on the Product block item then hit Select Product to choose.
Once you add a product, the block’s content and background image will automatically update to show the product title, price, and main image.
The overlay settings work the same as for Collection blocks.
Image
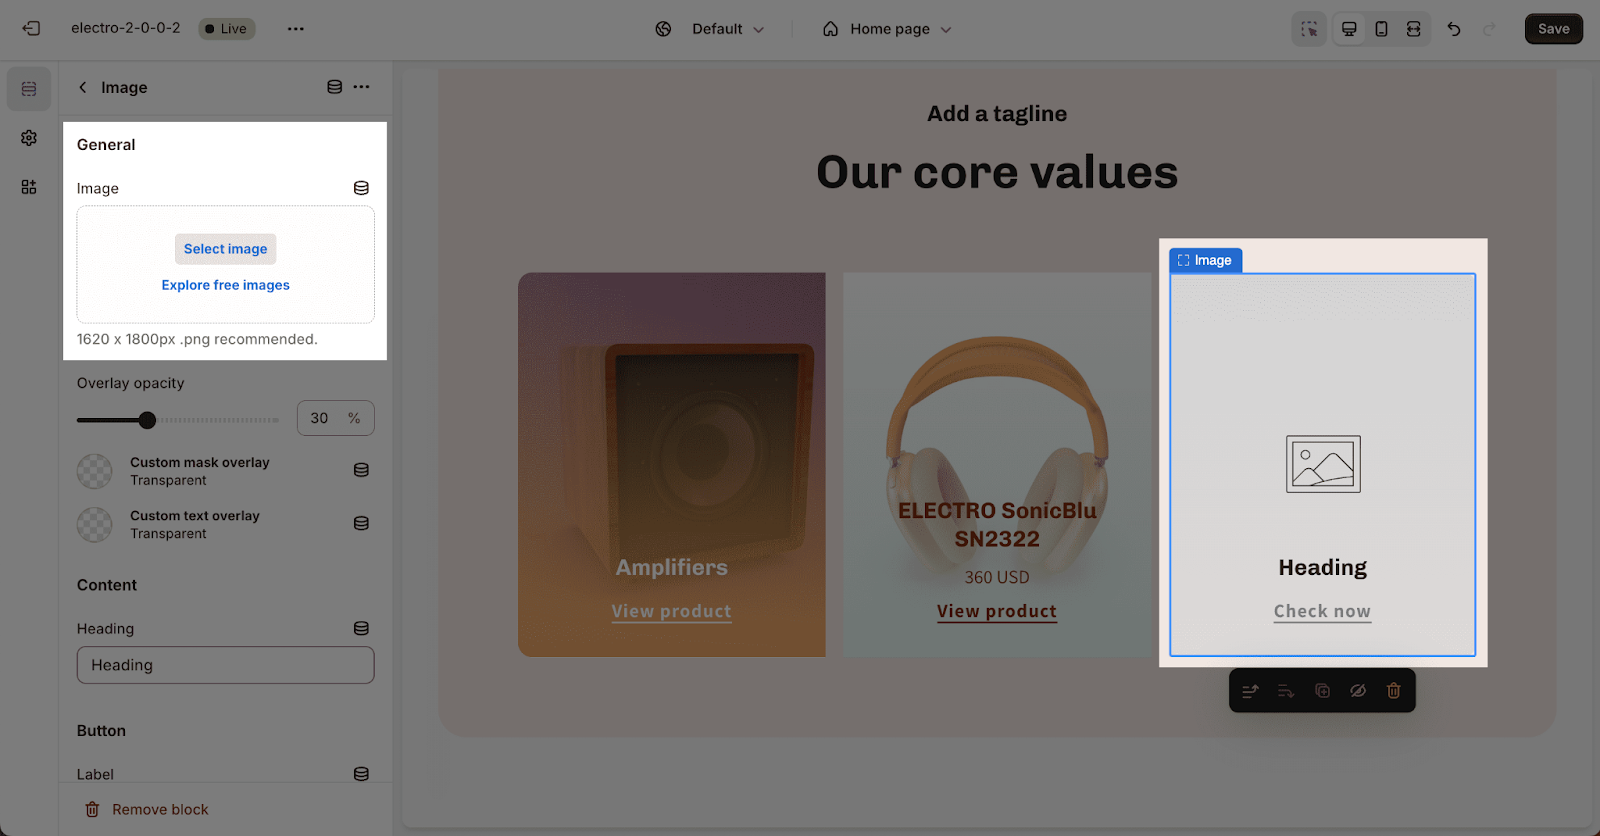
Click on the Image block item to upload a background image.
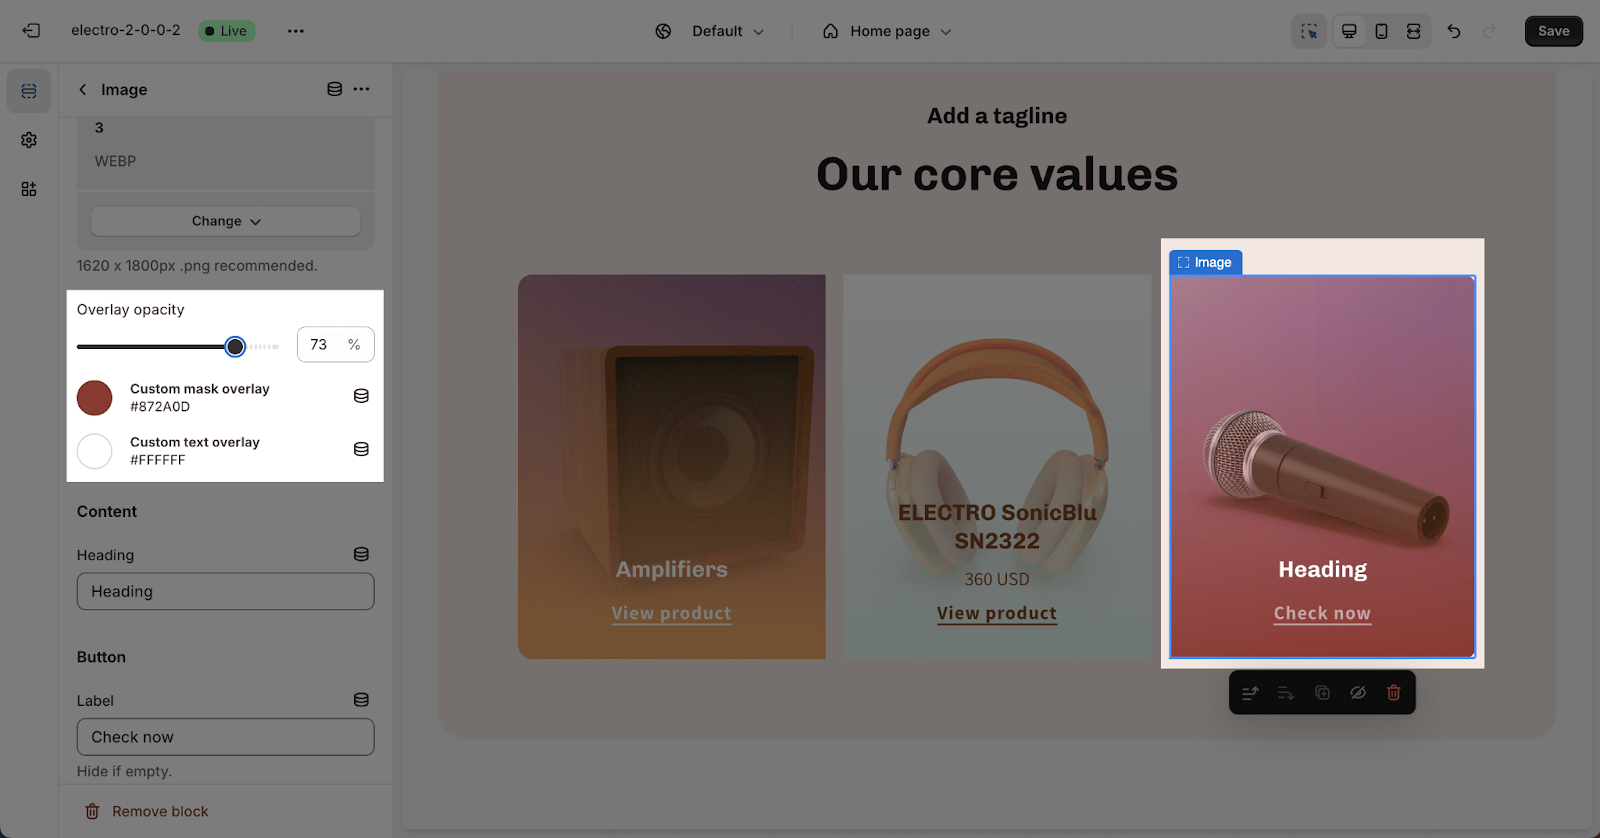
The overlay settings work the same as for Collection and Product blocks.
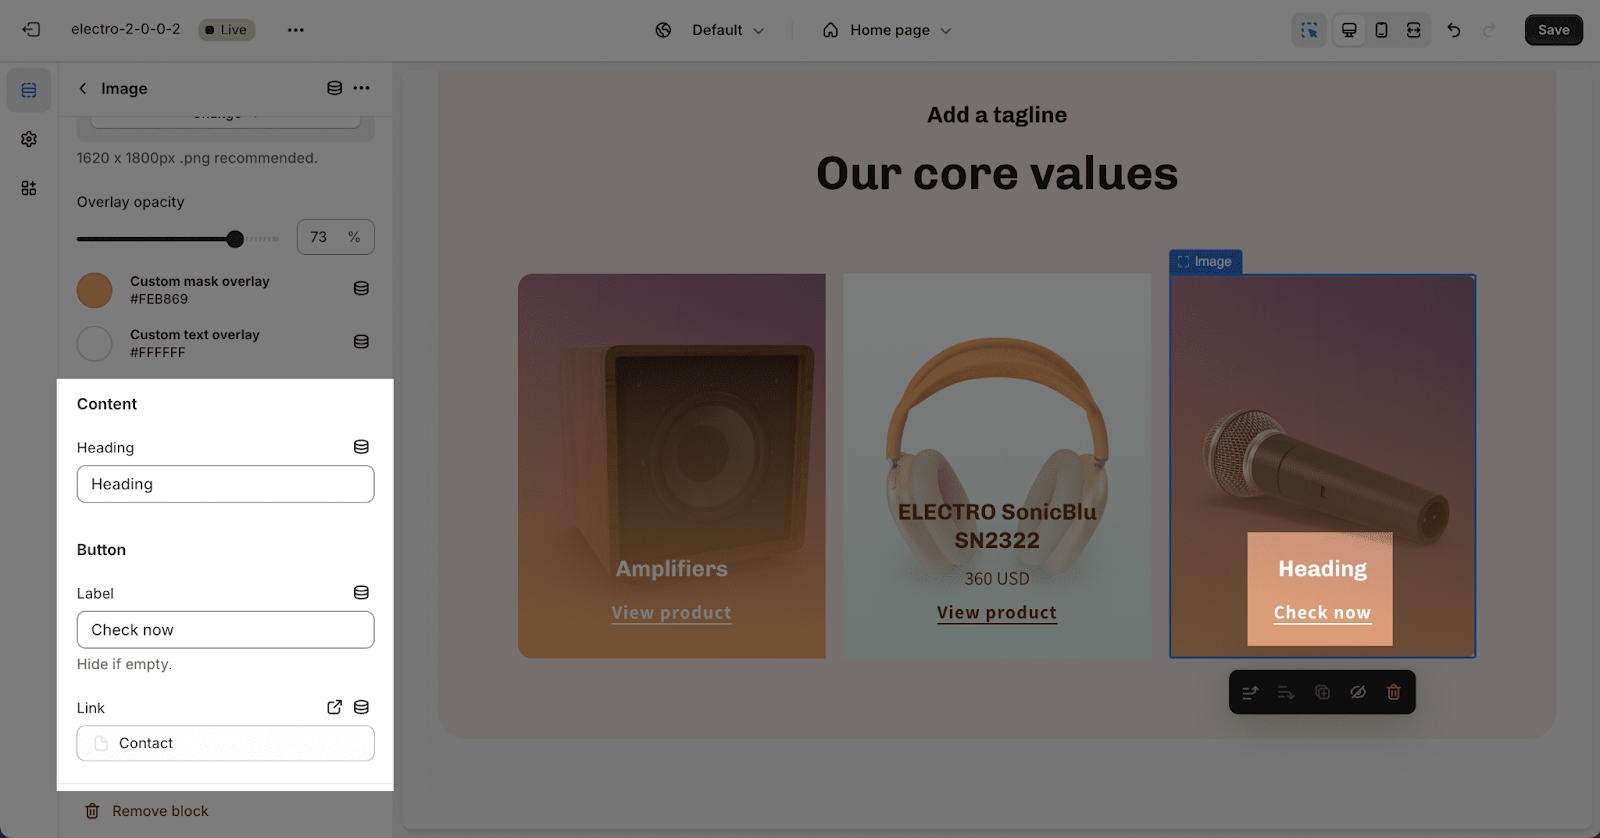
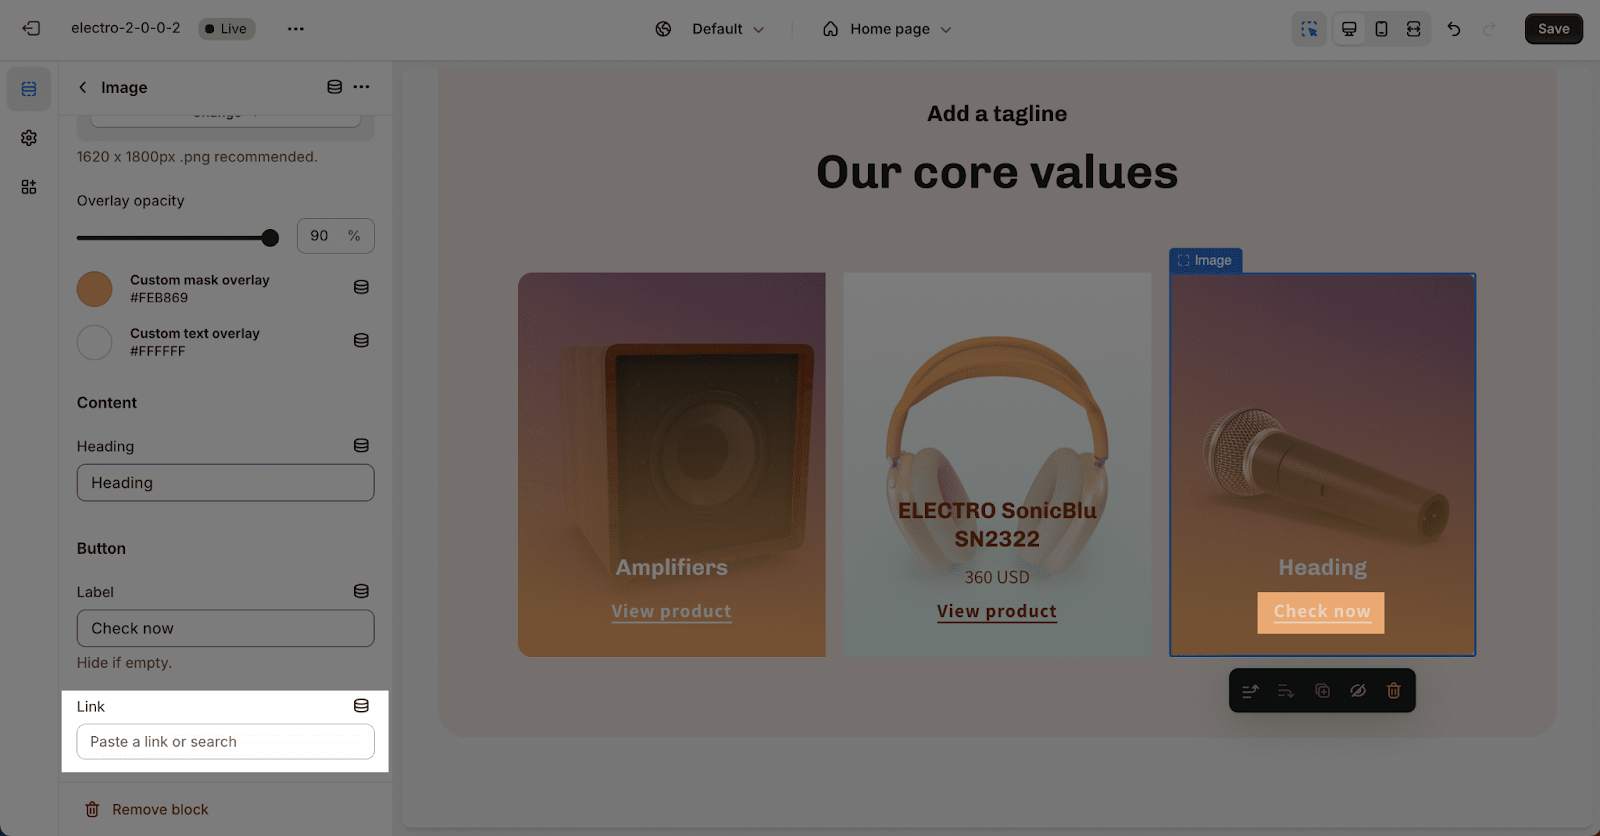
You can set up the Heading text, Button text, and Button link for this block in the Settings tab. To remove an element, just leave its text box empty.
Frequently Asked Questions
1. How many blocks can I add to the Content Collage section?
You can add up to 3 blocks in the Content Collage section.
2. Can I hide the CTA (Call-to-Action) button on the blocks?
Yes, you can show or hide the CTA button using the Show items button in the Items tab.
3. Can I customize the overlay on block background images?
Yes, you can adjust the overlay opacity and choose custom colors for the mask overlay and text overlay for each block.
