Countdown banner section
About Countdown Banner Section
The Countdown Banner Section is a powerful section for creating urgency and excitement in your online store. By displaying a live countdown to an upcoming sale or event, you can encourage customers to act quickly and take advantage of your offers.
How To Access Countdown Banner Section
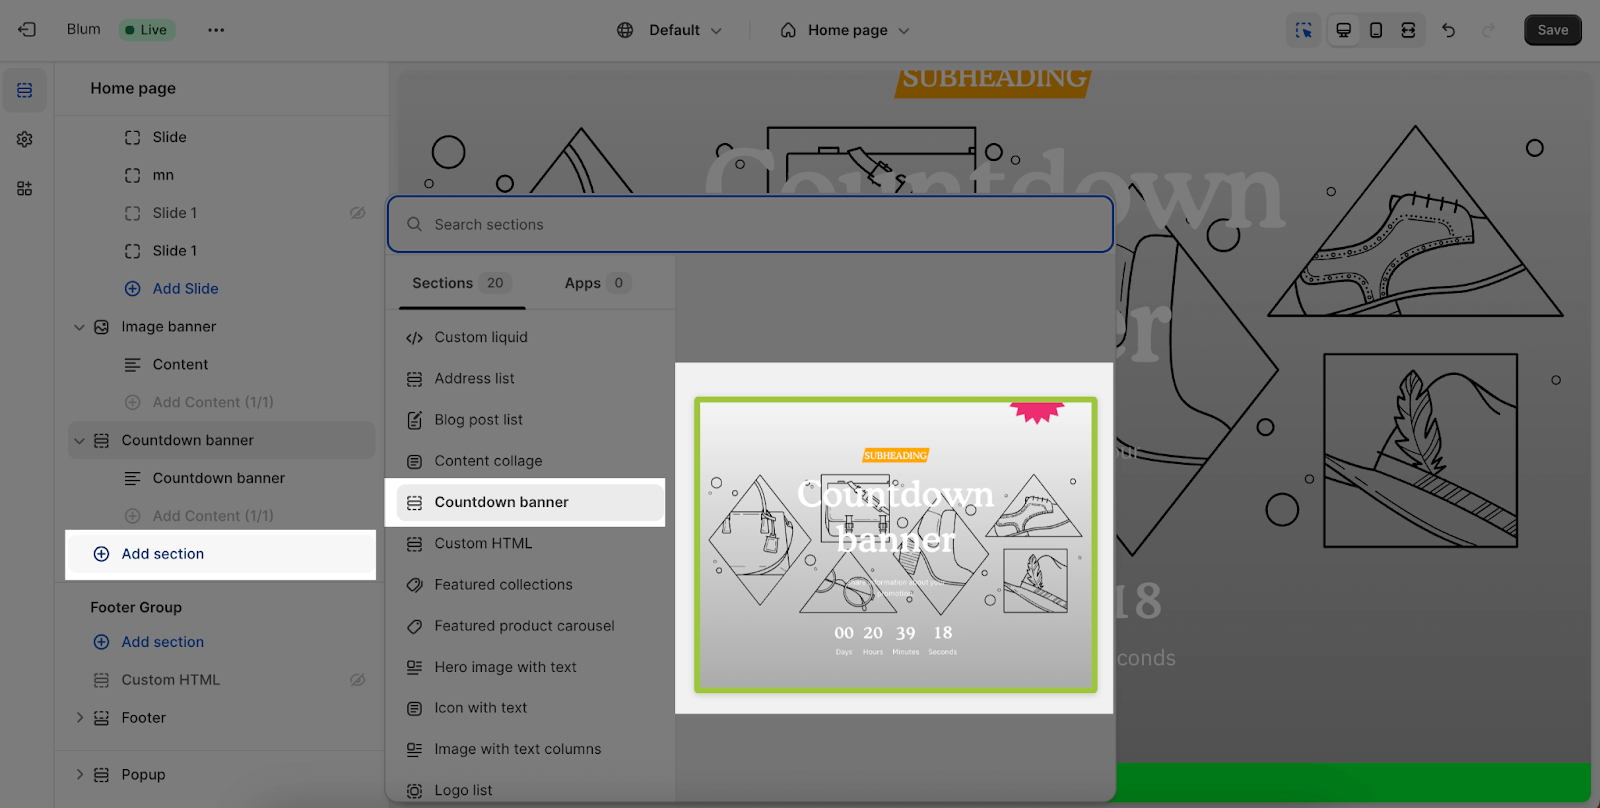
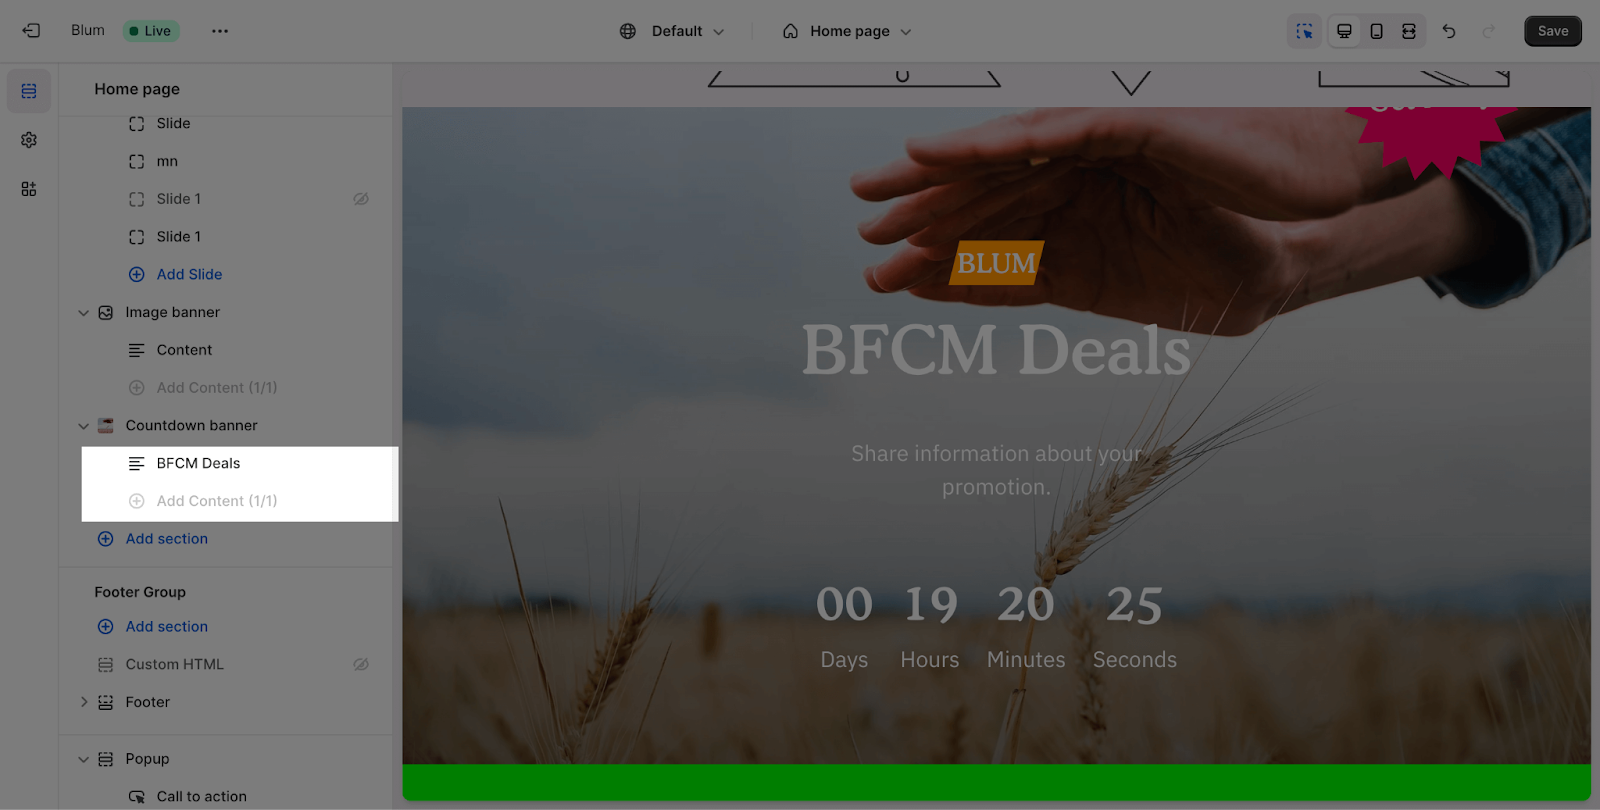
From any page, please click on ‘Add Section’ on the left side bar, then choose ‘Countdown Banner’.
Countdown Banner Section Configuration
General
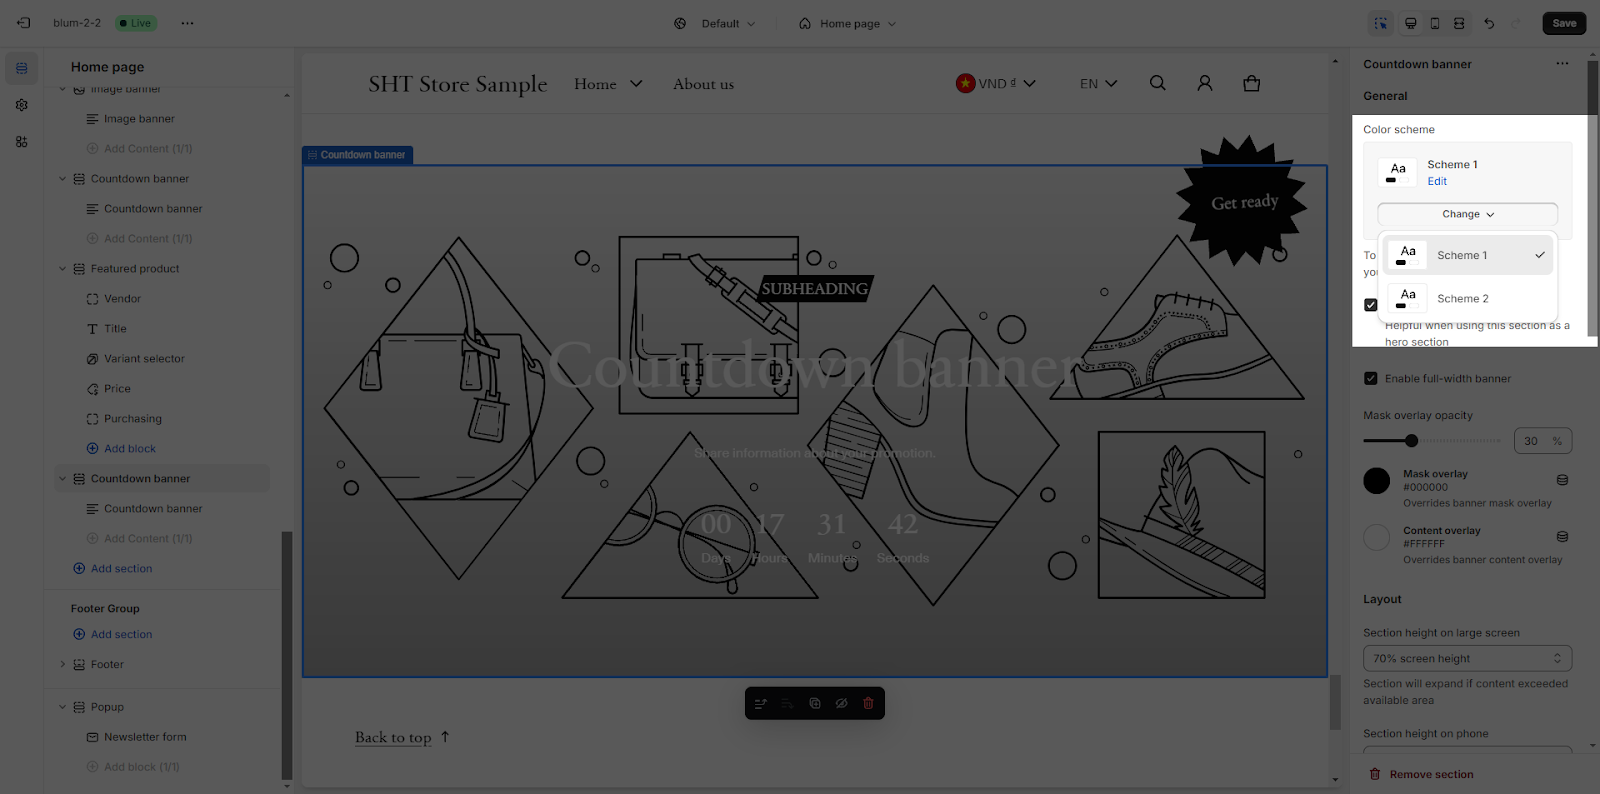
Firstly, you can change the color scheme for this section by selecting the scheme here. To change the theme color, please go to Theme settings > Colors.
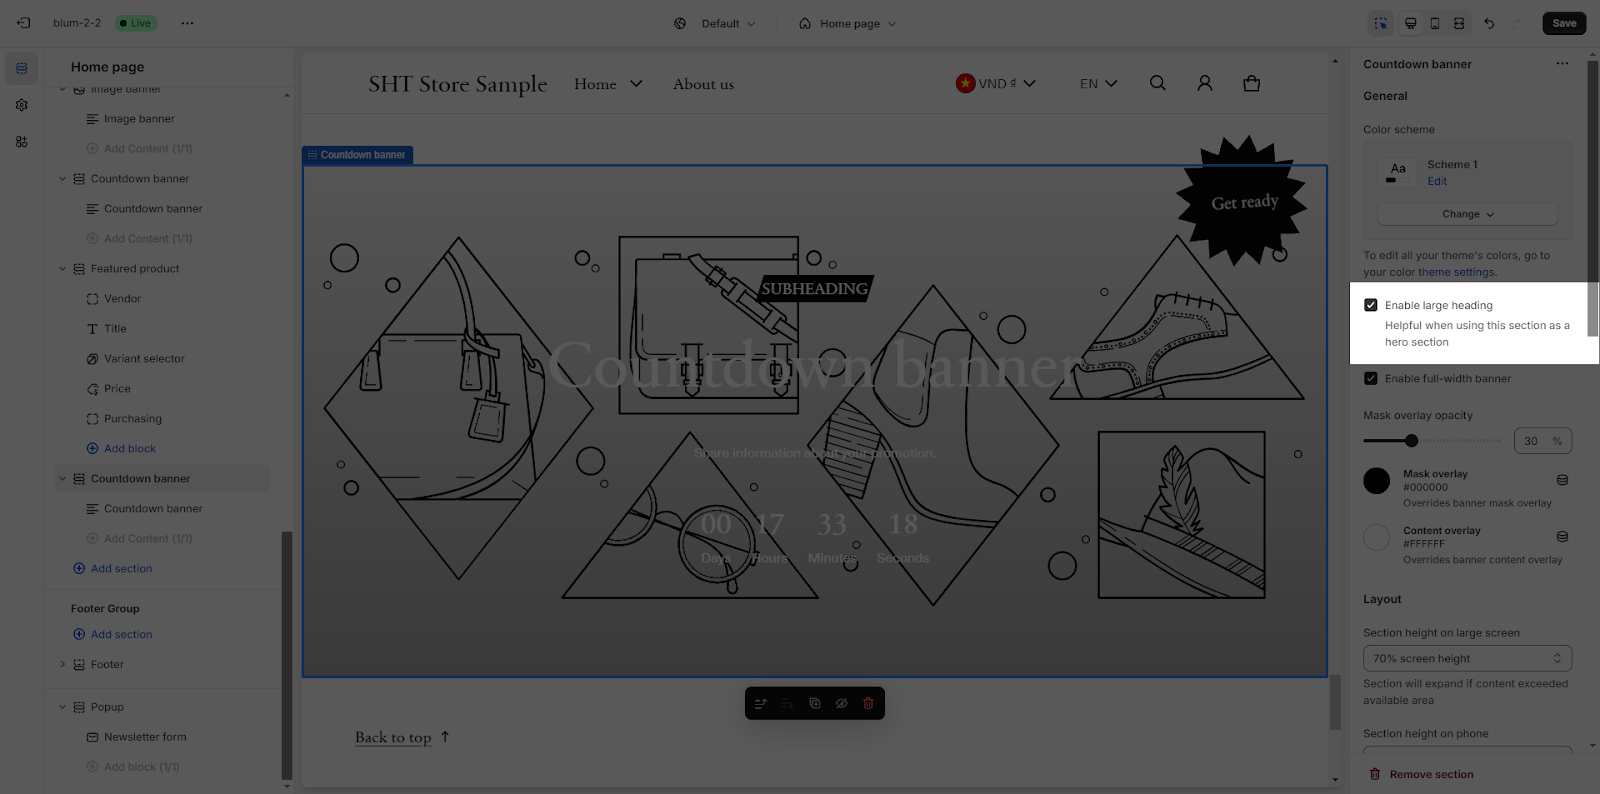
If you want to use this section as a hero section, you can enable the large heading of the section.
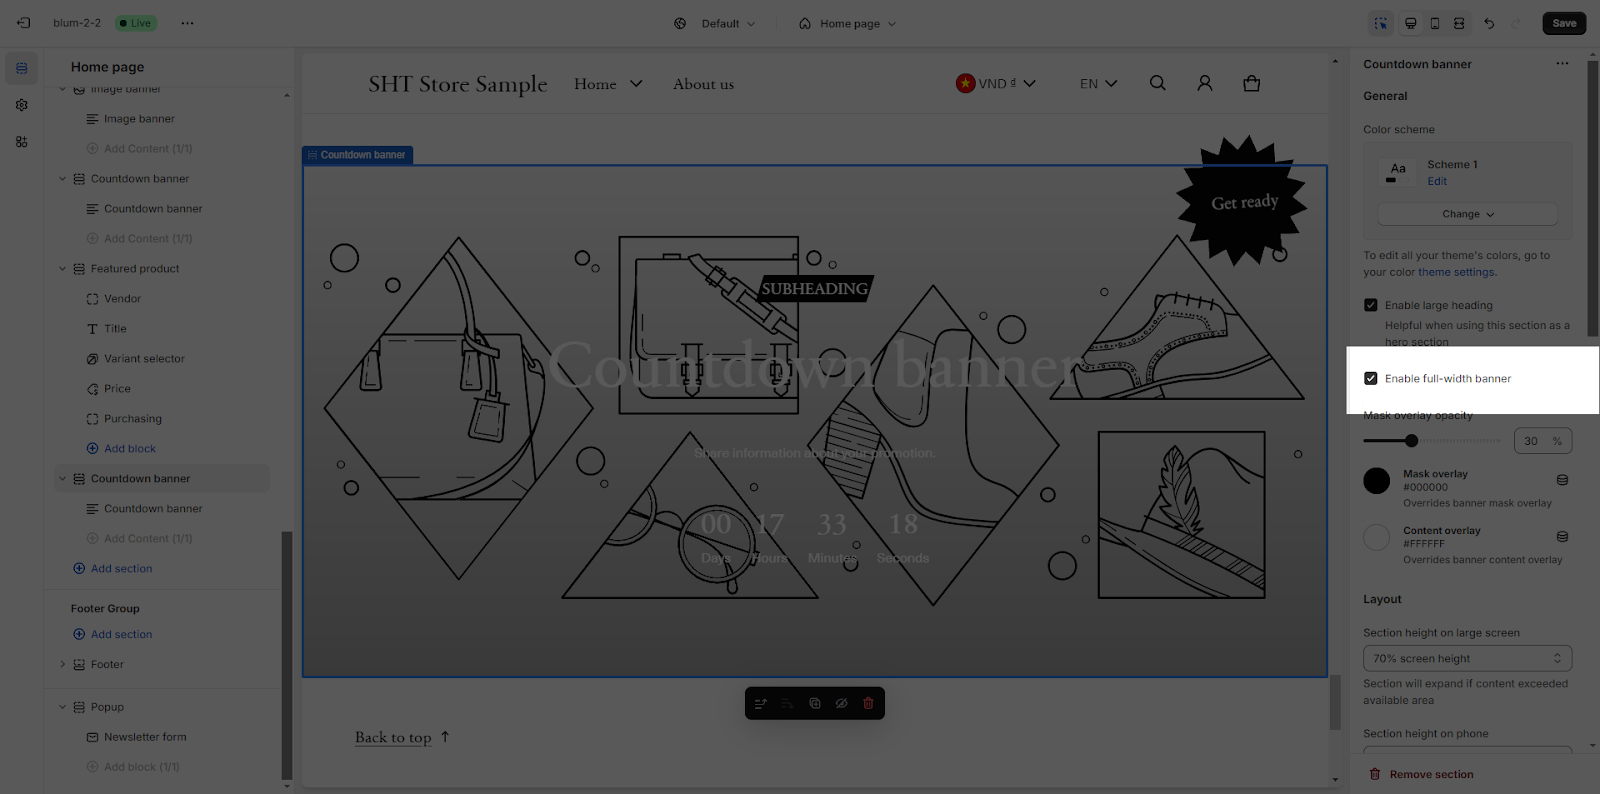
If you want the banner to show full-width, you can enable the Enable full-width banner option.
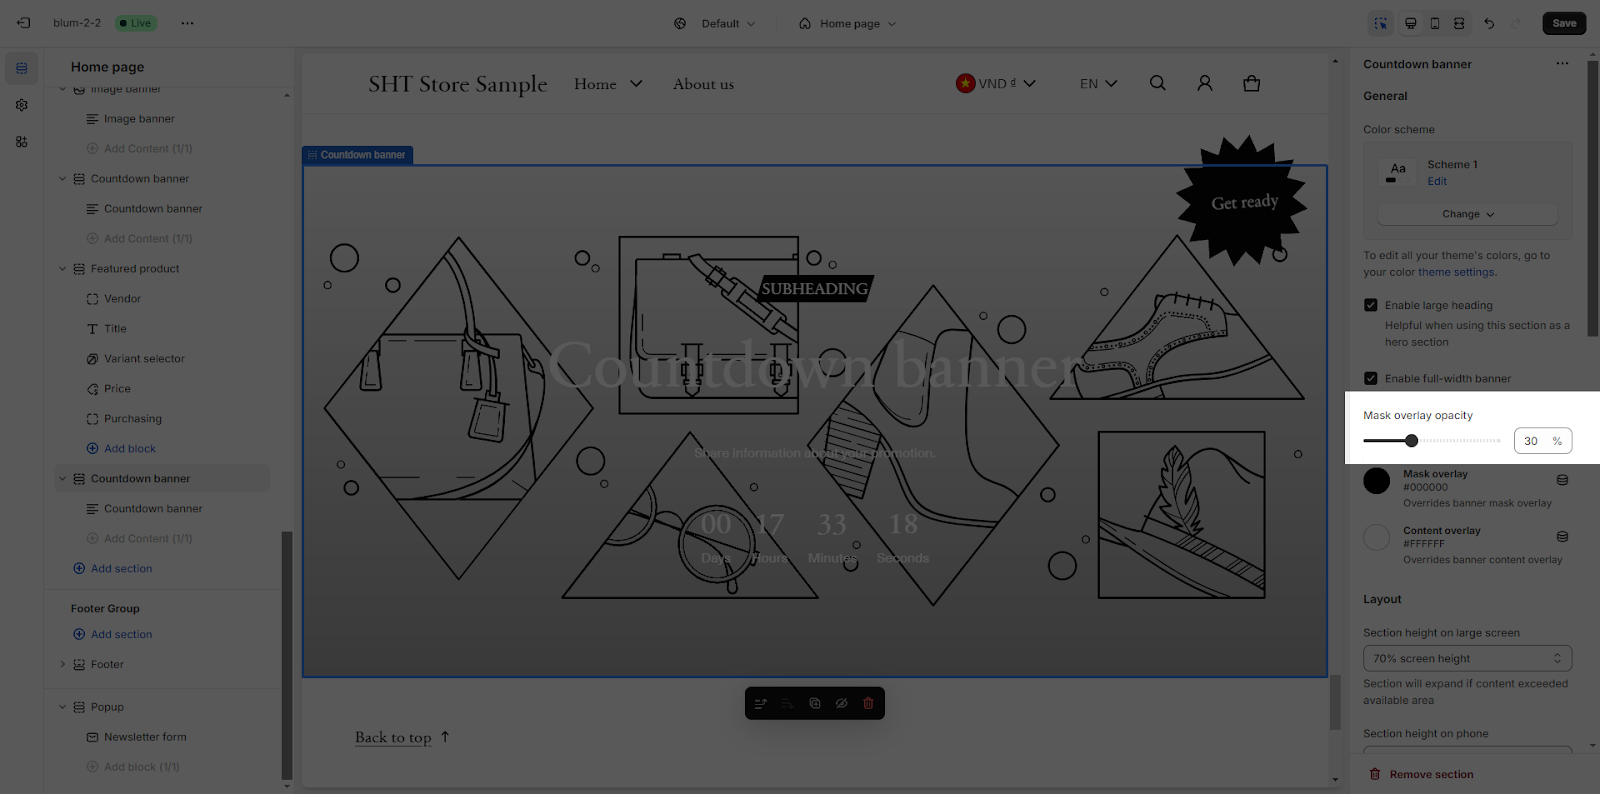
Then, you can adjust the overlay opacity for the section here.
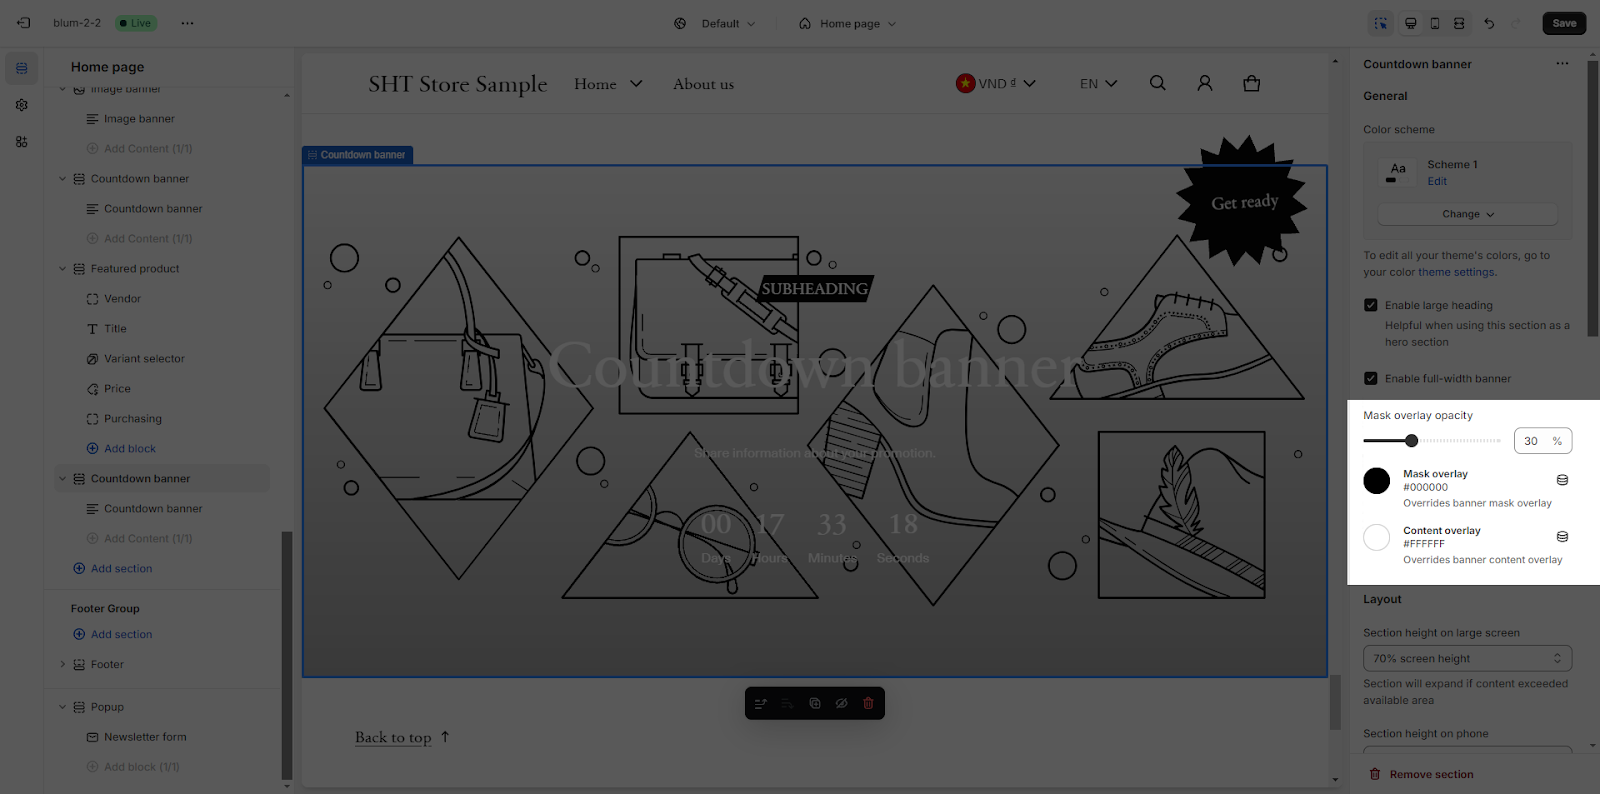
You can also change the color for mask overlay and content overlay by adding the color code for them:
Layout
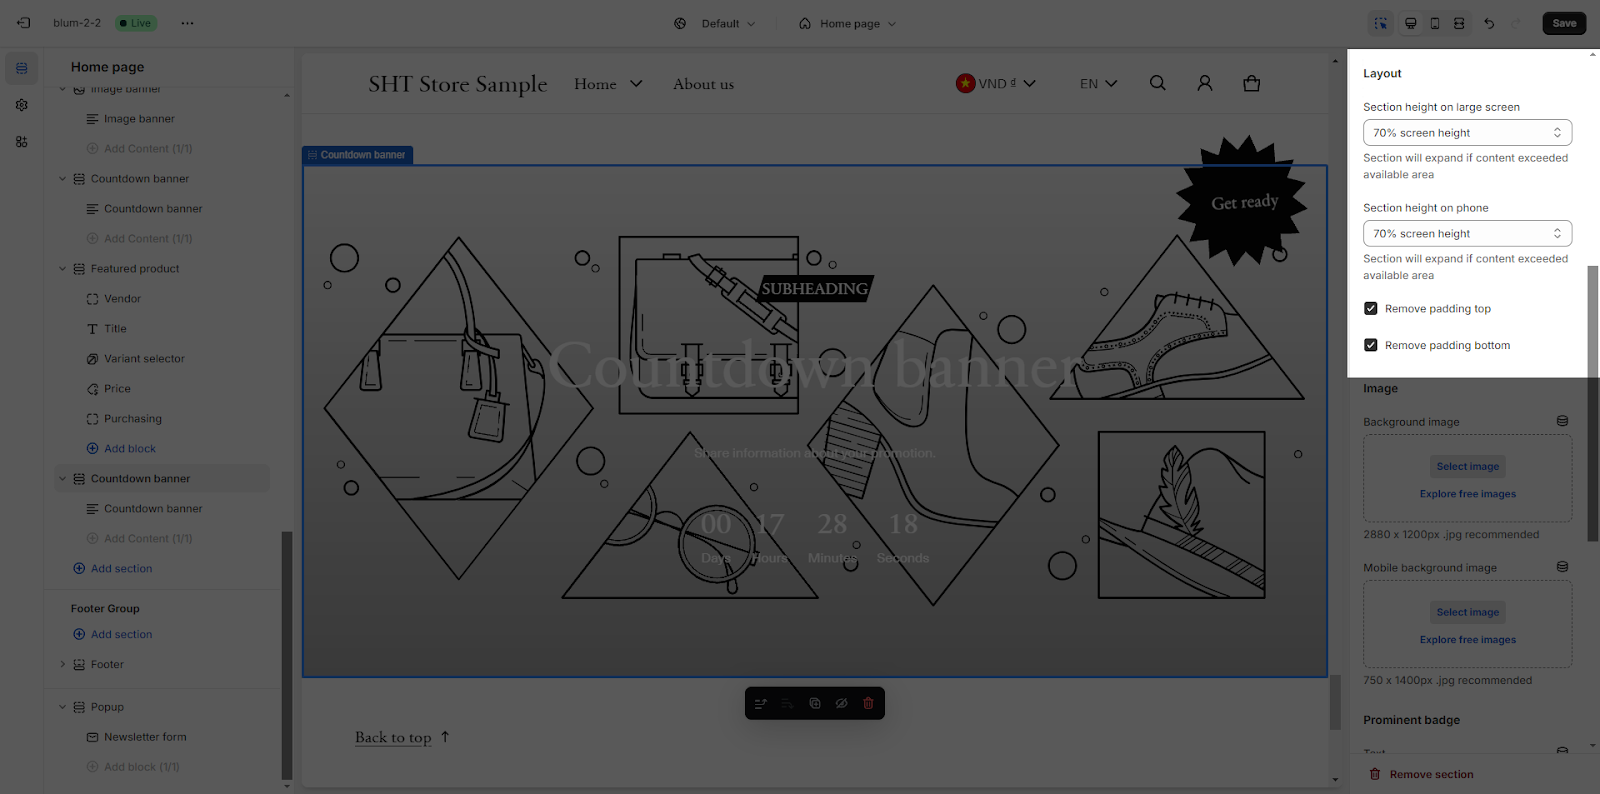
There are 4 options for section height on large screen for you to choose:
- 50% screen height
- 70% screen height
- Fill screen height
- Adapt to image
These options are also available for Section height on mobile.
There are 2 options for section padding for you to chose:
- Remove padding top
- Remove padding bottom
Image
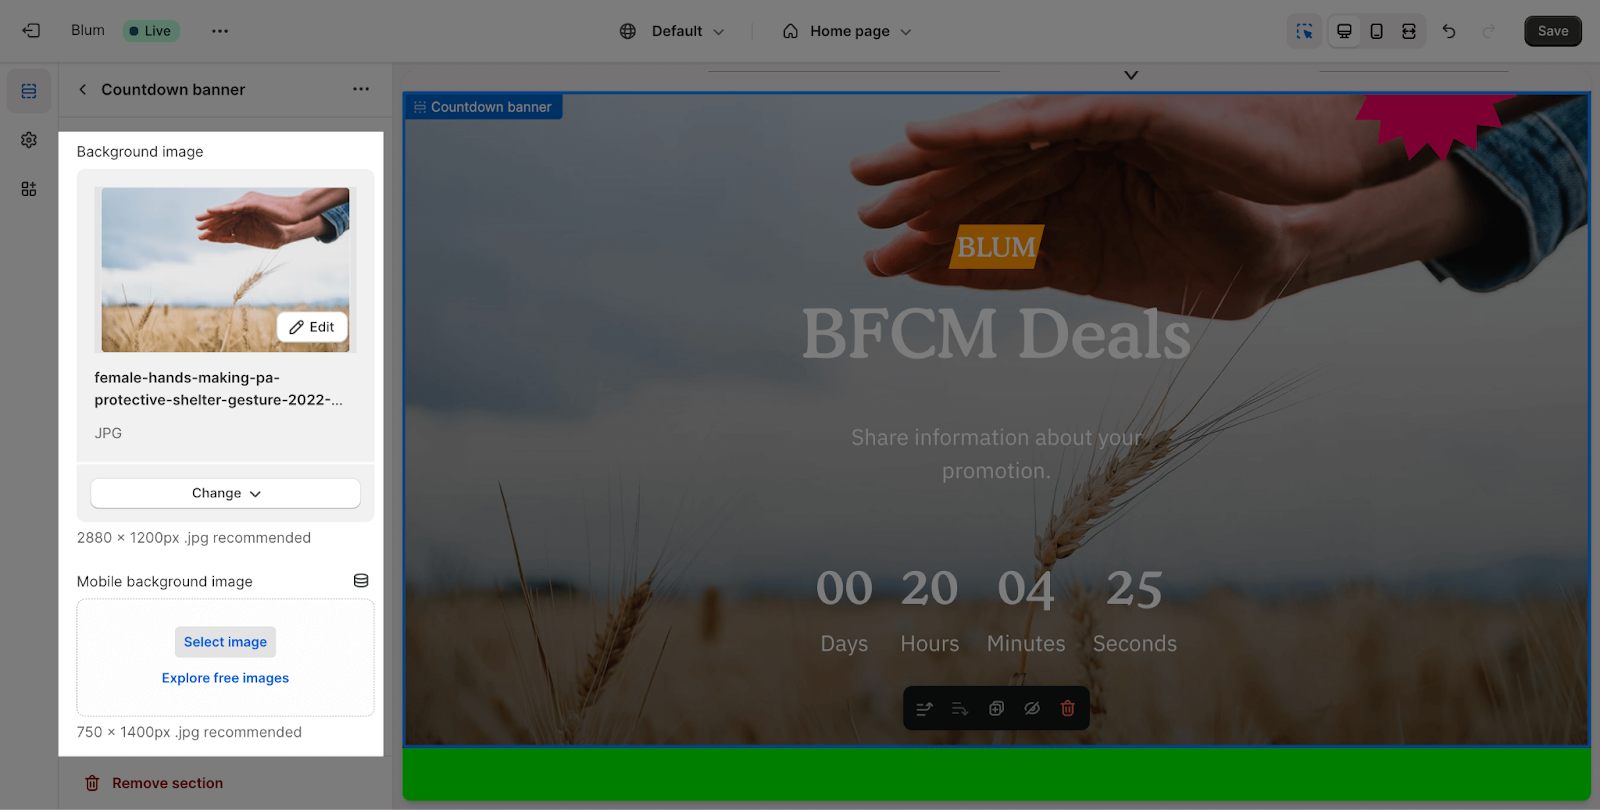
You can add a background image to the section by clicking the Select image button to upload.
This section allows you to select background images for desktop and mobile separately. The recommended sizes are 2880 x 1200 pixels for desktop and 750 x 1400 pixels for mobile.
Prominent Badge
The Prominent Badge of this section has the same setting with the Icon With Text section.
Content Block Configuration
The Content can have a maximum of 1 block:
Text
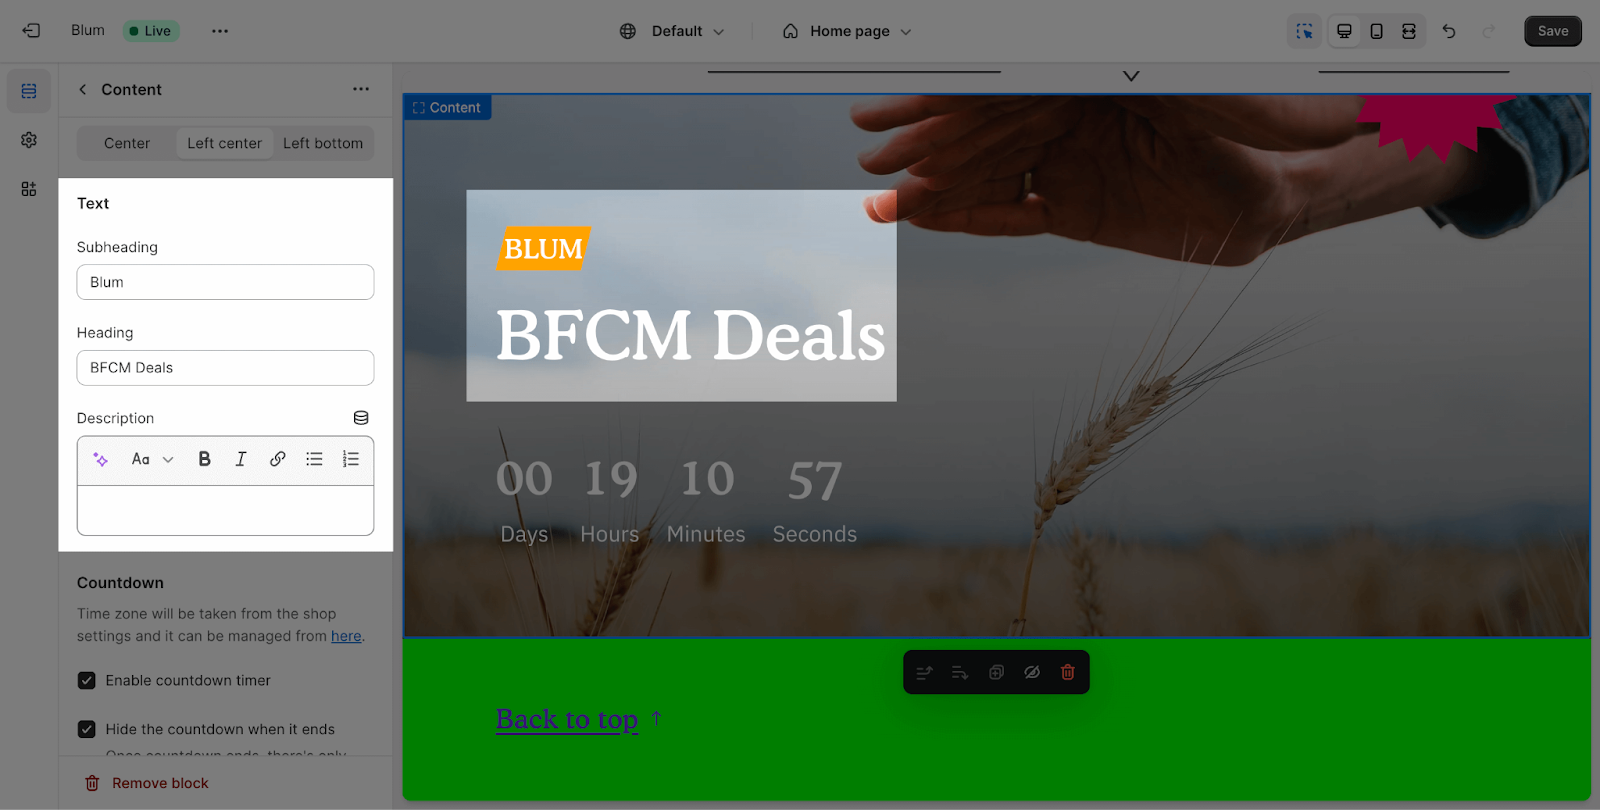
Firstly, you can set up the content position for the section:
- Center
- Left Center
- Left Bottom
To add content in the Section Subheading, Heading and Description, click on the text box and insert the content. If you want to remove these contents, just delete the text in the text box.
Countdown
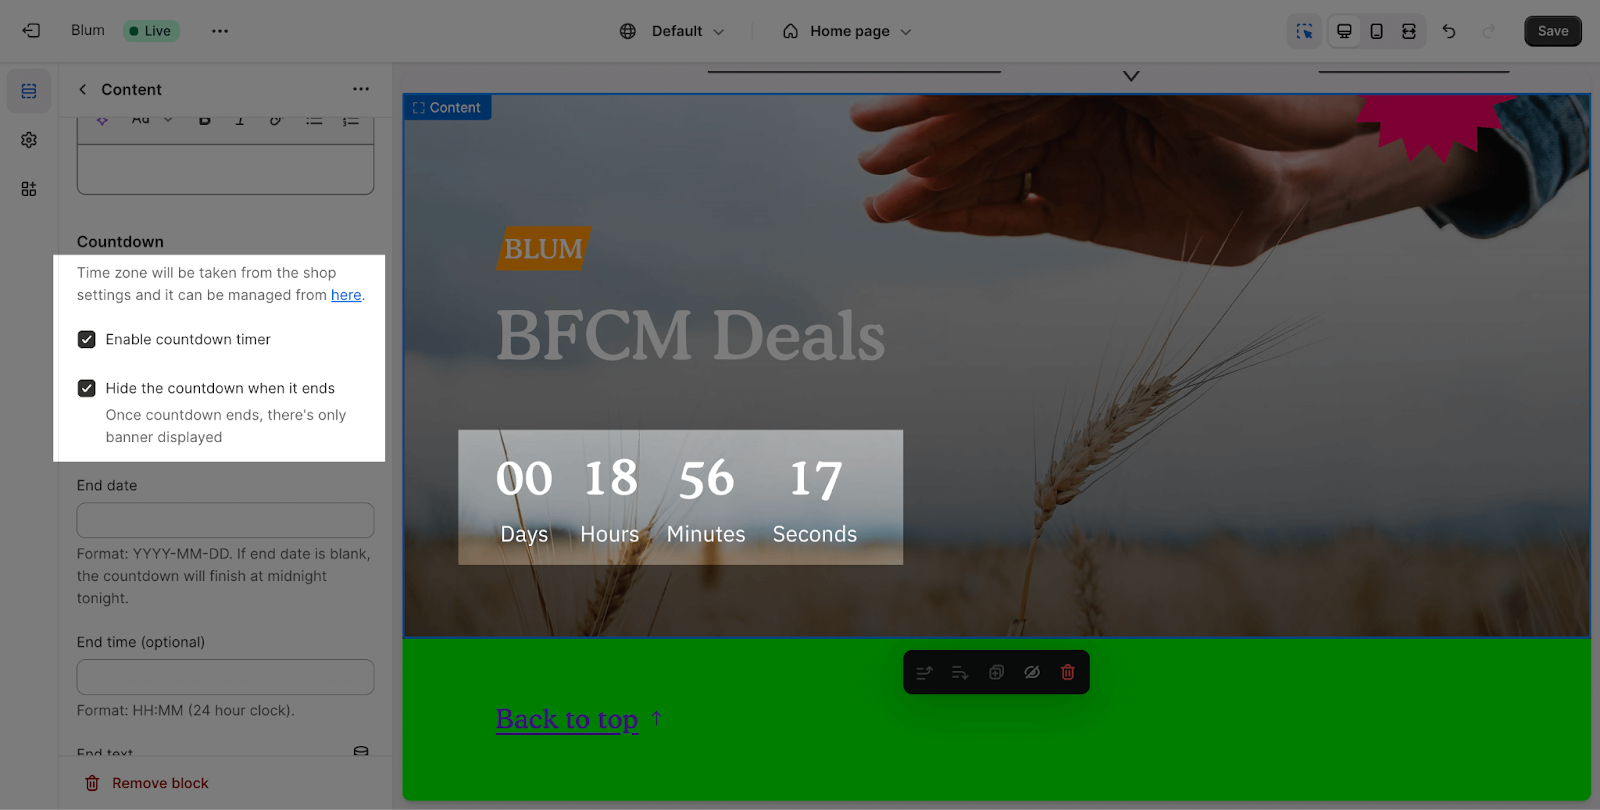
Time zone of the countdown timer will be taken from your store settings and it can be managed from Shopify admin > Settings > Store details.
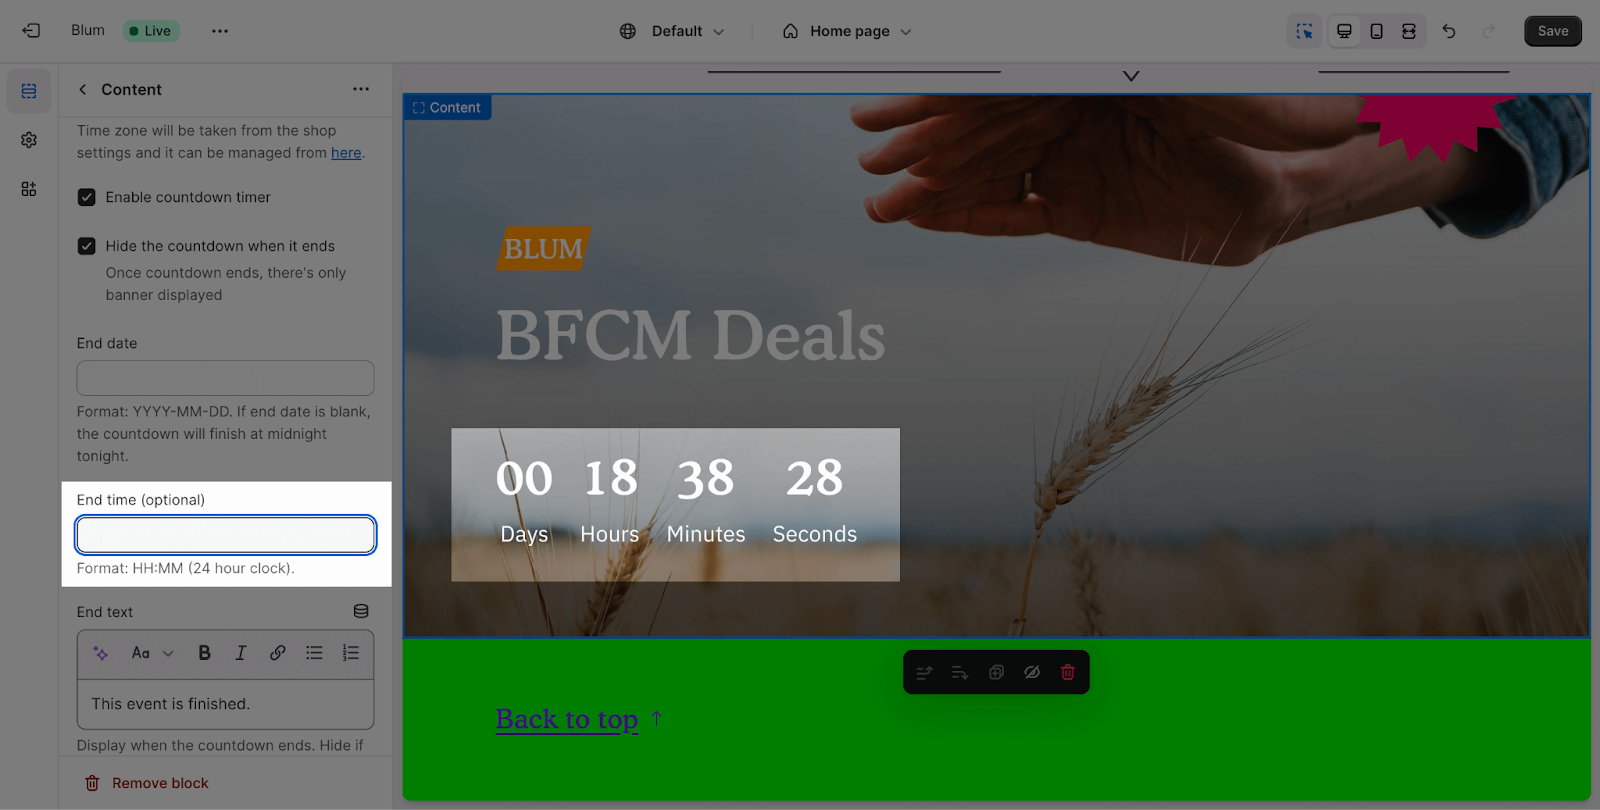
You can enable the countdown timer and hide the countdown when it ends here.
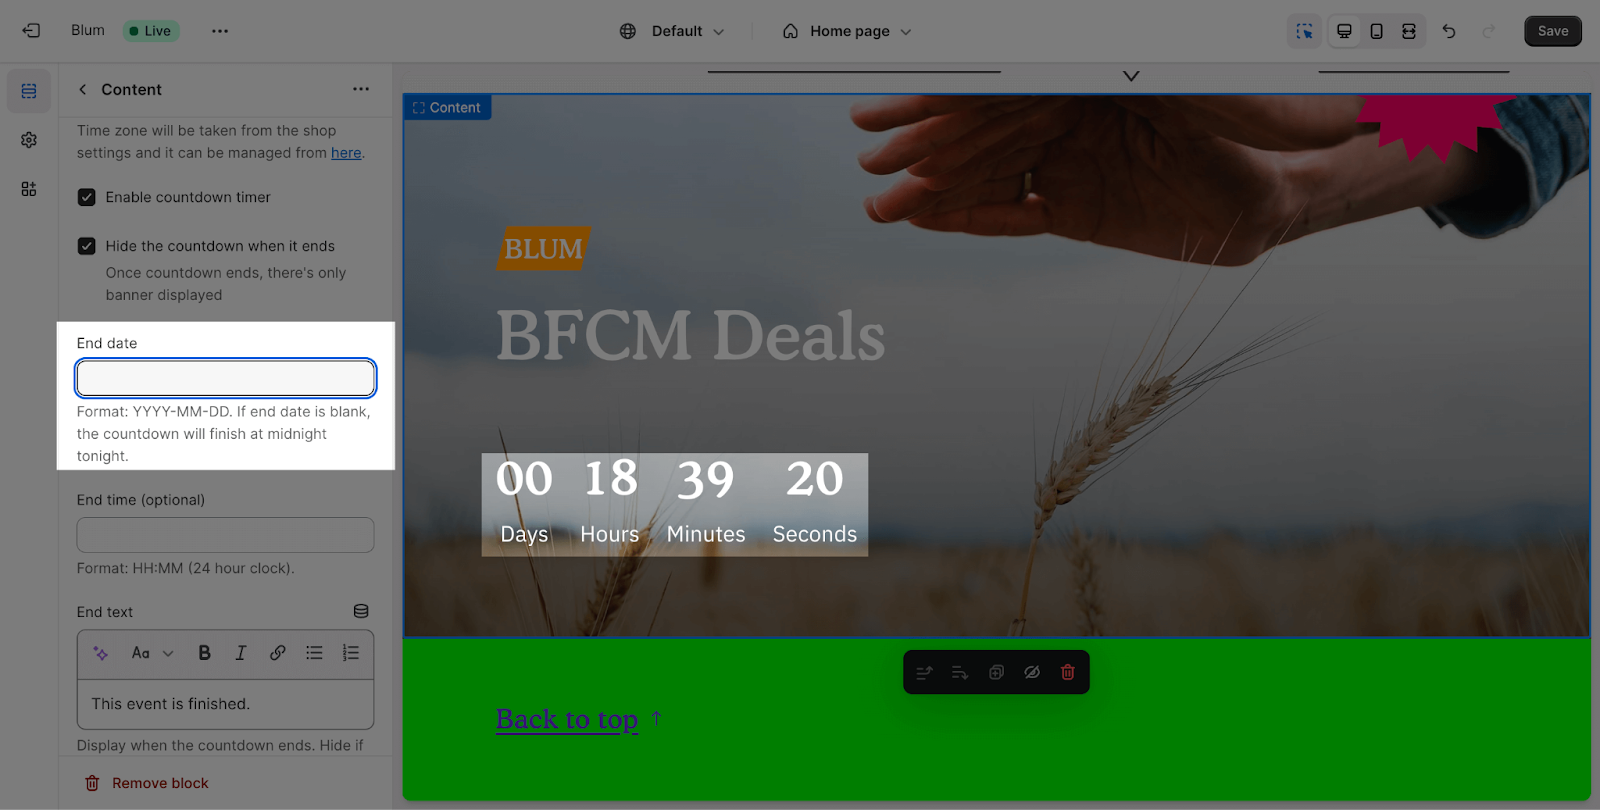
You can set up the end date by entering the date on the text box, please remember that the format here is YYYY-MM-DD. If you leave the end date blank, the countdown will end at midnight tonight.
Next, you can set up the end time for the countdown timer. Please remember that the format here is HH:MM(24 hour clock). If you leave it blank, the countdown timer will automatically end at 23:59 PM on the end date.
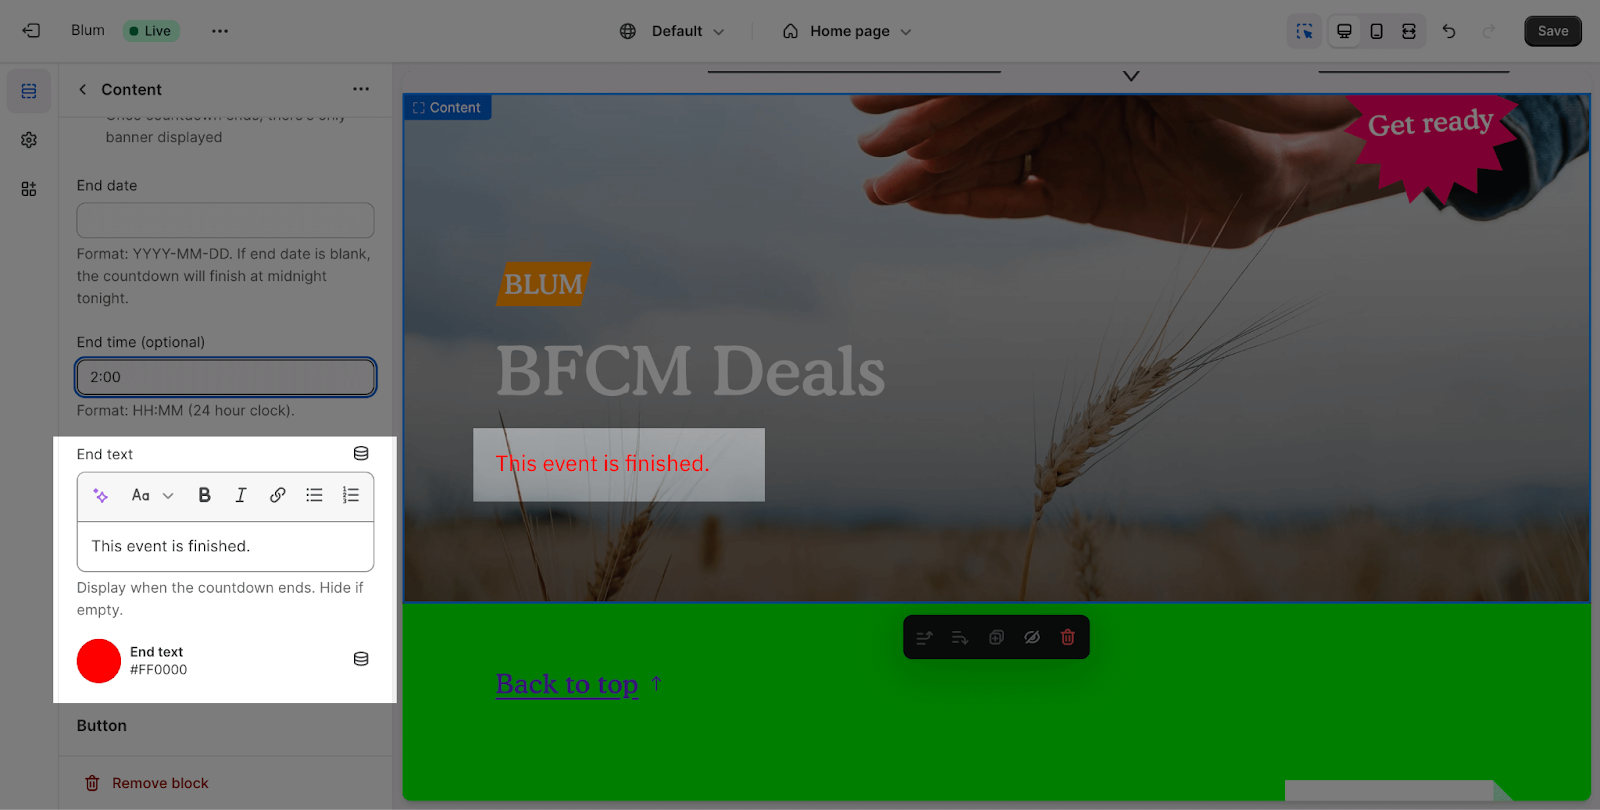
To show a short end text notification, you can enter the content in the text box. You can also change the color text by adding the color code here.
Button
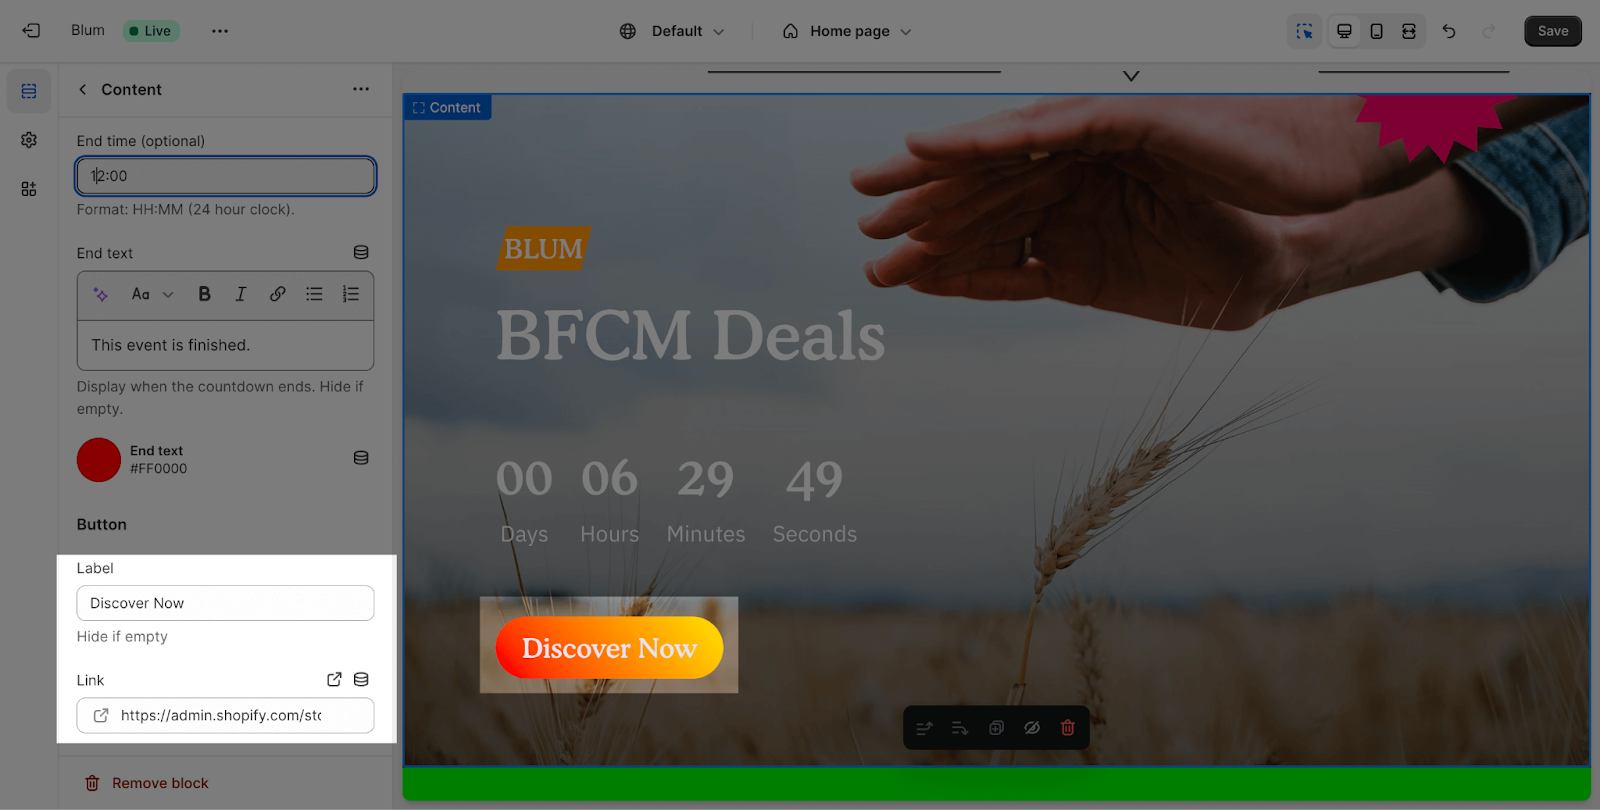
You can add a button for this block by adding button text and button link for in the button tab.
Frequently Asked Questions
1. What is the Countdown Banner Section?
The Countdown Banner Section is a tool to create urgency and excitement in your online store by displaying a live countdown to an upcoming sale or event.
2. How do I set the countdown timer?
To set the countdown timer, you’ll need to specify the end date and time in the section’s settings. The time zone will be based on your store’s settings.

