Footer
About Blum Footer Section
The Footer section serves as an essential component of your Blum theme, providing crucial information and navigation options at the bottom of every page. This section enhances your mobile-first fashion store by enabling:
- Clear display of store information and contact details
- Strategic secondary navigation through customizable menus
- Email marketing growth with integrated newsletter subscription
- Brand trust signals through social proof and payment methods
- International reach via language and currency selectors
The Blum’s Footer section is specifically designed with mobile performance in mind, ensuring optimal display and functionality across all devices while maintaining your fashion brand’s aesthetic.

How To Access Footer Section
From any page in your Blum Theme Admin Dashboard, scroll down to the bottom of the page to locate the Footer Group > Footer section.
Simply click on the Footer section to access its customization settings and begin tailoring it to your brand needs.
How To Configure Footer Section
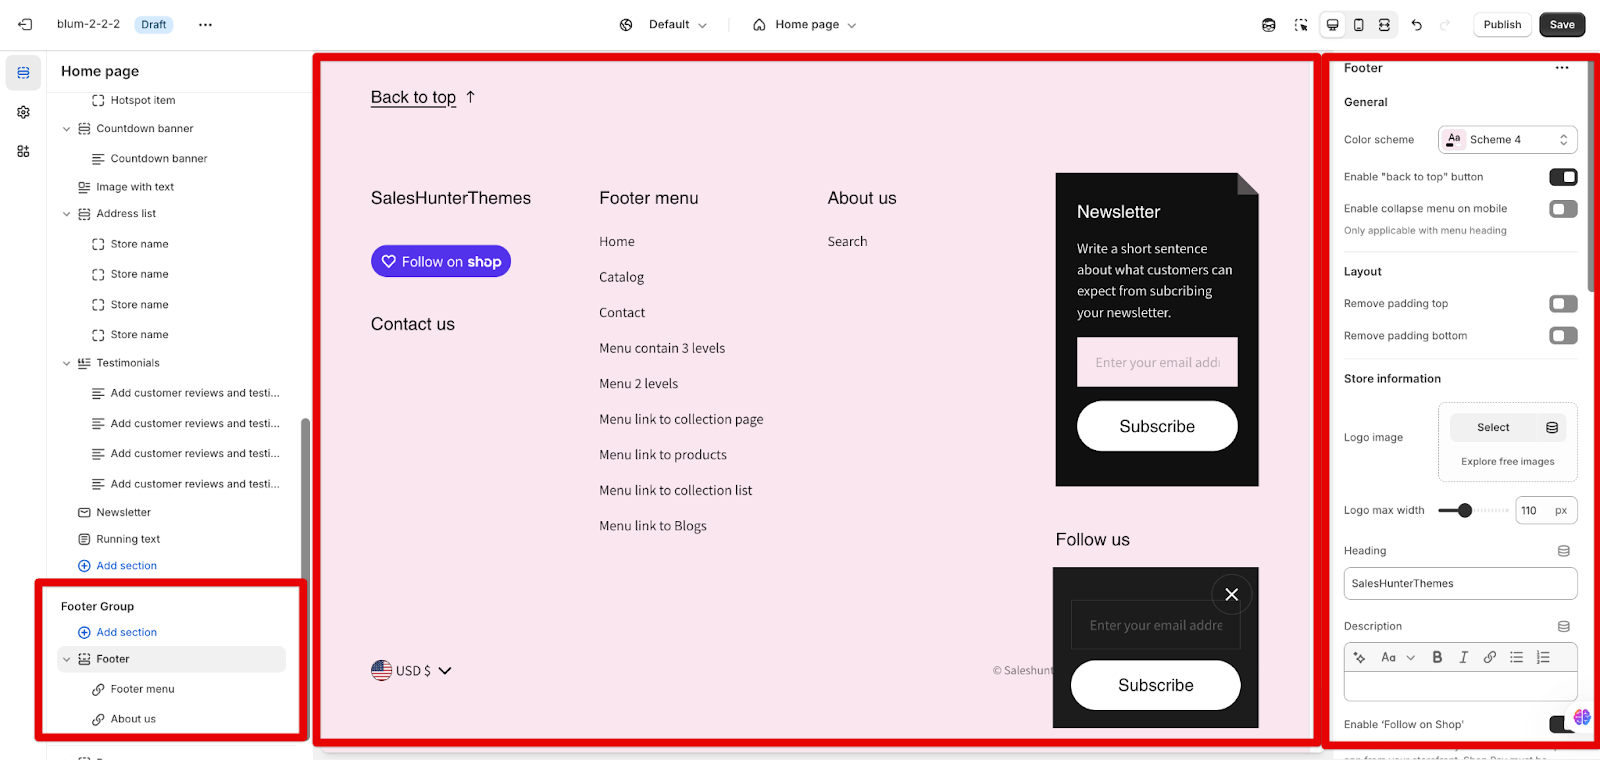
General
Within General settings, you can customize fundamental aspects of your footer:
- Color scheme: Select a color scheme that complements your brand identity. For deeper color customization, navigate to Theme settings > Colors.
- Enable “Back to top” button: Improve navigation on long pages by toggling this user-friendly feature on or off.
- Enable collapse menu on mobile: Optimize your mobile experience by allowing menu headings to collapse, creating a cleaner interface and faster loading times on smaller screens.
Layout
Control the spacing around your footer content with these options:
- Remove padding top: Eliminate space between the footer and preceding content for a more streamlined look.
- Remove padding bottom: Remove space at the bottom of the footer to create a cleaner edge on your page.
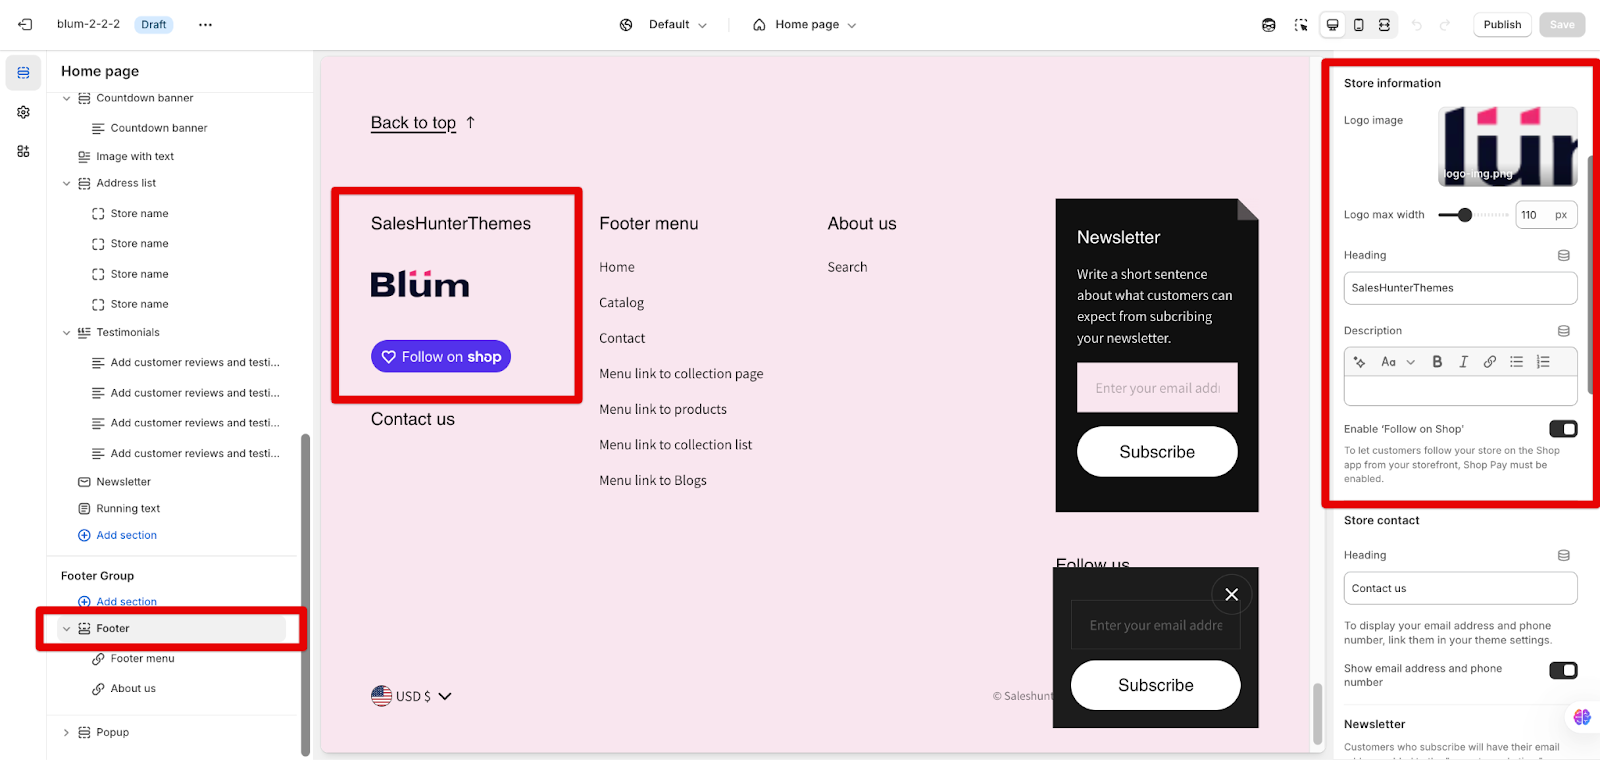
Store information
Customize how your brand presents itself in the footer:
- Logo image: Click “Select” to upload your logo through the media manager. For optimal mobile display, adjust the Footer logo max width (40px to 240px, default 160px).
- Heading and description: Craft concise text that communicates your brand’s vision and mission to build customer connection.
- Enable ‘Follow on Shop’: Allow customers to follow your store on the Shop app when Shop Pay is enabled, creating another channel for customer engagement.
Store Contact
Make it easy for customers to reach you:
- Heading: Customize the contact section title to match your brand voice.
- Show email address and phone number: Toggle this on after setting up your contact information in theme settings for consistent display across your site. To display your email address and phone number, you need to set them in your theme settings:
-
- Access theme settings on the menu bar
- Click on the Email address and phone number section
Newsletter
Grow your email marketing list with these customization options:
- Enable newsletter: Choose whether to display the newsletter signup form in your footer.
- Heading and description: Create compelling copy that communicates the value of subscribing.
- Background and content colors: Customize colors to create visual emphasis that aligns with your brand palette.
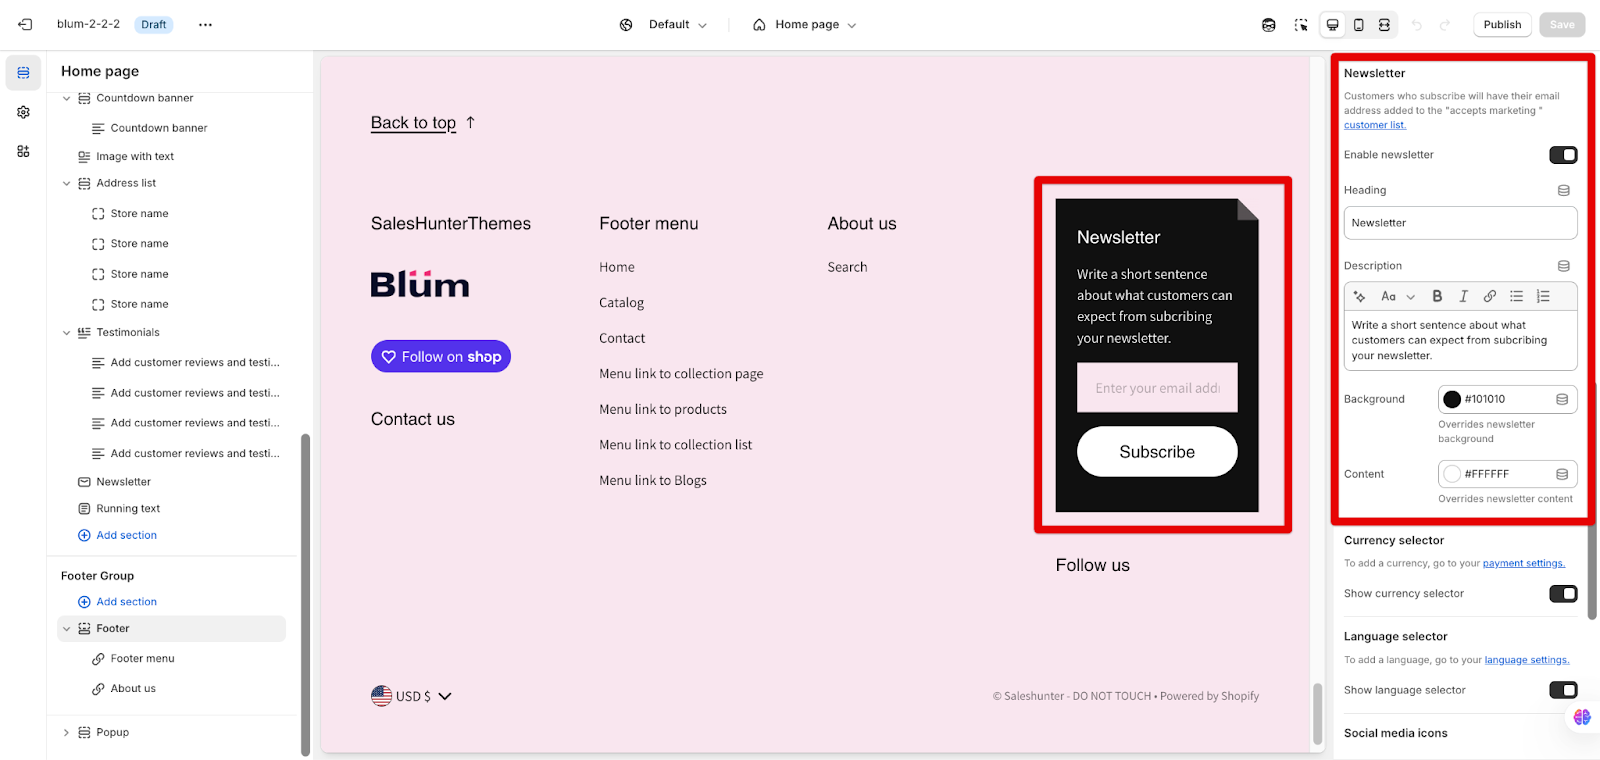
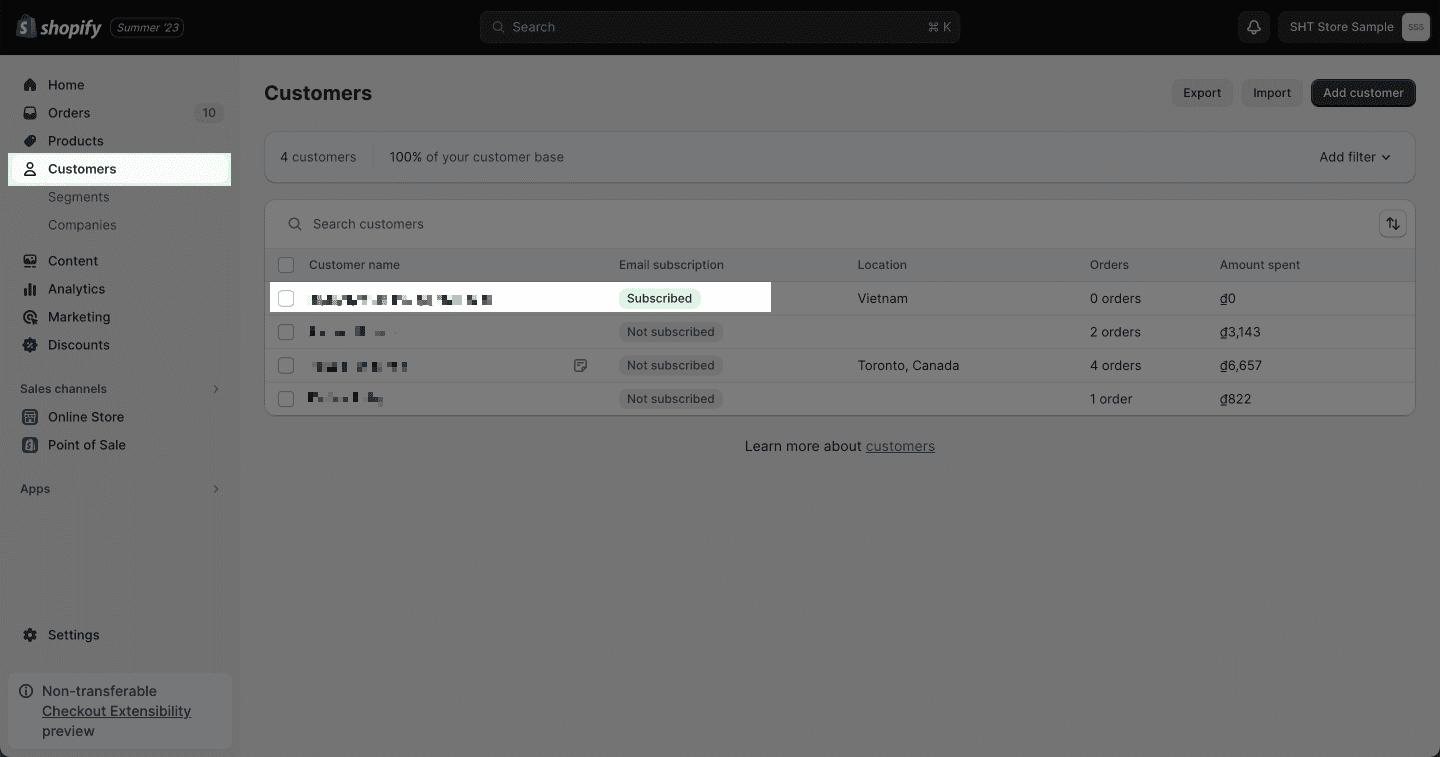
All submitted email addresses are automatically stored in Shopify admin > Customers, streamlining your marketing database.
Currency Selector
The currency selector allows visitors to choose the currency that they prefer to view prices in to enhance international shopping experiences: Enabling “Show currency selector” displays this option only after setting up multiple currencies in your store.
Here are the steps on how to enable the currency selector in Shopify:
- Go to your Shopify admin and click on Settings > Payments.
- In the Shopify Payments section, click on Manage.
- Under Currency Conversion, check the box next to Enable multi-currency.
- Click on Save.
Once you have added a currency, you can enable the currency selector in the footer section of your store.
Language Selector
Create accessible shopping experiences for global customers:
- To add languages, configure your language settings in Shopify admin.
- Show language selector: This feature requires at least two published languages to function properly.
- Your store must have two or more languages. This feature only works if your store has multiple languages. To set this up, please follow the Shopify guide on adding and managing languages on your site.
- These languages must all be published.
Social Media Icon
To set up for the Social Media icon on the Footer section, please follow these steps:
- Connect your social presence to your store. Note that to display your social media accounts, you must link them in your theme settings.
- Heading: Customize the title for your social media section.
Payment Method
We can build trust by showing accepted payment options. To add payment methods, configure your payment settings in Shopify admin > Payment settings. Enabling “Show payment icons” displays visual indicators of accepted payment methods based on your Shopify settings.
How To Configure Footer Section’s Blocks
You can add up to 4 menu blocks to provide organized navigation categories that guide customers to important sections of your site.
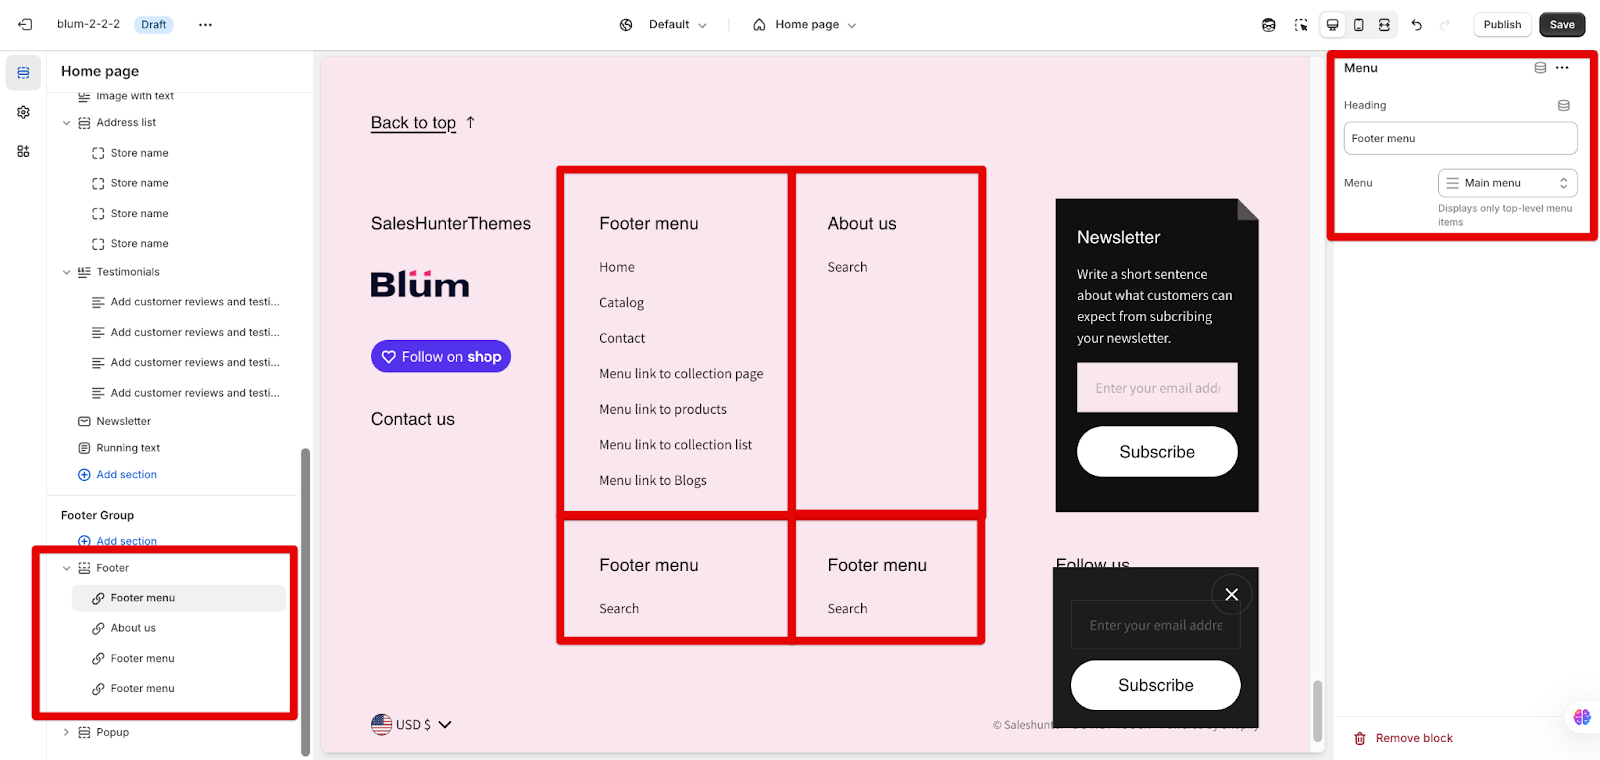
For each menu block, add a descriptive heading and select the appropriate menu from your already created navigation menus.
Common Cases and FAQs
1. How to add a ‘Follow on Shop’ feature in the footer?
Enable the ‘Follow on Shop’ toggle in the Store Information section. This feature requires Shop Pay to be enabled and helps increase your visibility on the Shop app – particularly valuable for fashion brands looking to build repeat customers.
2. How to add contact information to the footer?
First set up your contact details in Theme settings > Email address and phone number, then enable “Show email address and phone number” in the Store Contact section. Displaying clear contact information builds trust with fashion-conscious customers who may have pre-purchase questions.
3. Why isn’t my language selector appearing in the footer?
Verify you have added and published at least two languages in your Shopify admin and enabled the selector in your footer settings. Multiple language options can significantly increase conversion rates in international fashion markets.
4. Can I add multiple menus to my footer?
Yes, add up to 4 menu blocks to create organized navigation categories. For fashion stores, consider menus for Collections, Size Guides, Sustainability Practices, and Customer Service to enhance the shopping experience.