Timeline
About Blum Timeline Section
What is Blum Timeline Section?
Blum Timeline Section is a visually appealing way to showcase your brand’s history, product development journey, or any series of steps or activities.
This is a great way to organize and present information in chronological order, making it easier for customers to follow the evolution or process of a particular topic.
Access Blum Timeline Section
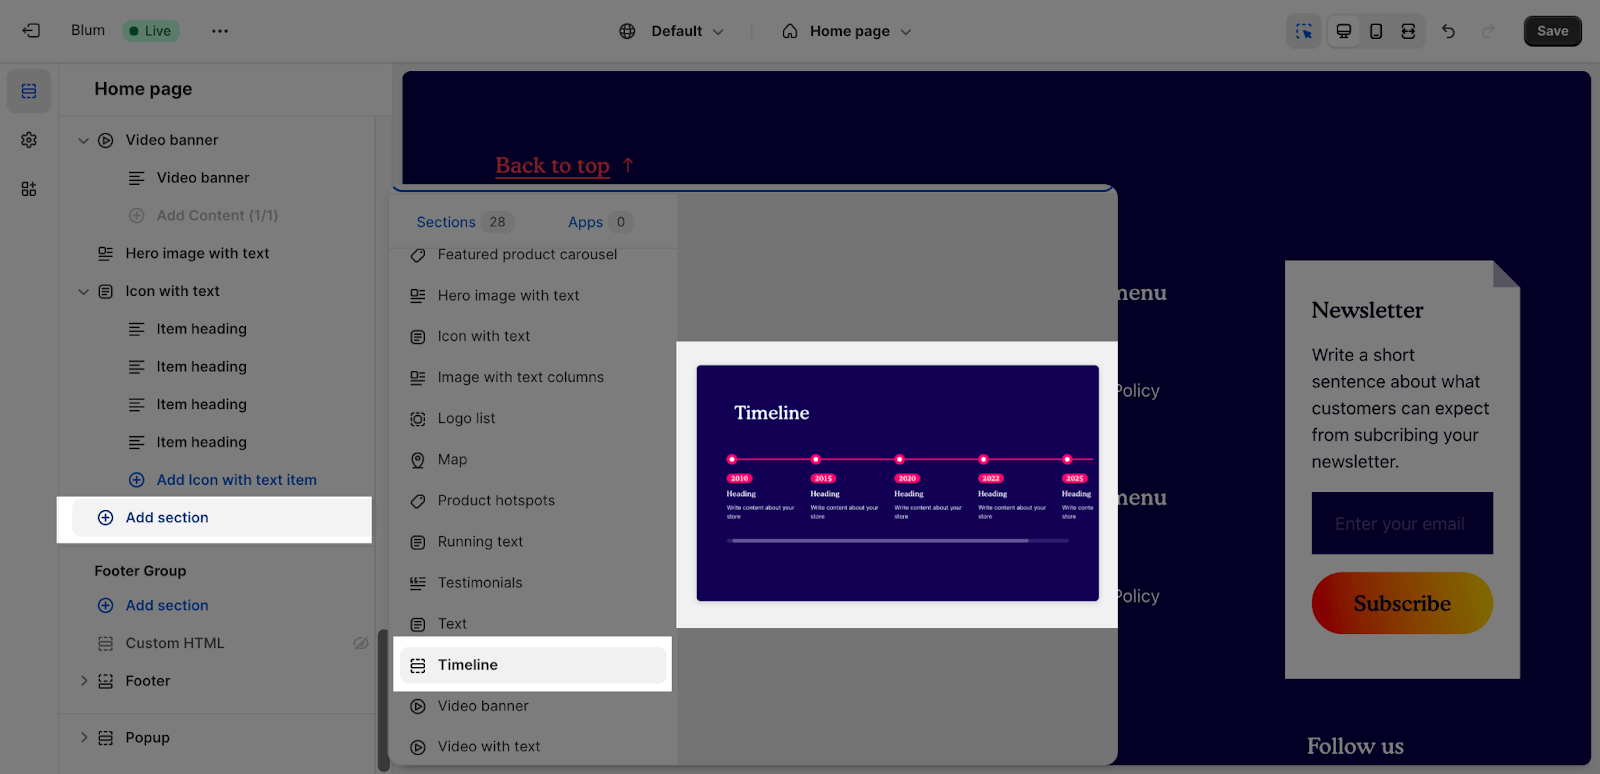
From any page, please click on ‘Add Section’ on the left side bar, then choose ‘Timeline’.
Blum Timeline Section Configuration
Edit General
The settings of the Timeline section are similar to those of the Blum Icon with Text section.
- Change the color scheme for this section by selecting the scheme here. To change the theme color, please go to Theme settings > Colors.
- Adjust Section subheading, Section heading and Section description for the section by entering content on the fields.
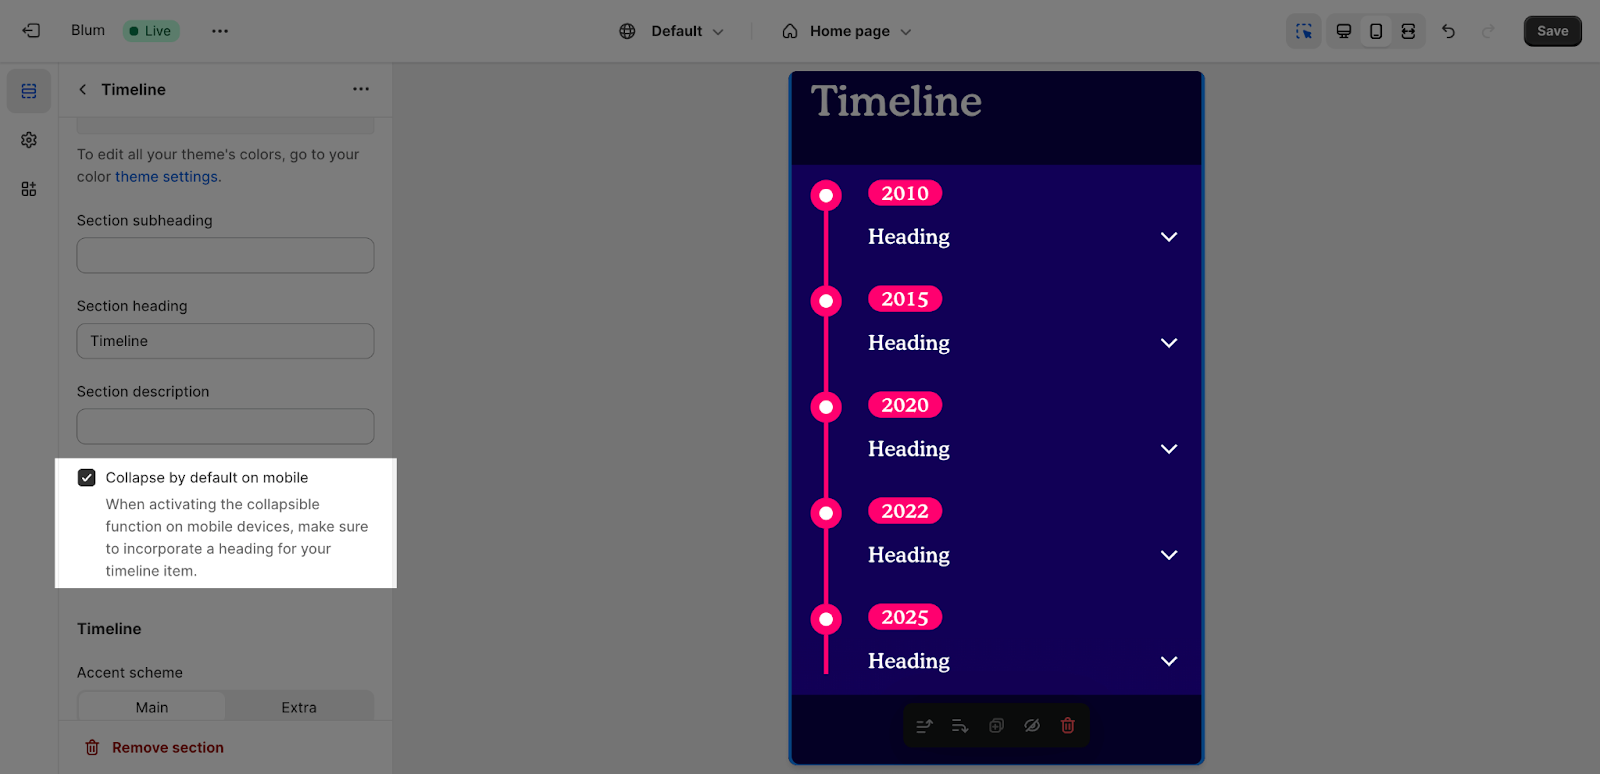
You also have additional option to enable collapsing by default on mobile devices. To activate this feature, simply click on the ‘Collapse by default on mobile’ checkbox. This will make the description of each timeline item collapse, to optimize section height on mobile screens. Customers can then click on the Heading text to expand and view the full description.
If you do not enable this, the content will display normally on mobile.
Edit Timeline
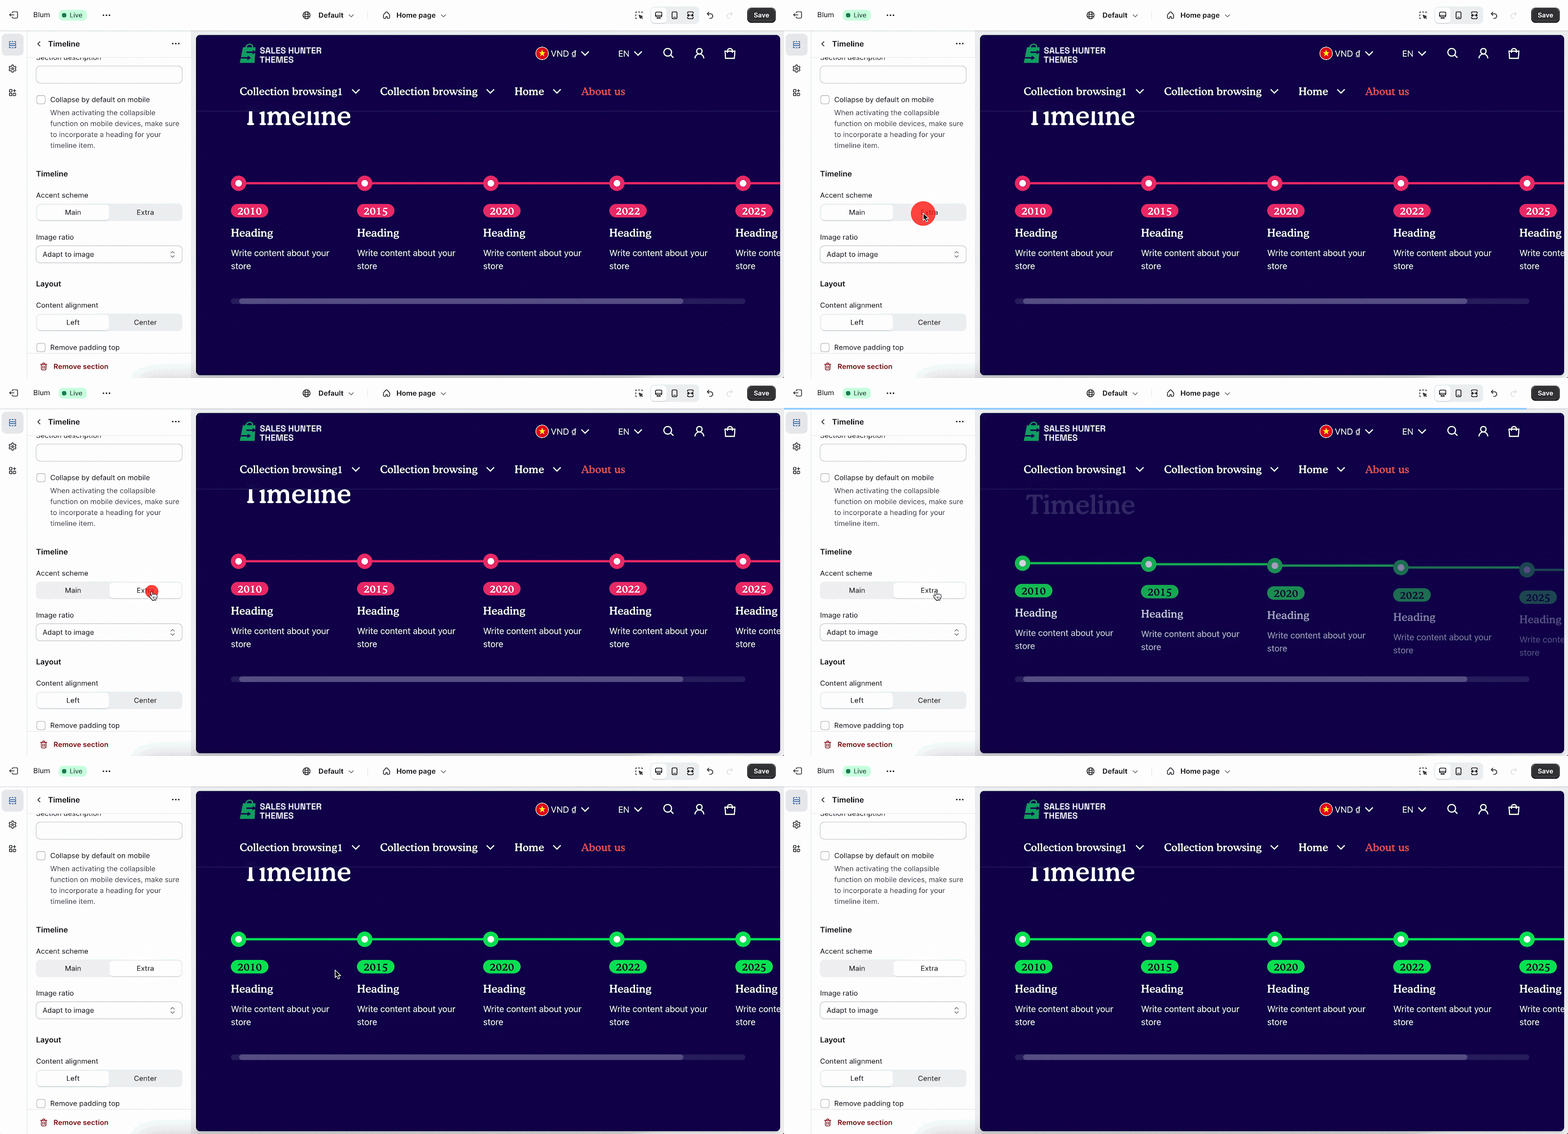
You can change the accent for the timeline by selecting between Main accent and Extra accent:
To change these accent colors, please visit theme settings > Colors > Accent.
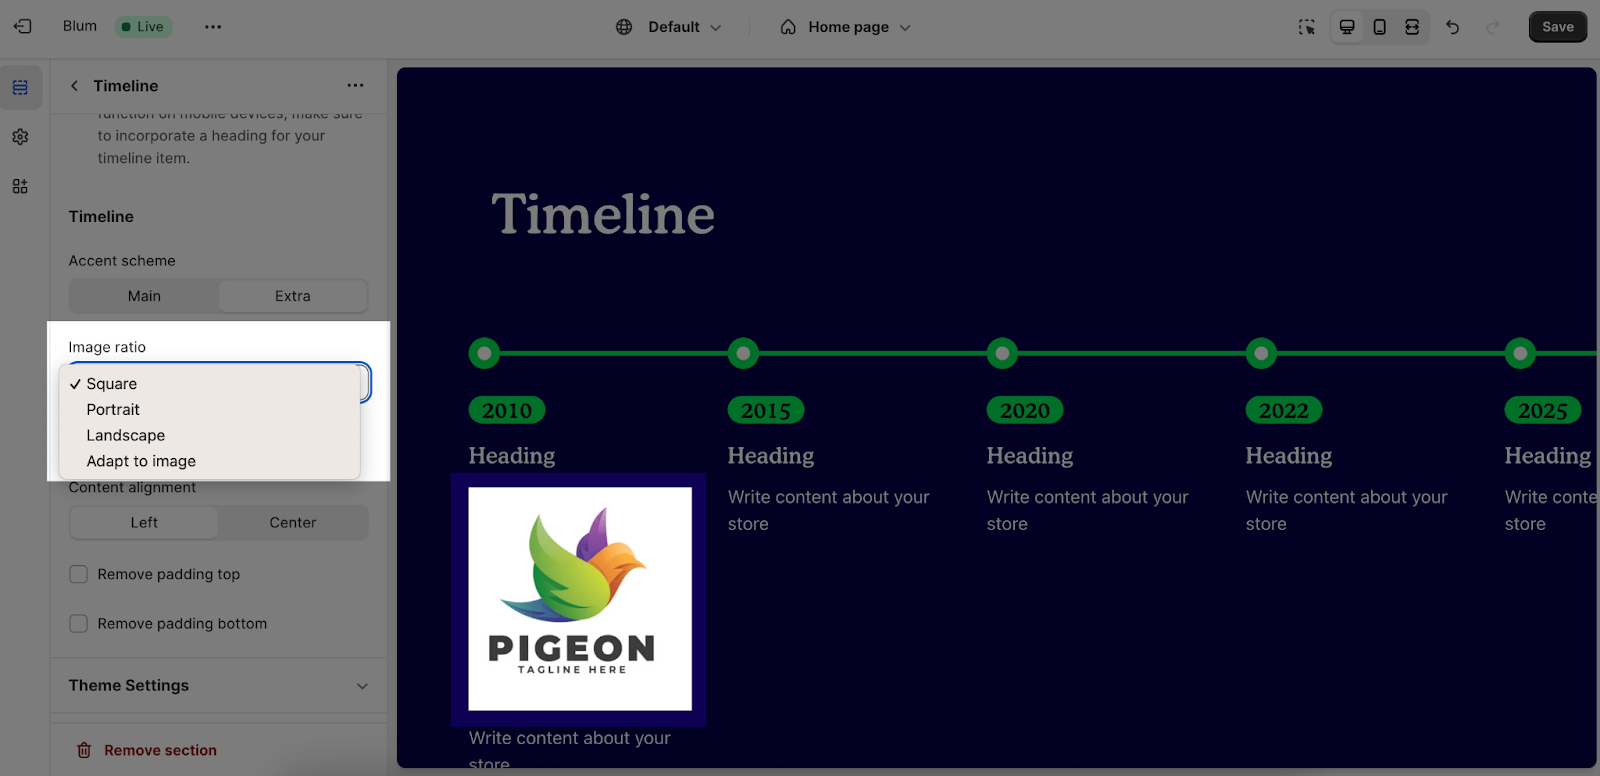
After that, you can change the image ratio for all timeline cards. The image ratio options include: Square, Portrait (2:3), Landscape (3:2), and Adapt to Image.
Edit Layout
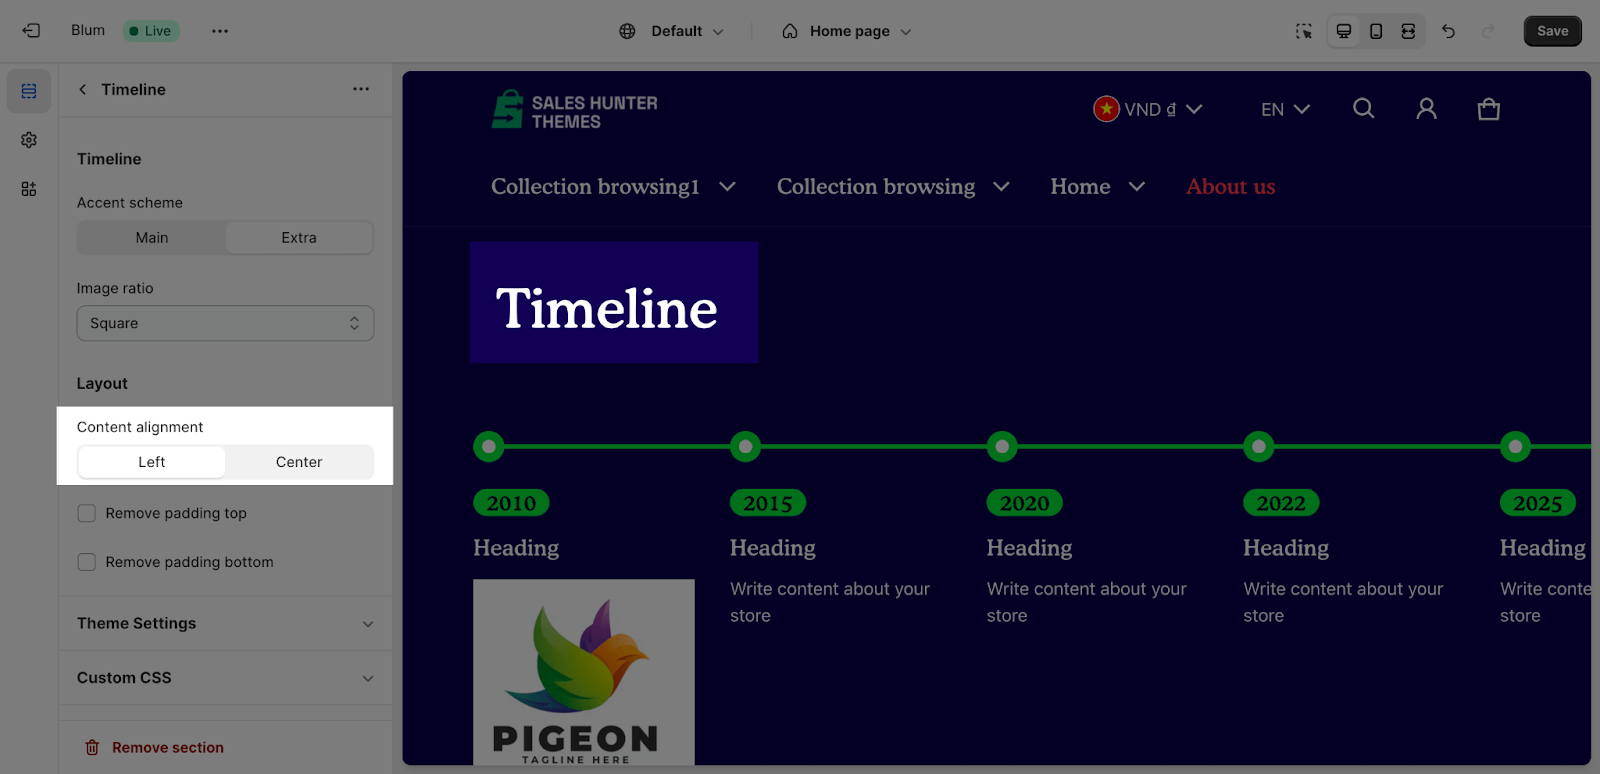
The Section information Content can be aligned left or center of the page.
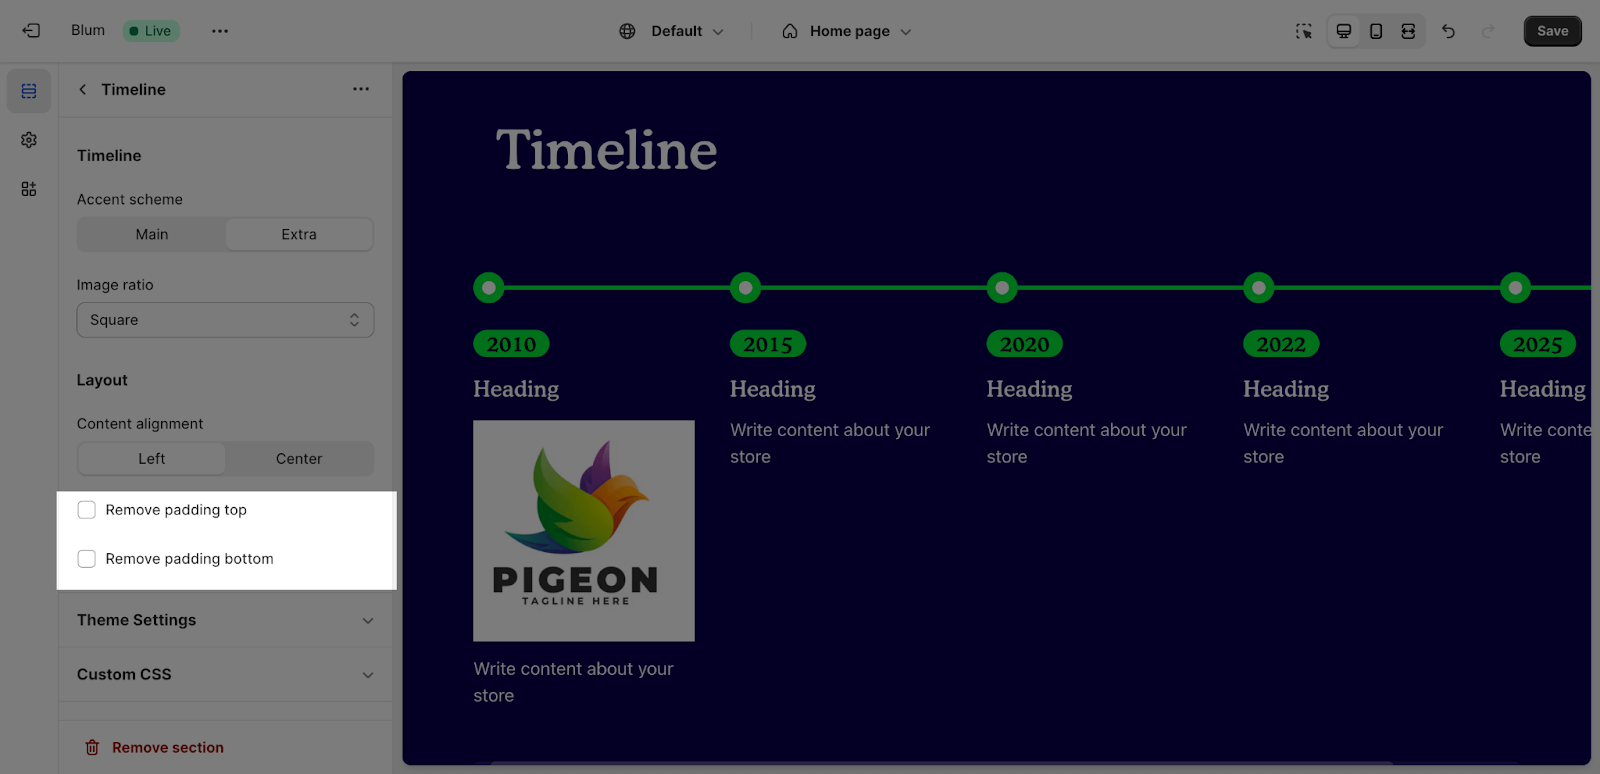
Next, You can enable ‘Remove padding top‘ and ‘Remove padding bottom‘ to delete the spacing at the top and bottom between the section and the elements inside it.
Blum Timeline Item Configuration
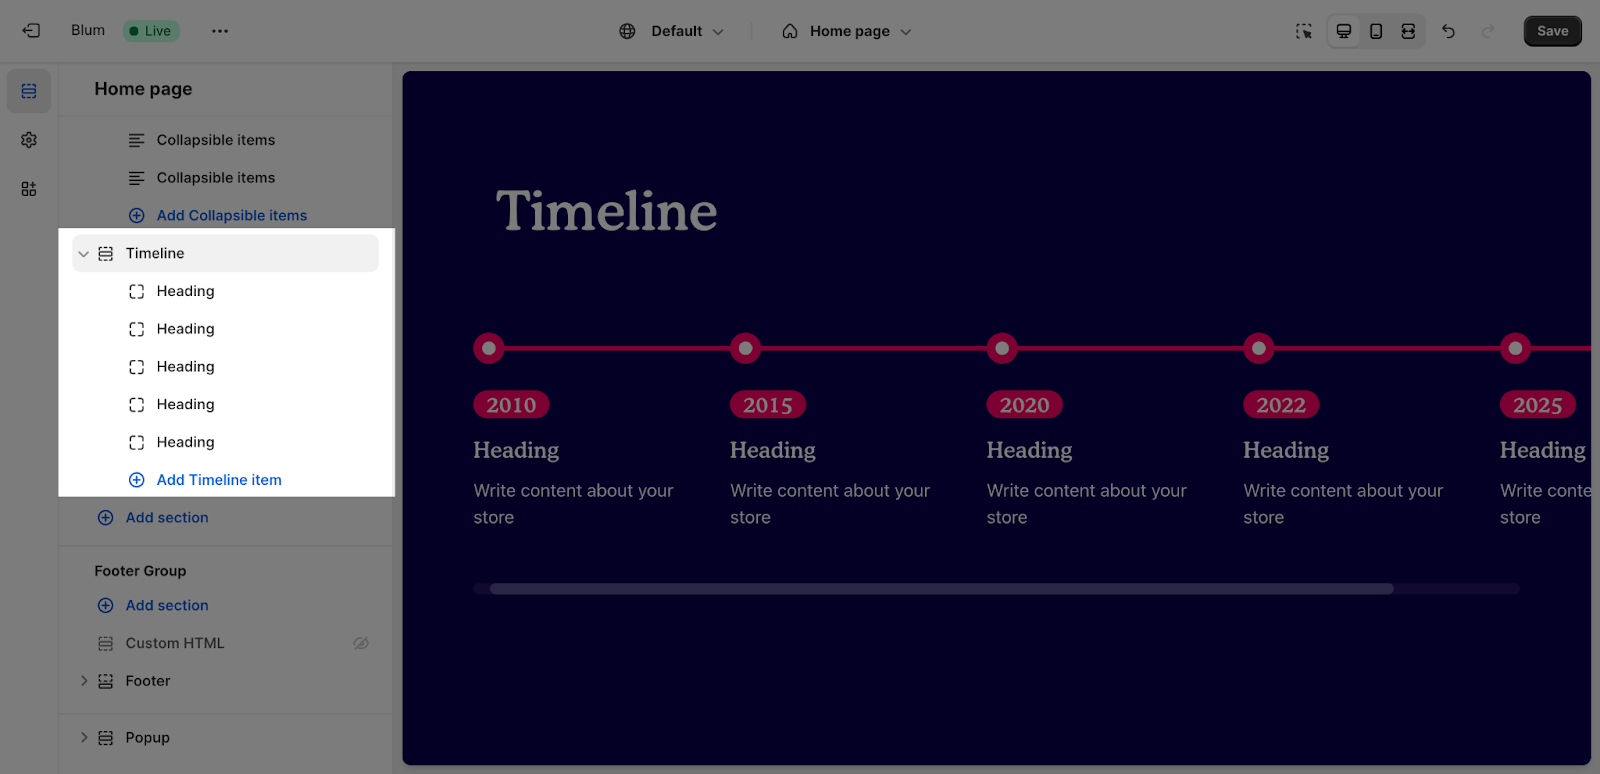
Blum Timeline section has 5 timeline items by default. To add more items, click on the Add timeline item text.
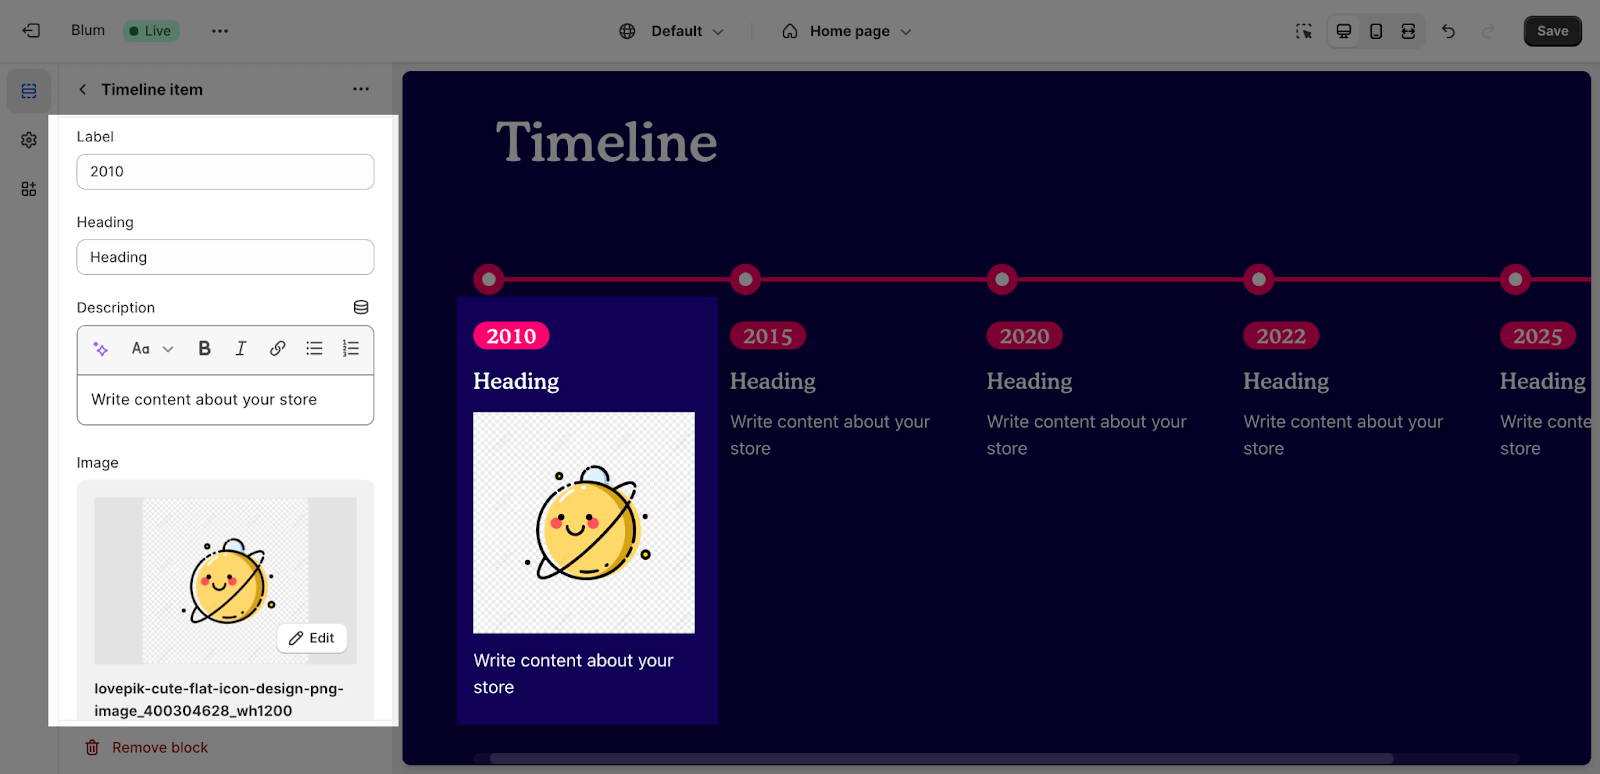
To add more information to the timeline items, click on the item then insert the Label, Heading and Description text in the placeholder. You can add an image for each item by hitting the Select image and upload it. The recommended width for the image is 800px.
Frequently Asked Questions
Can I Do A SEO-audit To The Blum Timeline Section?
Yes. The description under Timeline Item is open for flexible-editing with full stylings, hyperlinks and heading types… Therefore you can definitely audit with the section’s main keyword.
How Many Types Of Timeline Are Available?
At the moment, the horizontal timeline is available; you could only add label (the year), heading, description and image to each timeline item.
