Content Collage
About Content Collage Section
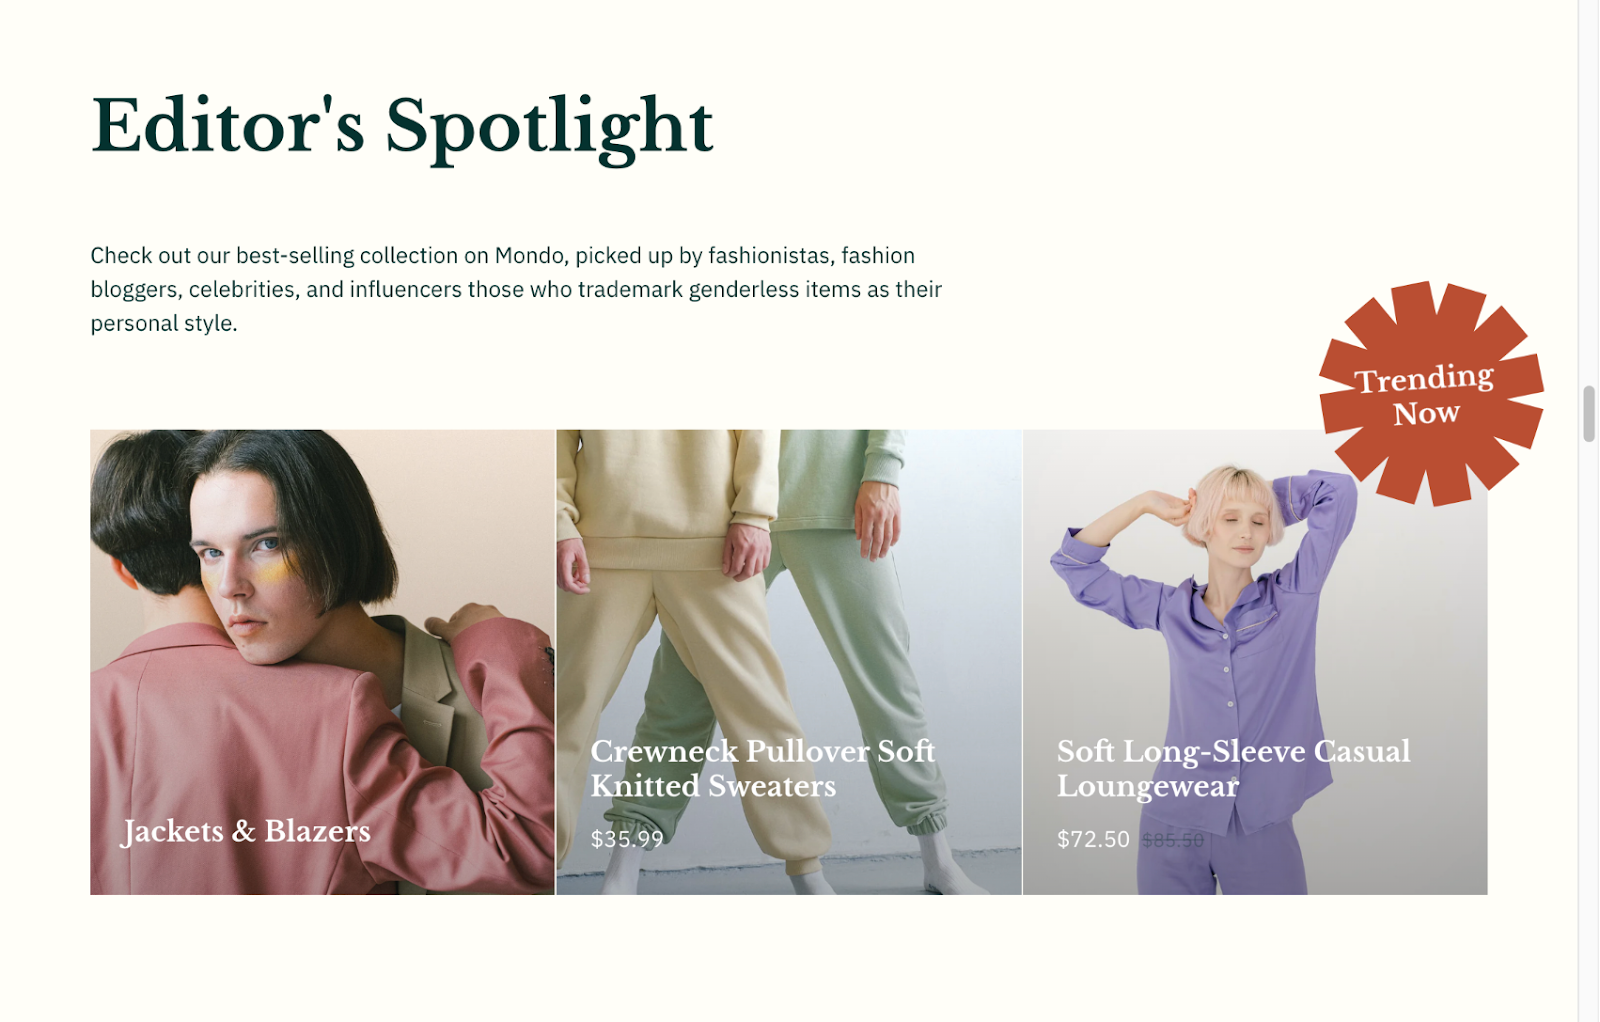
The Content Collage section is a versatile display tool that allows you to create engaging visual arrangements on your website. It enables the combination of different content types, including collections, products, and custom headings, ideal for:
- Showcasing featured products
- Highlighting new collections
- Creating visual story narratives
- Promoting seasonal campaigns
- Building brand-focused displays
The section stands out for its ability to display multiple content types in a single, cohesive layout while maintaining full customization control for both item sizing and positioning.
How to Access Content Collage Section
- In your Shopify Admin, go to Online Store > Themes > Customize.
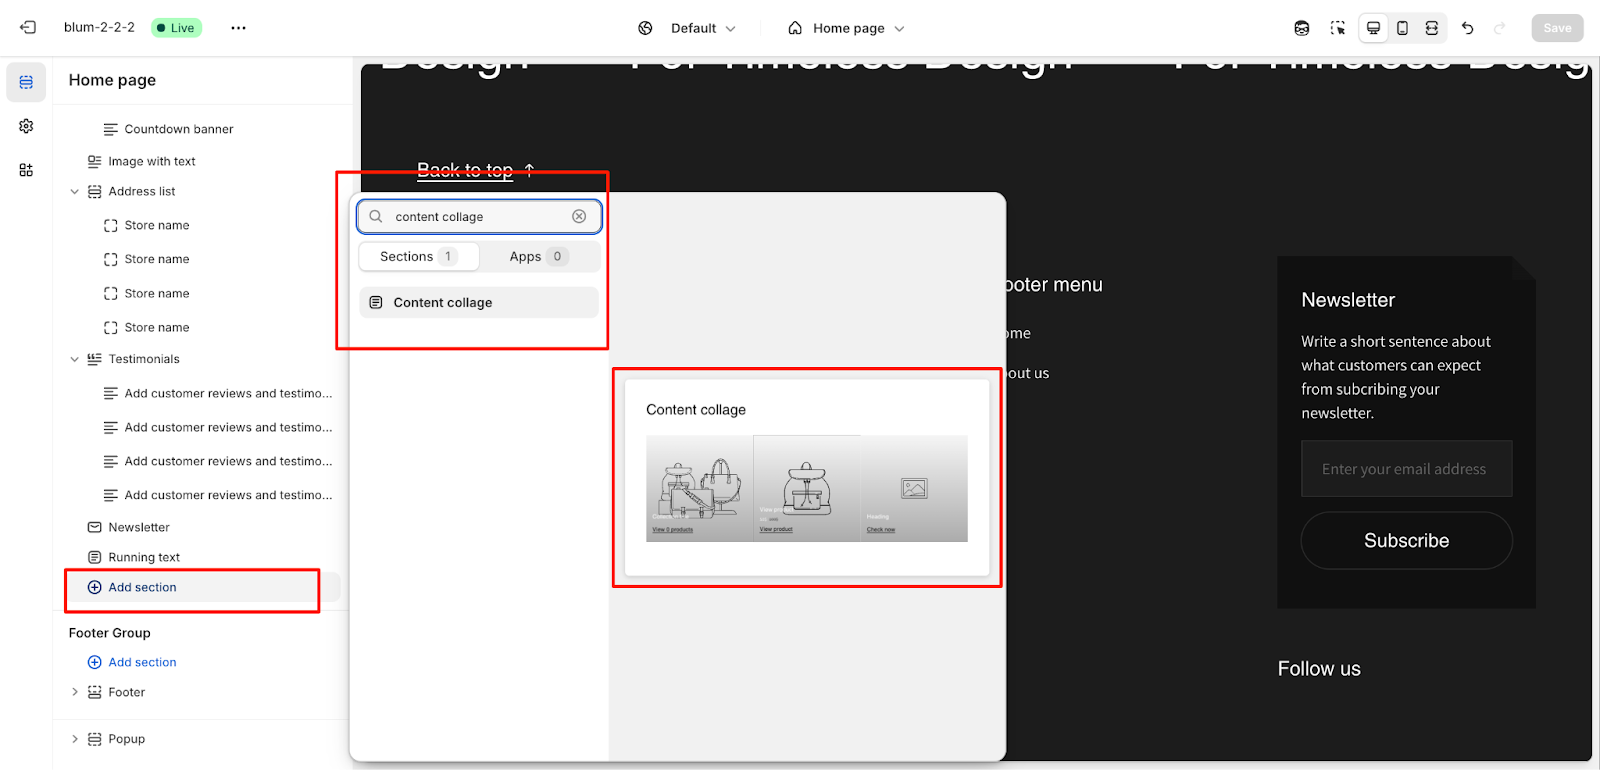
- In the sidebar from any page in your Normcore Admin Dashboard, click the “Add section” button
- Search for “Content Collage” and click to add it to your page.
After adding the Content Collage section, customize its appearance and functionality using the available settings.
| Setting | What it is & How it helps |
|---|---|
| Color scheme | Controls the background and text colors for the entire section. Use this to make the section pop or blend in with your store’s branding. |
| Section heading/subheading | Adds a title and a smaller subtitle above the collage. This is perfect for introducing a “New Arrivals” or “Summer Sale” collection. |
| Collage width | Choose between Wide (full screen) or Compacted (contained within margins). Compacted is often better for a cleaner, more focused look. |
| Items ordering | Controls the grid layout. Main item first makes the first block larger, while Equal gives all items the same size. |
| Remove padding top/bottom | Toggles that eliminate the space above or below the section. Use these if you want two sections to touch without any gap. |
| Enable content max-width | Ensures your collage doesn’t stretch too wide on very large monitors, maintaining a professional look |
How to Configure Content Collage Section
Each Content Collage section setting includes:
- General Settings
- Layout
- Items
- Prominent Badge
- Blocks
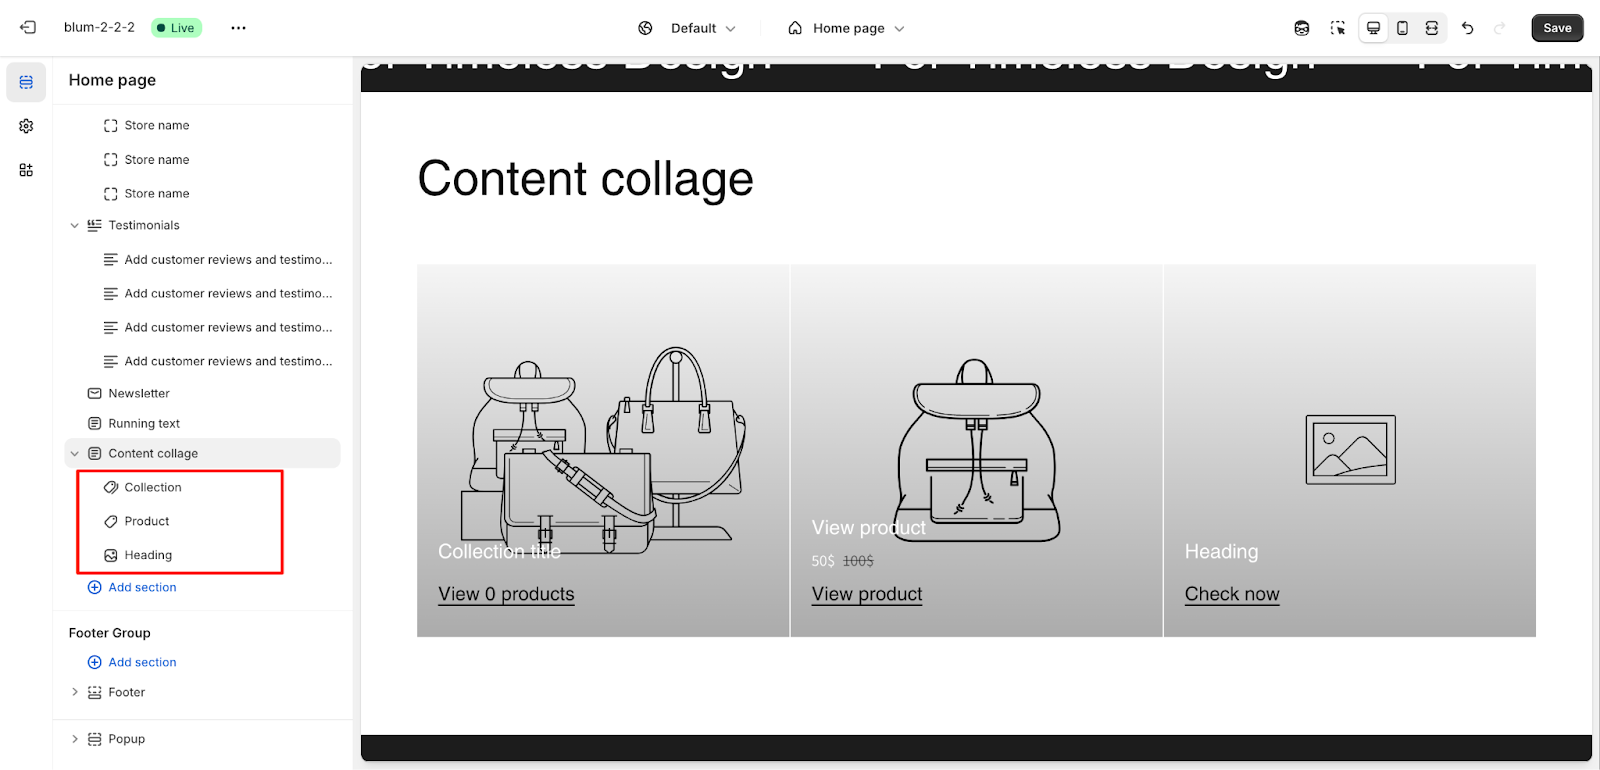
You can see these options in the section menu:
To begin customizing, click the “Content Collage” section to access its settings.

General
Within the General settings, you can:
- Change the color scheme
- Add Section subheading
- Add Section heading
- Add Section description
Layout
In the Layout settings, you can adjust:
- Collage width on desktop (options: Wide or Compacted): Wide stretches the collage edge-to-edge; Compacted adds breathing room on the sides. Use Compacted for a more refined look on desktop.
- Content alignment (options: Left or Center)
- Items ordering (dropdown with Equal, Main item first or main item last): Controls the grid layout and visual hierarchy. “Main item first” draws attention to your lead product or collection.
- Enable stacked layout. (Not applicable with equal ordering)
- Remove padding top
- Remove padding bottom
Items
For Items settings, you can configure:
- Image ratio (options: Square or Portrait). Not applicable if full-width is enabled full-width
- Show item button: It shows all buttons on each block. Links are still available without the button. This is a Toggle ON/OFF to display a visible “Call-to-Action” button on each block. When ON, buttons like “View Product” or “Shop Collection” are always visible. When OFF, the link still works but buttons aren’t shown—cleaner look.
Prominent Badge
The Prominent Badge is a small, decorative element that highlights important information like “New,” “Sale,” or “Hot Item.”
The Prominent Badge of this section has the same setting as the Icon With Text section.
- Text: Enter the badge text (e.g., “New,” “Sale,” “Limited Edition”).
- Hide badge if empty: Toggle ON/OFF. When ON, the badge only shows if text is entered.
- Accent scheme: Choose Main (matches your brand primary color) or Extra (uses an accent color).
- Position: Choose Left or Right to position the badge on the block.
- Shape: Choose from Star, Flower, Diamond, Circle, Square, and other preset shapes.
How to Configure Content Collage Block
You can add up to 3 blocks to your collage:
- Product Block: Features a single product with its title and price. You can also show the product rating.
- Collection Block: Highlights a specific collection and can display the number of products inside.
- Image Block: (Formerly Heading Block) Allows you to upload a custom image with a text overlay and a call-to-action button. Use this for storytelling or promotional banners
Product Block
When adding a Product block, click on the block to customize its appearance:
Within the Product block settings, you can:
-
Select a specific product – Choose which product to showcase
-
Show/hide rating – Toggle the star rating on/off (configure rating visibility in Theme Settings > Product Information)
-
Adjust mask overlay opacity – Control how dark/light the overlay is (0-100%)
-
Customize mask overlay color – Choose the color that darkens the product image
-
Set text overlay color – Choose the color for the product title and price text
-
Configure star rating color – If ratings are shown, set their color
The mask overlay setting overrides the collage item mask overlay, while the text overlay setting overrides the collage item text overlay.
Collection Block
When adding a Collection block, you can:
-
Select a specific collection – Choose which collection to highlight
-
Enable option to show number of products – Toggle to display “15 products” or similar text
-
Adjust mask overlay opacity – Control overlay darkness
-
Customize mask overlay color – Choose overlay color
-
Set text overlay color – Choose color for collection name text
Image Block
For the Image block, you can:
-
Upload a custom image – Choose any image from your media library
-
Adjust mask overlay opacity – Control how dark the overlay is
-
Customize mask overlay and text overlay colors – Set colors for the image and text
-
Set up heading text – Add a headline in the “Content” tab (e.g., “Summer Sale”)
-
Configure button text and button link – Add button label (e.g., “Shop Now”) and where it links to in the “Button” tab
Common Cases and FAQs
1. How to create a visually balanced collage?
For the most visually appealing collage, use images with similar color tones or themes. When using the “Equal” layout, select images with similar aspect ratios for consistent sizing.
2. When should I use a stacked layout?
Use a stacked layout when:
- You want one item to stand out as the focal point
- You’re mixing different content types (products, collections, images)
- Your store design benefits from asymmetrical arrangements (modern, trendy aesthetic)
3. How should I customize overlay colors for better readability?
Adjust mask overlay opacity to ensure text remains readable against your background images. Use contrasting text colors against your overlay to improve visibility. For example, use white text (#FFFFFF) on dark overlays and dark text on light overlays.