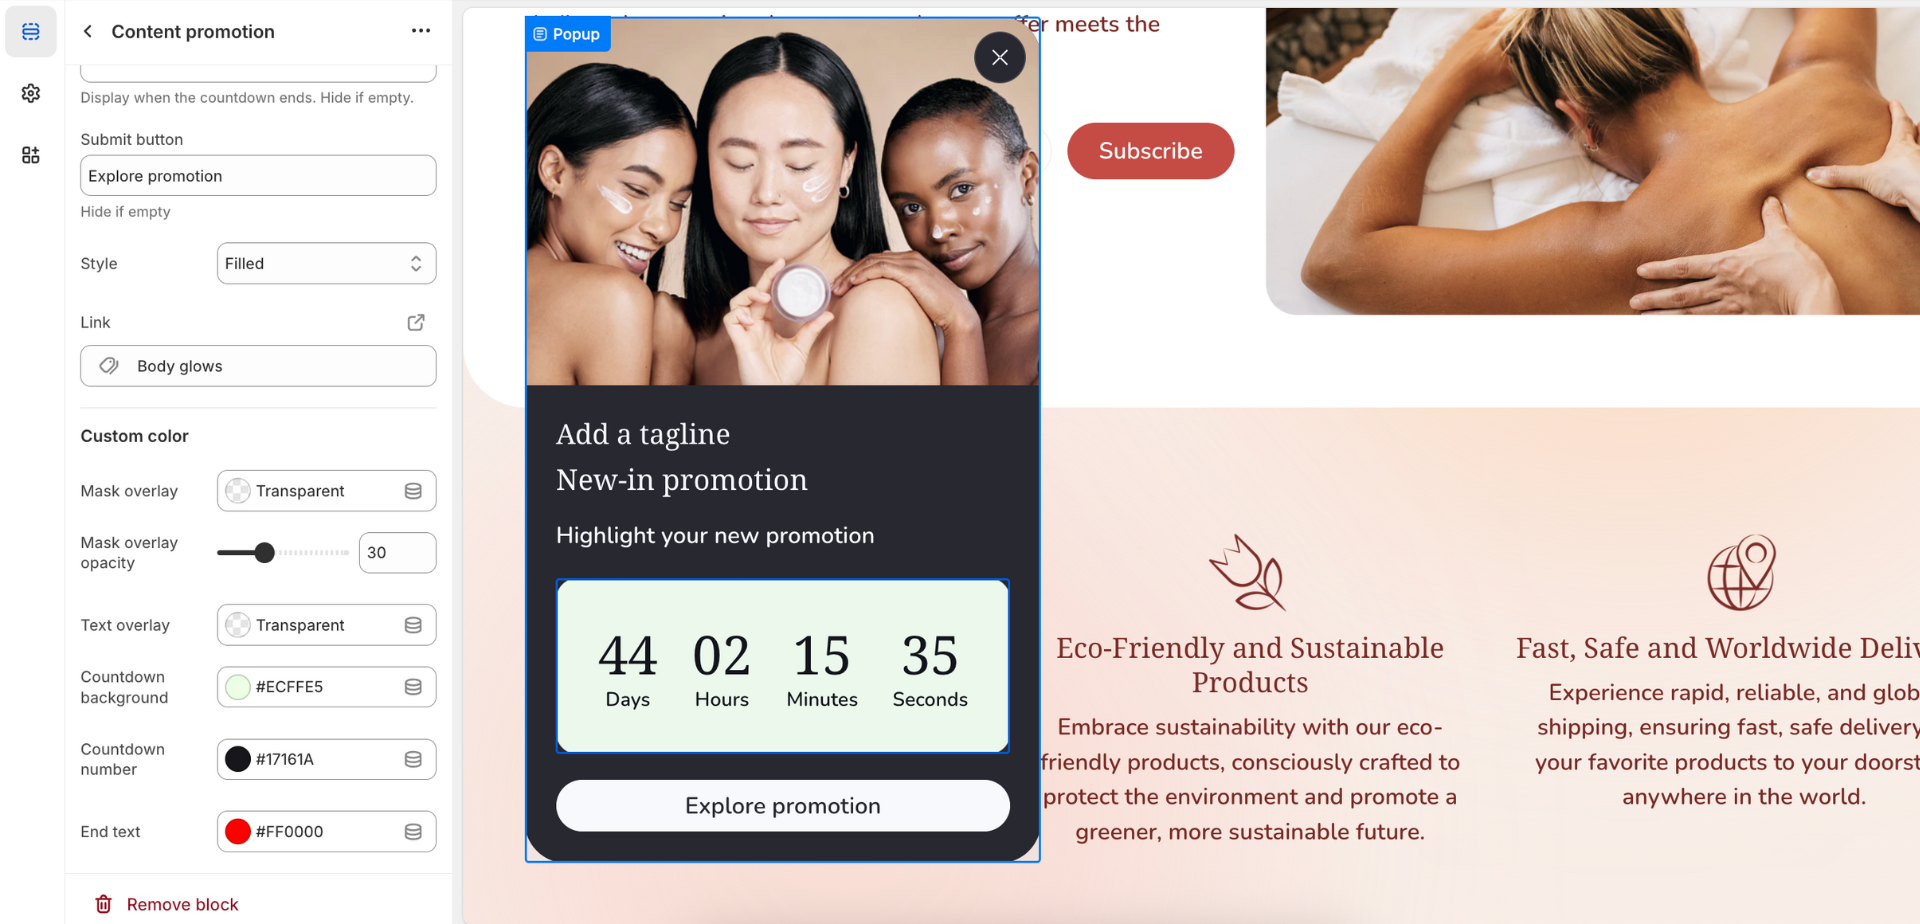
Popup
About Shine Theme Popup
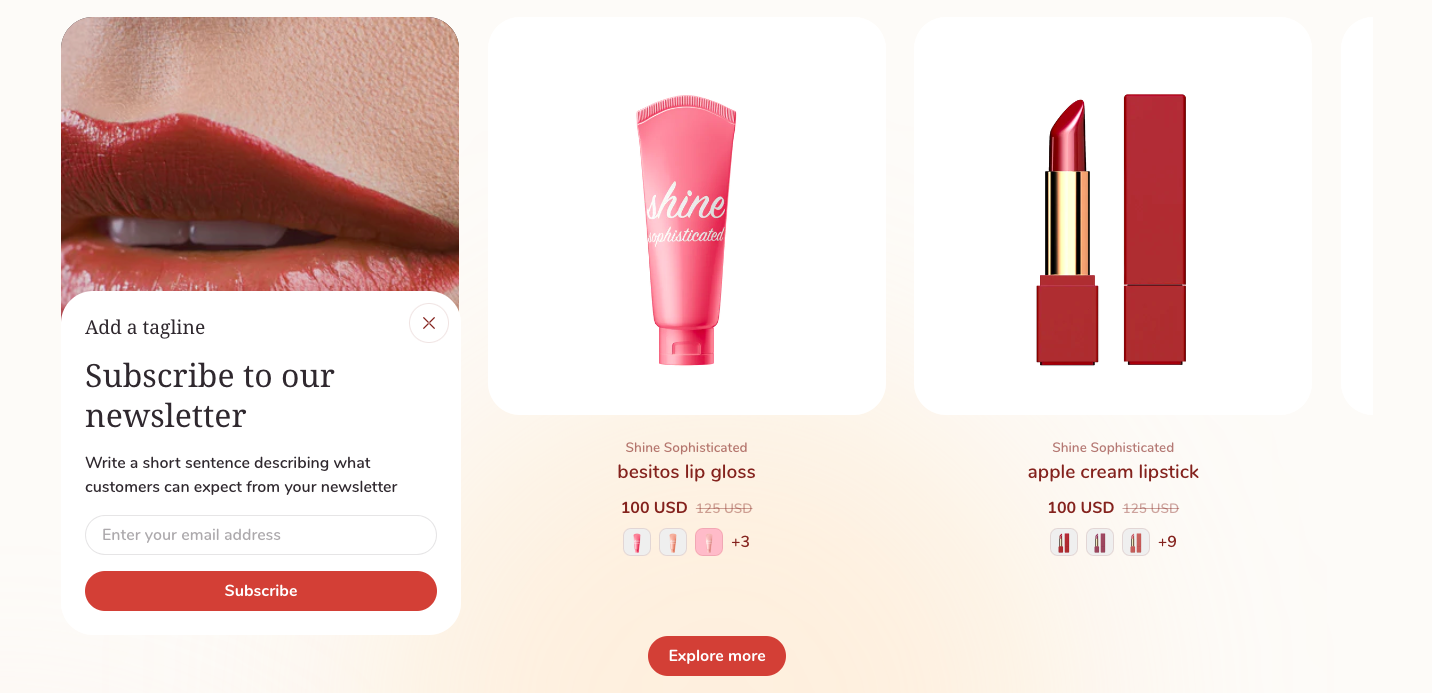
The Shine Theme Popup is a small window or overlay that appears on top of the main content of your store.
A well-designed popup will turn store browsers into email subscribers eagerly awaiting promotional offers, limited-time sales, new product releases, and more.
You can also use the popup to deliver targeted messages or collect specific information from your customers.
Access Shine Theme Popup
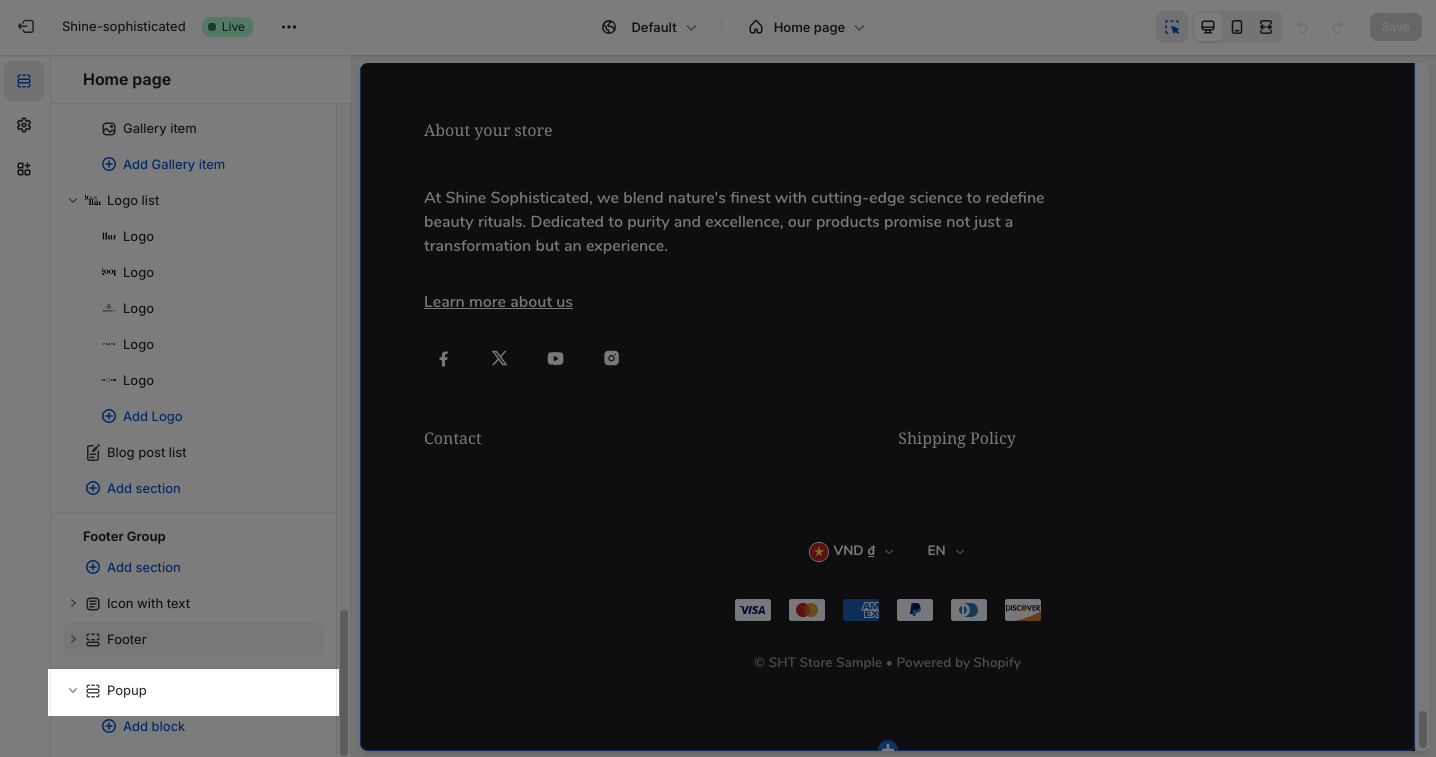
From any page in the Shine Admin Dashboard, scroll down and click on the Popup section.
Shine Theme Popup Blocks Configuration
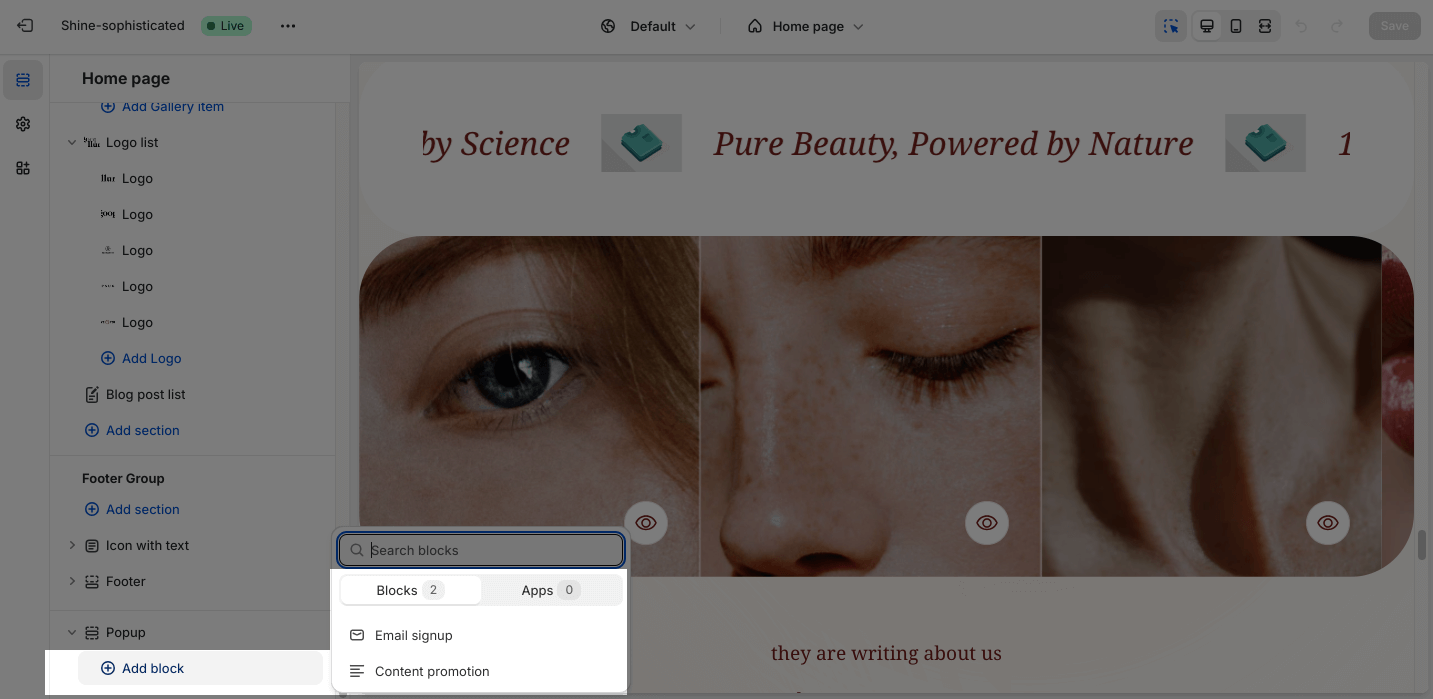
There are two types of blocks that you can add to this section: Email signup and Content promotion.
Email Signup
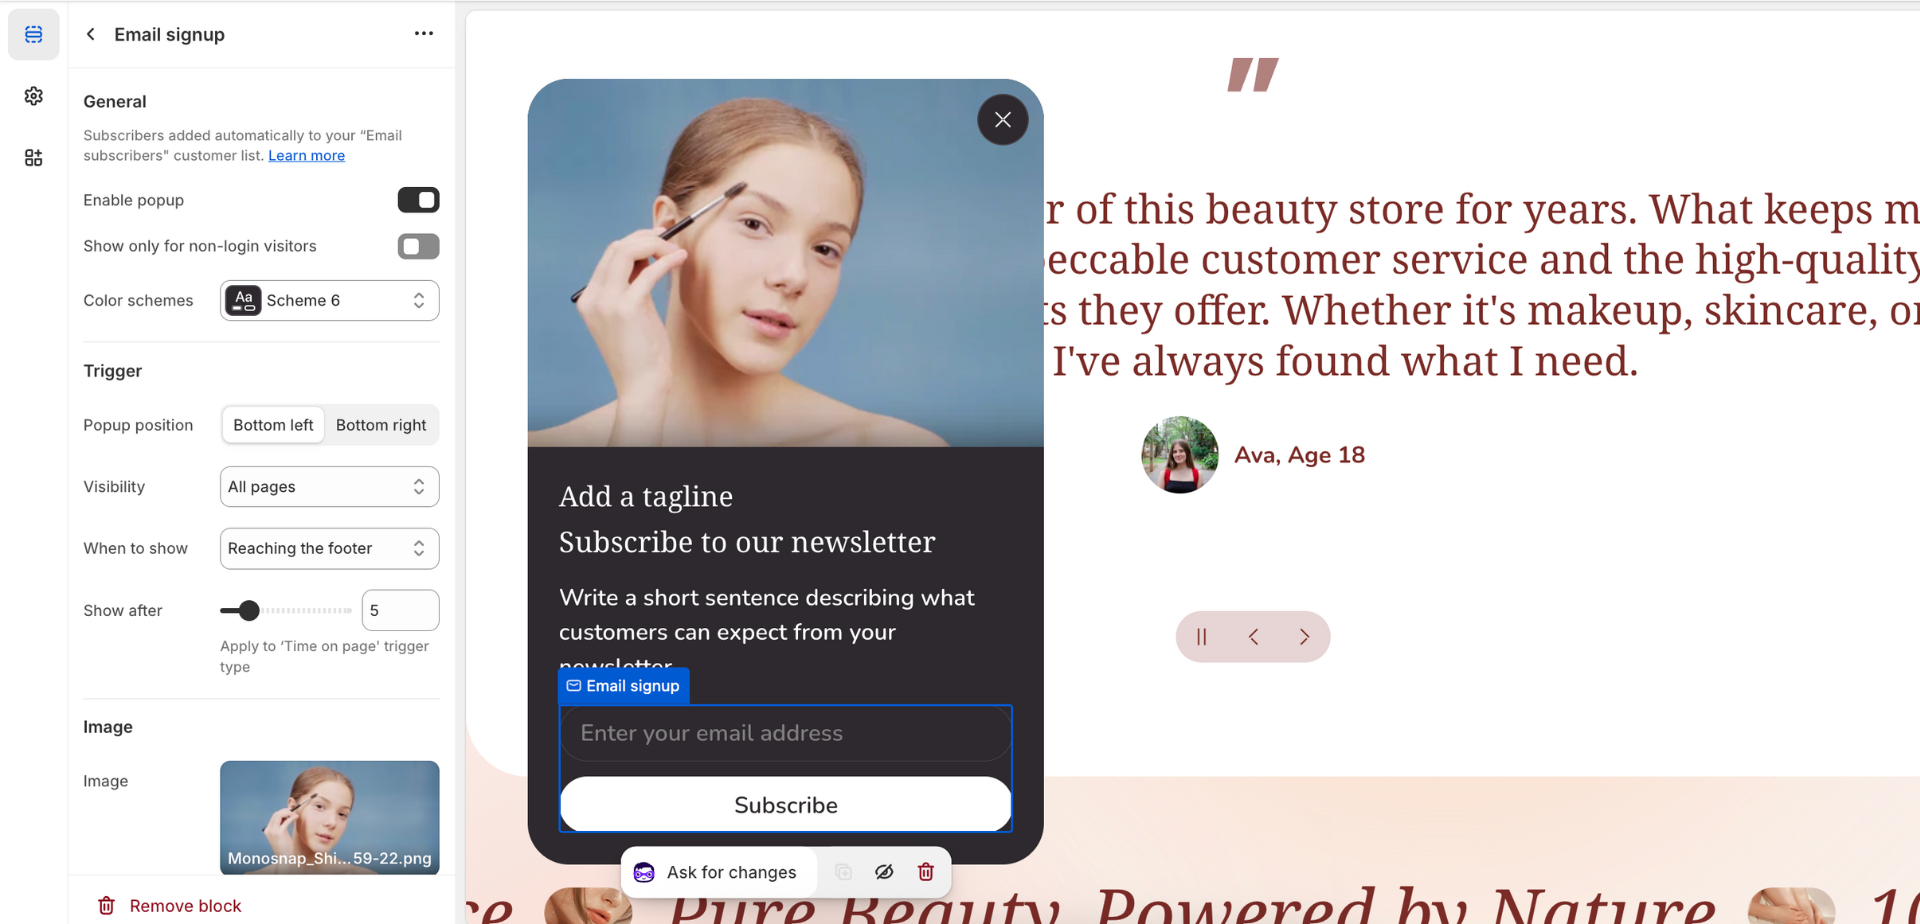
General
Emails submitted here will be automatically added to your email subscribers list.
You can enable or disable these options for the Popup appearance:
- Enable popup
- Show only for non-login visitors
You can also change the color scheme for this section by selecting the scheme here. To change the theme color, please go to Theme settings > Colors.
Trigger
You can adjust the Popup position:
- Bottom left
- Bottom right
You can set up the Visibility of the Popup on:
- All pages
- Home page only
- Product page only
- Collection page only
- Cart page only
To customize When to show the Trigger, you can choose between:
- Reaching the footer: when scrolling down to the bottom section of a page where the footer is located.
- Time on page: show the trigger after a specific time. You can adjust the slider between 0 and 30 seconds.
- After closing cart notification: refers to a notification or message that appears to customers after they have closed or exited the shopping cart.
You can also adjust the time on the page trigger between 0 and 30 seconds.
Image
To add a background image, simply click on the Select image button. This will open the media manager, where you can drag and drop your image, or choose an existing image on the media manager.
You can also adjust the Image position:
- Above text
- Behind text
Text
With the Shine theme, you can individually adjust content for the Subheading, Heading, Description, and Submit button by entering the text on the box. If you want to hide it, simply leave the text box blank.
Custom Color
The Custom color option allows you to apply color when using an image behind text.
You can customize the colors of the Mask overlay by clicking on the color picker. You can adjust the Overlay opacity between 0 and 90.
You can also customize the colors of the Text overlay by clicking on the color picker. The default color of the Mask overlay and Text overlay are transparent.
Content promotion
Set up process is similar to Email signup. However, this popup block is designed for you to promote a collection/ product/ special deal with a countdown timer.
